How to Remove Dried Grout Haze from New Tiles
Expert Techniques to Remove Dried Grout Haze from New Tiles
I have spent twenty five years on my knees with a trowel and a sponge. I have seen the finest Italian porcelain ruined by a rookie who did not understand the chemistry of a bucket. Most guys skip the leveling compound. They think the underlayment will hide the dip. It won’t. I spent three days grinding concrete on a job last month just so the floor wouldn’t click like a castanet. That same job had a grout haze so thick it looked like a fog over the ocean. Grout haze is not just dust. It is a polymer modified mineral lattice that bonds to the microscopic pores of your tile. If you let it sit too long, you are not just cleaning a floor, you are performing a chemical extraction.
The physics of the grout bond and why it stays
Grout haze removal requires understanding that dried grout consists of Portland cement and latex polymers that harden through a process called hydration. To remove it without damaging the tile glaze or the grout joints, you must break the bond between the siliceous aggregates and the tile surface using mechanical friction or pH specific chemicals. This process must happen within a specific window of time to prevent permanent staining. Most people think they can just mop it away. That is a lie. Mopping just moves the minerals around the surface. You need to understand the molecular reality of what you are scrubbing. A floor is a performance surface. If the surface is clouded with cementitious residue, the aesthetic intent of the architect is dead. The residue fills the micro-textures of the tile. This creates a slip hazard and a magnet for dirt.
“A floor is only as good as the subfloor beneath it; deflection is the enemy of every joint.” – Master Flooring Axiom
The window of hydration and why timing matters
Timing your cleaning is the most important factor because cementitious grout reaches about fifty percent of its structural integrity within twenty four hours. You want to attack the haze when the moisture content of the residue is low but before the chemical cross-linking of the polymers is complete. Wait too long and you need acid. Act too fast and you wash out your joints. The industry calls this the curing phase. During this time, the grout is thirsty. If you soak the floor with water, the grout joints will absorb that water and weaken the bond. This leads to soft grout. Soft grout leads to cracking. Cracking leads to a complete tear out. You do not want that. I have seen showers that needed a full rebuild because the installer used too much water during the cleanup. The water seeped behind the tile and fed the mold in the wall cavity. It is a disaster waiting to happen.
| Grout Type | Haze Intensity | Removal Tool | Chemical Solution |
|---|---|---|---|
| Standard Cement | Moderate | Cheesecloth | Distilled Water |
| High Performance | Heavy | Nylon Scrub Pad | Sulfamic Acid |
| Epoxy Grout | Extreme | White Scotch Brite | Specialty Stripper |
| Modified Grout | Moderate | Microfiber | Vinegar Solution |
The physical mechanics of the cheesecloth buff
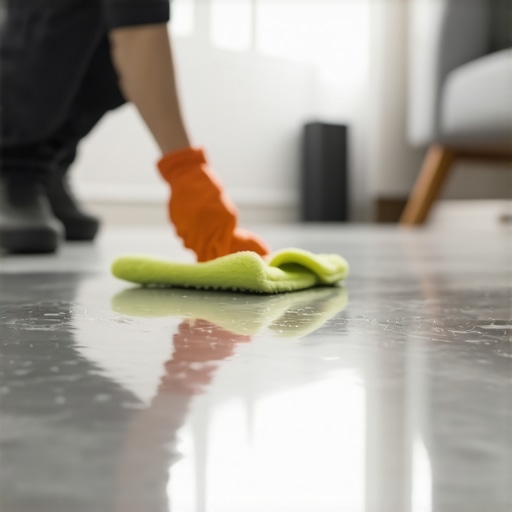
Mechanical haze removal is the safest way to clean porcelain or ceramic tiles because it does not involve acidic reactions that can etch the tile surface. Use a dry cheesecloth or a microfiber towel to apply firm pressure in a circular motion, which creates enough heat and friction to break the weak mechanical bond of the surface haze. This is hard work. It takes a toll on the shoulders and the lower back. I have spent thousands of hours doing this. The goal is to turn the haze back into a fine powder. Once it is powder, you can vacuum it up. Do not use a broom. A broom just pushes the dust into the fresh grout joints. Use a HEPA vacuum. This keeps the silica dust out of your lungs. Your lungs do not have a warranty. Take care of them. If the dry buffing does not work, you have waited too long. You are now moving into the chemical phase of the job.
Chemical interventions and pH balance reality
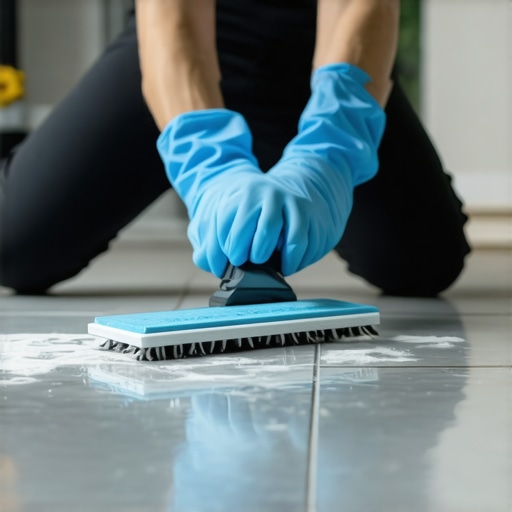
Chemical grout cleaners work by lowering the pH level of the residue to dissolve the calcium carbonate found in the cement. While many homeowners reach for white vinegar, this is often a mistake because the acetic acid can be too aggressive for certain natural stones like marble or limestone. You need to know your stone. If you put acid on marble, you will etch it. That means you just ruined a ten thousand dollar floor. Use a sulfamic acid solution if you are dealing with ceramic or porcelain. It is a mild acid. It comes in crystals. You mix it with warm water. It eats the cement but leaves the tile alone. Always test a small spot in a closet first. Do not be the guy who ruins the living room floor because he was too lazy to test a corner. Wear gloves. This stuff will eat the skin right off your knuckles. I have the scars to prove it.
“Standard practices require that the subfloor be level within one eighth of an inch over ten feet to prevent tile failure.” – TCNA Handbook
The truth about epoxy grout haze
Epoxy grout removal is an entirely different beast because it does not contain Portland cement and instead relies on a two part resin system. If you let epoxy grout dry on the face of the tile, you are in for a bad week. It is essentially plastic. You cannot dissolve it with mild acids. You need a specialty epoxy stripper. These chemicals are nasty. They smell like a refinery. You need ventilation. Open every window. Get a fan. The stripper softens the resin. Then you scrape it. You have to be careful not to scratch the tile. I have seen guys use metal scrapers. That is a sin. Use a plastic scraper. It takes longer but it saves the floor. Epoxy is great for showers because it is waterproof. But it is the most difficult material in the trade to handle. If an installer tells you they love epoxy, they are either a master or a liar.
Daily maintenance for a pristine floor
Maintaining new tile requires a strict cleaning protocol to ensure the grout sealer remains intact and the surface tension of the tile prevents new haze from forming. Avoid using oil based soaps. They leave a film. That film attracts dirt. The dirt turns into a new kind of haze. It is a cycle of filth. Use a pH neutral cleaner. It is gentle. It works. If you have a carpet install nearby, be careful with the dust. Carpet fibers and the glue they use for the padding can migrate to your tile. It sticks to the grout. It looks terrible. Keep the jobs separate. Close the doors.
- Vacuum the floor daily to remove abrasive grit.
- Use only pH neutral cleaners on natural stone surfaces.
- Inspect grout joints for cracks every six months.
- Reapply sealer once a year in high traffic areas.
- Never use steel wool on polished tile surfaces.
- Avoid steam mops on grout joints as they can cause delamination.
The ghost in the expansion gap
Expansion joints are the most overlooked part of a tile installation because they are often filled with silicone caulk instead of hard grout to allow for structural movement. If your grout haze is concentrated near the edges of the room, it might be mixing with caulk residue. This creates a sticky mess. You cannot buff this out. You need a solvent. Mineral spirits work well for this. But be careful. Too much solvent will dissolve the bond of the caulk. It is a delicate balance. A floor is a living thing. It expands and contracts with the seasons. If you do not give it room to move, it will tent. It will pop. I have seen entire floors lift off the slab because the installer didn’t leave a gap at the wall. They hid the gap with baseboard, but they filled it with grout first. Amateur move. The 1/8 inch that ruins everything is the one you didn’t leave for expansion.
Final word on the job
Removing grout haze is about patience and the right tools. It is the final step in a long process. If you rush it, you fail. If you ignore it, the floor looks cheap. Treat your floor like the structural engineering challenge it is. Respect the chemistry. Respect the physics. If you do that, your floor will last fifty years. If you don’t, I will be the guy you call to rip it out and start over. And I am not cheap. I charge for my experience. I charge because I know exactly why your floor is failing. It usually starts with the haze and ends with a sledgehammer. Do it right the first time. Clean the tile. Seal the grout. Level the subfloor. That is the only way to build a floor that lasts. Don’t listen to the big box store employees. They have never spent a day on their knees. They sell products. I sell results.