How to Stop Your New Carpet from Fraying at the Edges
Most guys skip the leveling compound. They think the underlayment will hide the dip. It won’t. I spent three days grinding concrete on a job last month just so the floor wouldn’t click like a castanet, and that same principle applies to your carpet transitions. If the subfloor is not dead flat where the carpet meets a hard surface, the edge will take a beating every time a foot hits it. I have seen thousand dollar rugs destroyed because the installer was too lazy to pull a level. You cannot hide a bad subfloor with a pretty carpet. It is a mechanical impossibility. Carpet fraying at the edges is not just an aesthetic annoyance. It is the visible evidence of structural failure within the primary and secondary backing of the textile. When fibers begin to pull away, it is usually because the mechanical bond of the latex adhesive has been compromised by friction, moisture, or improper installation techniques. To stop fraying, you must address the physical stress at the boundary where the carpet ends.
The structural reality of tuft bind
Tuft bind strength and edge raveling are governed by the chemical integrity of the SBR latex used to lock fibers into the primary backing. If you cut a carpet without sealing the edge, you are essentially leaving a series of open loops and cut ends vulnerable to mechanical agitation. The moment someone walks over that unsealed edge, the pile begins to shift, leading to a breakdown of the secondary backing. This is especially true in high traffic areas. I always tell my guys that a carpet edge is like a frayed rope. Once one strand goes, the rest follow. You need a chemical or mechanical barrier to keep those yarns from migrating out of their holes. In a proper carpet install, we do not just rely on the tack strip. We rely on the physical fusion of the edge. Professional installers use a liquid seam sealer. This is a specialized adhesive that penetrates the backing to create a unified structural unit. Without it, you are just waiting for the vacuum to eat your floor.
“A floor is only as good as the subfloor beneath it; deflection is the enemy of every joint.” – Master Flooring Axiom
Why your transitions are failing the floor
Carpet transitions and reducer strips are designed to protect the exposed edge from the shear force of foot traffic. If you have carpet meeting laminate or tile, the height difference is your biggest enemy. If the carpet sits higher than the transition, the edge gets kicked. If it sits lower, the transition becomes a trip hazard that pulls at the fibers. I have seen homeowners try to use cheap plastic strips from big box stores. They are garbage. You need a solid metal or hardwood transition that actually clamps the carpet edge down. A good Z-bar or a specialized tuck-in transition is the only way to ensure the edge remains buried and protected. When we do a carpet install, we calculate the exact pile height under compression to select the right transition. If the subfloor is uneven, we use floor leveling compounds to ensure the transition sits perfectly flat. A wobbly transition is a carpet killer. It creates a sawing motion that grinds the backing into dust over time.
The chemical secret of seam sealers
Liquid seam sealer and thermoplastic adhesives are the primary defense against delamination and fiber loss at the edge. Most people do not realize that carpet is a sandwich of materials held together by glue. When you cut that sandwich, you expose the filling. A high quality seam sealer is a synthetic resin that mimics the original factory latex but with a higher shore hardness. You apply it with a fine tip applicator directly to the edge of the backing, not the fibers. If you get it on the pile, it looks like a mess and feels like a rock. The goal is to weld the primary and secondary backings together. I have spent decades perfecting the bead. It has to be consistent. Too little and it does not hold. Too much and it bleeds through. When the sealer dries, it creates a flexible but tough plastic barrier that prevents the yarns from unraveling even under heavy scrubbing or vacuuming.
How moisture from showers impacts nearby carpet
Ambient humidity and capillary action from nearby showers or bathrooms can soften the latex binder in carpet edges. In many master suites, the carpet runs right up to the bathroom tile. This is a high risk zone. If the bathroom does not have proper ventilation, or if people are stepping out of the shower with dripping feet, that moisture migrates into the carpet backing. The latex used in most carpets is water resistant, but not waterproof. Constant dampness causes the latex to swell and eventually crumble. Once the binder turns to powder, the fibers just fall out. I have walked into homes where the carpet at the bathroom door was a bald patch. You must use a 100 percent synthetic backing in these areas and ensure the transition is sealed with a silicone bead to prevent water from wicking under the carpet. This is where a professional installer shows his worth by understanding the chemistry of the room, not just the look of the floor.
| Method | Durability Rating | Application Time | Primary Benefit |
|---|---|---|---|
| Liquid Seam Sealer | High | 15 Minutes | Prevents fiber raveling at the source |
| Heat Bond Tape | Extreme | 30 Minutes | Creates a structural weld between sections |
| Z-Bar Transition | High | 20 Minutes | Mechanical protection of the tucked edge |
| Latex Glue Bead | Medium | 10 Minutes | Quick fix for low traffic areas |
The physics of the power stretcher
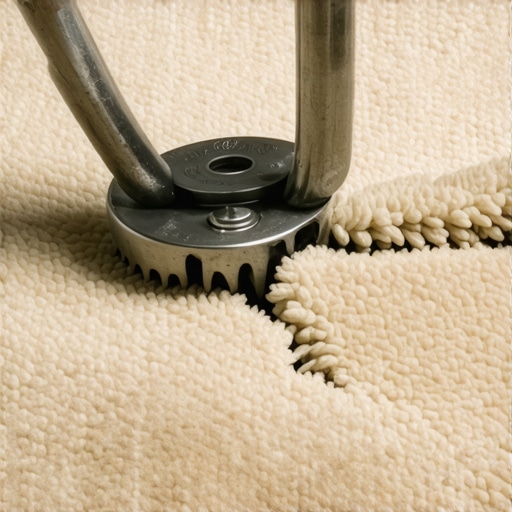
Lateral tension and dimensional stability are maintained through the use of a power stretcher during the carpet install process. A loose carpet is a carpet that will fray. If the carpet is not stretched tight, it moves. That movement creates friction at the edges where the carpet is hooked onto the tack strips. Over time, that friction shears the fibers. I hate seeing guys use only a knee kicker. A knee kicker is for positioning, not for stretching. You need the leverage of a power stretcher to pull the carpet taut across the entire room. This tension keeps the edges firmly seated against the wall or the transition strip. When the carpet is tight, the fibers stand upright and resist the lateral forces of walking. A loose carpet ripples, and those ripples concentrate stress at the edges, leading to premature failure. If you can pick up the carpet in the middle of the room with your fingers, it is not tight enough. It needs to be drum tight.
“Correct tensioning of the textile assembly is mandatory to prevent mechanical fatigue of the secondary backing.” – NWFA Structural Guidelines
Essential steps for edge protection
Edge preparation involves a multi-stage protocol to ensure the longevity of the carpet assembly. Before the carpet even touches the floor, the perimeter must be prepped. This is not just about the carpet itself, but the environment it lives in. I follow a strict checklist on every job to make sure I am not coming back in six months to fix a frayed mess.
- Inspect subfloor for moisture and levelness before installation.
- Apply a consistent bead of seam sealer to all cut edges.
- Use a power stretcher to achieve minimum 1 percent stretch in both directions.
- Ensure tack strips are placed exactly 1/4 inch from the vertical surface for a proper tuck.
- Select transitions that provide a mechanical clamp over the carpet edge.
- Vacuum the edges immediately after install to remove loose construction fibers.
The 1/8 inch that ruins everything
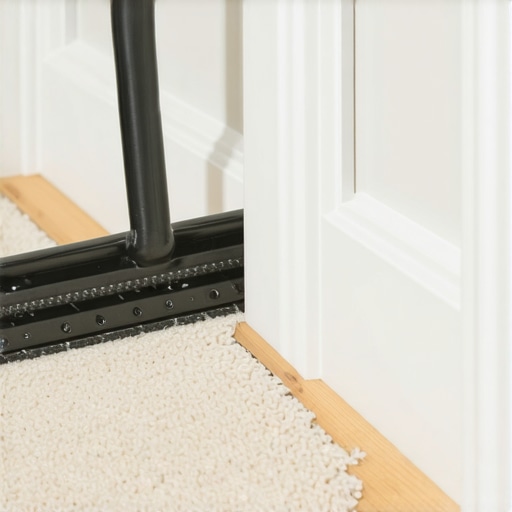
Tack strip placement and gully width determine whether a tucked edge stays put or pops out to fray. The gap between the tack strip and the baseboard is called the gully. It should be slightly less than the thickness of the carpet. If the gully is too wide, the carpet will not stay tucked. If it is too narrow, you cannot get the carpet in there without damaging the backing. I see guys hammer the carpet into the gully with a dull stair tool, which just breaks the latex bond before the job is even done. You need a sharp, clean tuck. This creates a tensioned fold that protects the cut edge from any foot traffic. The edge is buried deep against the baseboard, safe from the vacuum and the friction of feet. It is these small, microscopic details that separate a master from a hack. If you get the gully right, the edge will last as long as the house. If you miss it by an eighth of an inch, you will be looking at frayed yarns by Christmas.