The ‘Paper’ Test for Finding Hidden High Spots on Your Concrete Subfloor
The ‘Paper’ Test for Finding Hidden High Spots on Your Concrete Subfloor
Most guys skip the leveling compound. They think the underlayment will hide the dip. It won’t. I spent three days grinding concrete on a job last month just so the floor wouldn’t click like a castanet. I once walked into a luxury condo where the installer had laid down three grand worth of wide plank laminate right over a slab that looked like the rolling hills of Kentucky. Two weeks later, the tongue and groove joints were snapping like dry twigs every time the owner walked to the kitchen. My hands still smell like the WD-40 I used to clean my diamond grinders that week. You cannot build a cathedral on a swamp, and you cannot lay a high-end floor on a subfloor that has not been vetted by the paper test. If you think your eyes are good enough to spot a 3/16 inch rise across a ten foot span, you are lying to yourself and your client. I have been on my knees for twenty five years with a moisture meter and a level. I know better.
The 1/8 inch that ruins everything
The paper test for finding high spots on concrete involves sliding a single sheet of paper under a straightedge to identify gaps or humps. If the paper is trapped beneath the straightedge, you have found a high spot that requires grinding or sanding. If the paper slides through with a gap above it, you have found a low spot that requires filling with a high quality self leveling underlayment or patch. This simple physics based check ensures your subfloor meets the strict flatess requirements of the National Wood Flooring Association. A floor is not just a cosmetic layer, it is a structural system that relies on total contact with the substrate to prevent mechanical failure of the locking systems.
When we talk about floor leveling, we are really talking about the management of deflection. Every time you step on a floating floor, the material bends. If there is a void underneath that floor because the concrete was not flat, the locking mechanism takes the full weight of your body. These plastic or wood fiber joints are only a few millimeters thick. They are not designed to be bridges. They are designed to be connectors. When you ignore a high spot, you create a fulcrum. The floor boards will teeter on that high spot like a see-saw. Eventually, the friction causes the finish to wear prematurely or the joint to pull apart. I have seen laminate floors in high traffic hallways literally unzipped because the installer did not spend the time to map the slab. You need a ten foot straightedge. Not a four foot level from the bargain bin. A real, heavy duty magnesium or aluminum straightedge that does not flex when you lean on it.
Why your subfloor is lying to you
Concrete subfloors are rarely flat because the curing process involves the evaporation of water which causes the slab to shrink and warp. As the moisture leaves the calcium silicate hydrate gel, the surface tension pulls at the aggregate, often creating a curled edge at the perimeter or a hump in the center of a room. You might see a surface that looks smooth to the naked eye, but the molecular reality is a landscape of micro peaks and valleys that will destroy a laminate or LVP installation over time. Professional installers must use mechanical means to ensure flatness rather than trusting the visual appearance of the pour.
The chemistry of concrete is a fickle thing. When a slab is poured, the heavy aggregate settles toward the bottom while the cream and water rise to the top. This creates a surface layer that is often softer and more prone to irregular drying. In humid regions like the Gulf Coast, the slab might stay damp for months, leading to different expansion rates than a slab in the high desert of Arizona. In a place like Phoenix, the surface dries so fast it can form a crust while the middle is still wet, leading to significant curling. You have to understand that concrete is a living, breathing sponge. It moves. It reacts to the temperature of the earth beneath it and the air above it. If you are prepping for a shower tile job or a large format tile install, this becomes even more critical. Large tiles have zero tolerance for lippage. If the slab is not flat to within 1/8 inch over ten feet, your tile edges will catch every toe that walks across them.
“A floor is only as good as the subfloor beneath it; deflection is the enemy of every joint.” – Master Flooring Axiom
The ghost in the expansion gap
Expansion gaps at the perimeter of a room are vital because they allow the entire floor plane to move as a single unit during seasonal humidity shifts. Without these gaps, a floor that expands will hit the drywall and have nowhere to go but up, resulting in a condition known as buckling or peaking. Even the most stable laminate or engineered hardwood requires at least 1/4 inch to 1/2 inch of space hidden under the baseboards to accommodate the kinetic energy of the material. If you lock the floor down with heavy cabinetry or trim, you are essentially creating a ticking time bomb for the installation.
I remember a job in a damp basement where the homeowner insisted on skipping the moisture barrier. They thought the concrete looked dry. I pulled out my Tramex meter and showed them the slab was at 6 percent moisture content. That does not sound like much until you realize that over a thousand square feet, that is gallons of water trapped under your floor. We used a 6 mil poly film and taped the seams with vapor-tight tape. If we had not, the laminate would have swelled within ninety days. You have to be a detective. You look for the white powder of efflorescence on the concrete. That is the salt left behind when water evaporates. It tells you exactly where the moisture is coming from. If you see it, you do not lay floor. You fix the drainage or you seal the slab with a high solids epoxy primer.
| Method | Cost per Sq Ft | Best Use Case | Cure Time |
|---|---|---|---|
| Diamond Grinding | $2.50 – $5.00 | Removing high spots and humps | Instant |
| Self Leveling Underlayment | $3.00 – $6.00 | Deep dips and whole room prep | 4 to 24 hours |
| Patching Compound | $1.50 – $3.00 | Small divots and feathered edges | 1 to 2 hours |
| Shimming Subfloor | $0.50 – $1.00 | Minor low spots under plywood | Instant |
The mechanics of the straightedge and paper
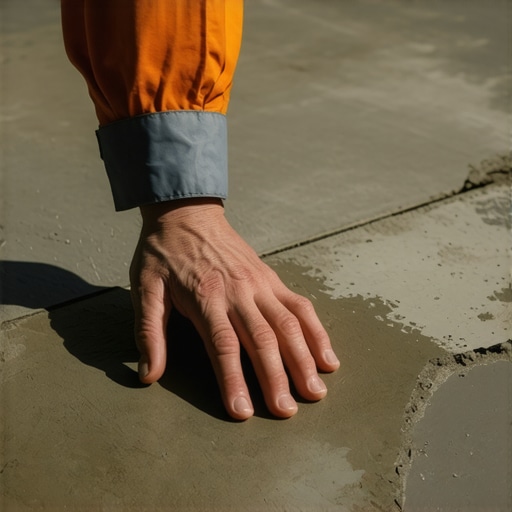
To perform the test correctly, you need a clean floor. Sweep it twice. Then vacuum it. One stray pebble will throw off your entire measurement. Lay the straightedge down in the center of the room. Try to slide a standard piece of 20 pound printer paper under the bar. If it goes under, you have a dip. If it hits the side of the bar and won’t go under, you are on a high spot. Now, spin the straightedge like the hands of a clock. Mark the floor with a wax crayon or a Sharpie. Use circles for the dips and crosses for the humps. I like to use different colors. Blue for the low spots that need more mud, red for the high spots that need the grinder. It looks like a war map by the time I am done, but the results are undeniable.
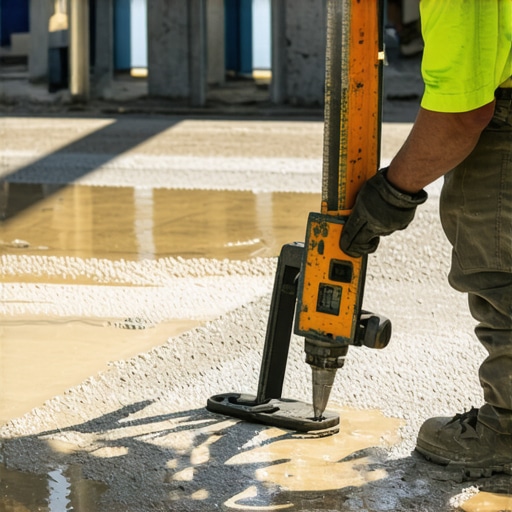
When you get to the grinding phase, you need to understand the physics of dust. Concrete dust contains silica. If you breathe it, you are asking for a short career and a long hospital stay. I use a vacuum shroud on every grinder. I want the air to stay as clean as my shop. I start with a coarse 30 grit diamond segment. This is not sandpaper. This is industrial diamond embedded in a metal matrix. It eats concrete for breakfast. You move the grinder in a circular motion, never staying in one spot for too long or you will create a new hole. You check your progress every two minutes with the straightedge. It is a slow, methodical process. It is not glamorous. But when that straightedge sits perfectly flat across the slab and the paper won’t slide under anywhere, that is the most satisfying feeling in the world.
“Subfloor flatness is the foundation of all professional floor covering installations; skip it and you fail.” – NWFA Technical Guidelines
Essential checklist for concrete subfloor preparation
- Clear the room of all debris and vacuum the slab to an architectural clean standard.
- Perform a calcium chloride test or use an electronic moisture meter to verify slab dryness.
- Map the entire floor using a 10 foot straightedge and the paper test method.
- Mark all high spots and low spots with high visibility markers.
- Grind down high spots using a dust-shrouded diamond grinder until flush.
- Prime the slab before applying any cementitious leveling compounds to ensure a chemical bond.
- Fill low spots with a high strength patch and feather the edges to a zero point.
- Re-verify the entire surface with the paper test once the compounds have cured.
The final word on slab prep is simple. You can buy the most expensive flooring in the world, but if the substrate is crooked, the floor will look cheap. I have seen guys try to hide dips with extra layers of foam underlayment. That is the mark of an amateur. Too much cushion is a recipe for disaster. It allows the floor to bounce, which puts even more stress on the locking joints. You want a firm, flat, and dry surface. That is the secret to a floor that lasts thirty years instead of thirty days. Take the time. Buy the straightedge. Do the paper test. Your knees, your back, and your reputation will thank you for it later. Do not let a 1/8 inch hump turn your professional installation into a homeowner’s nightmare. Get it flat or do not start the job at all.