The ‘Penny’ Test for Verifying the Slope on Your New Shower Pan
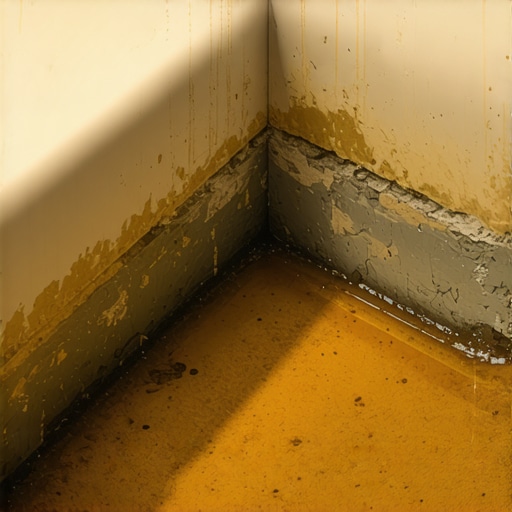
I spent three days grinding concrete on a job last month just so the floor wouldn’t click like a castanet. Most guys skip the leveling compound. They think the underlayment will hide the dip. It won’t. I spent my time on that slab because I know the physics of water and the reality of gravity do not care about your schedule. My hands smell like floor wax and Portland cement most days, and my knees have the permanent calluses of a man who has spent twenty-five years reading the level. When you talk about a shower pan, you are not talking about aesthetics. You are talking about a structural water-management system. If that system fails, your subfloor rots, your joists mold, and your investment dissolves into a puddle of expensive regret.
The physics of the quarter inch per foot
A shower pan requires a minimum slope of one quarter inch per foot toward the drain to ensure proper drainage and prevent water pooling. This geometric requirement is codified by the Tile Council of North America (TCNA) to overcome the surface tension of water on textured tile. If your slope is too shallow, the water stays. If it is too steep, your tile will lippage and your feet will slide. We are aiming for the perfect equilibrium where gravity pulls every drop toward the weep holes without creating a tripping hazard. This is not a suggestion. It is a fundamental law of hydraulics in a residential environment.
When we zoom into the molecular reality of a shower floor, we see that water is a sticky substance. It wants to cling to grout lines and tile edges. To break that bond, the angle must be precise. I have seen installers try to eye it. They use a standard bubble level and think close enough is good enough. It never is. The penny test is the ultimate equalizer because a penny represents a specific physical height that water should be able to navigate if the pitch is correct. If a penny creates a dam, your slope is a failure. You are looking for a continuous downward trajectory that leaves no room for stagnant pools. Stagnant water is the primary cause of grout discoloration and the eventual breakdown of the modified thin-set bond. When water sits, it begins the slow process of hydraulic mining, seeking out any microscopic void in your sealer to begin its journey into your plywood or concrete subfloor.
“A floor is only as good as the subfloor beneath it; deflection is the enemy of every joint.” – Master Flooring Axiom
Why your subfloor is lying to you
Your house is a living organism that breathes, shifts, and settles. In regions like Houston or the humid corridors of the South, the moisture in the air causes the wood to expand. In the dry heat of Phoenix, that same wood will shrink until your baseboards show a gap you could fit a nickel through. Your subfloor is rarely flat. It is a series of peaks and valleys. If you build a shower on top of a crooked subfloor without a proper pre-slope, you are building on a foundation of lies. The pre-slope is the most ignored step in the industry. Most installers throw down a liner on a flat floor and then build the slope on top of it. This creates a sandwich of standing water between the liner and the final mud bed. That water turns into a swamp. It smells. It breeds bacteria. It eventually wicks up the walls through capillary action.
I always tell my apprentices that the prep is the job. The tile is just the jewelry. You need to verify the floor leveling before a single piece of waterproof membrane touches the ground. If I find a dip in the concrete, I am out there with the grinder or the self-leveling underlayment. We need a substrate that is within one eighth of an inch over ten feet. Any more than that and the physics of the shower pan start to work against you. You cannot fix a bad subfloor with more thin-set. Thin-set is an adhesive, not a structural filler. When thin-set is applied too thick, it shrinks as the water evaporates from the mix, pulling the tile down and creating the very pools you were trying to avoid.
| Material Type | Recommended Slope | Minimum Acclimation Time | Moisture Resistance |
|---|---|---|---|
| Traditional Mud Bed | 1/4 inch per foot | 24 to 48 Hours | High (with liner) |
| Pre-fabricated Foam | Factory Set | None | Superior |
| Self-Leveling Compound | Zero (Base) | 12 to 24 Hours | Medium |
| Solid Stone Slab | 1/4 inch per foot | N/A | High |
The chemistry of the pre-slope and the liner
The interaction between the PVC liner and the mortar bed is a chemical dance. You need to use a mortar that is dry pack, often called deck mud. This is a specific ratio of one part Portland cement to four or five parts sharp sand. It should have the consistency of damp beach sand. If you add too much water, you lose the structural integrity. If you add too little, the cement won’t hydrate. This mud bed must be compacted with a wood float until it is rock hard. This is where the zooming into the structural reality happens. You are creating a porous but stable mountain that allows water to migrate through it to the liner and then down the slope to the weep holes in the drain assembly.
If the weep holes are clogged by thin-set or sand, the system backs up. I always wrap the base of the drain in crushed stone or a dedicated weep hole protector. This ensures that the secondary drainage path remains clear. Most people do not realize that a tiled shower floor is actually two floors. There is the one you see, and the one hidden beneath the tile that is constantly moving water. If that hidden floor is not sloped, you have a permanent reservoir of gray water under your feet. This is why the penny test is performed not just on the tile, but ideally on the pre-slope surface as well. You check the work at every stage.
“The assembly must provide a continuous path for moisture to migrate to the drainage system without entrapment.” – TCNA Handbook for Ceramic Tile Installation
How to perform the penny test like a professional
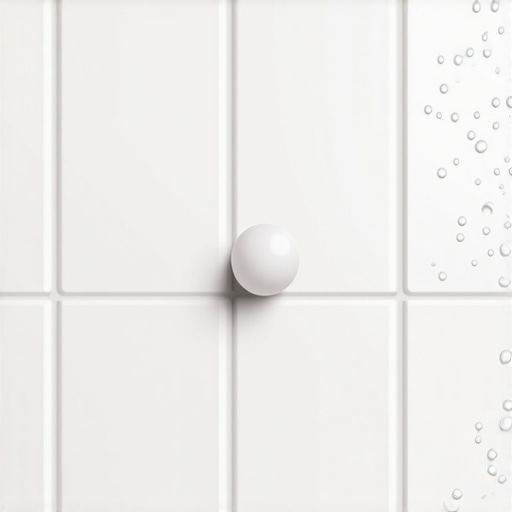
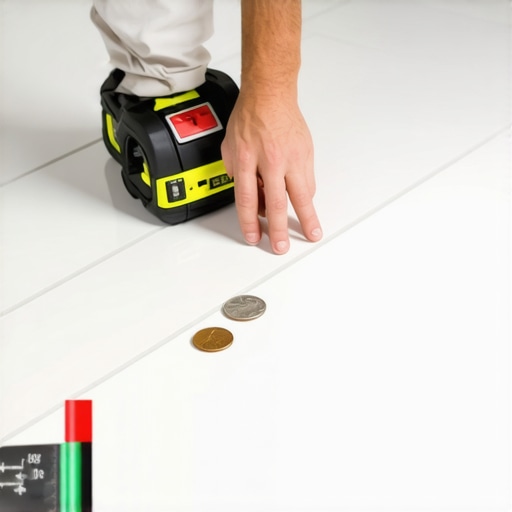
The penny test is a simple diagnostic tool that uses the thickness of a US penny to identify low spots. Place the penny on the floor and pour a small amount of water nearby. If the water stops at the penny and begins to pool rather than flowing around or over it toward the drain, you have a birdbath. A birdbath is a technical term for a depression in the floor that will never dry. In a shower, a birdbath is a death sentence for your grout. You should be able to slide a penny across the entire radius of the shower floor without it ever catching on a lipped edge or sitting in a stagnant puddle.
- Clean the surface of all dust and debris to ensure water surface tension is not artificially broken.
- Use a level to confirm the general pitch of 1/4 inch per foot before starting the water test.
- Pour a gallon of water at the furthest point from the drain and watch the velocity of the flow.
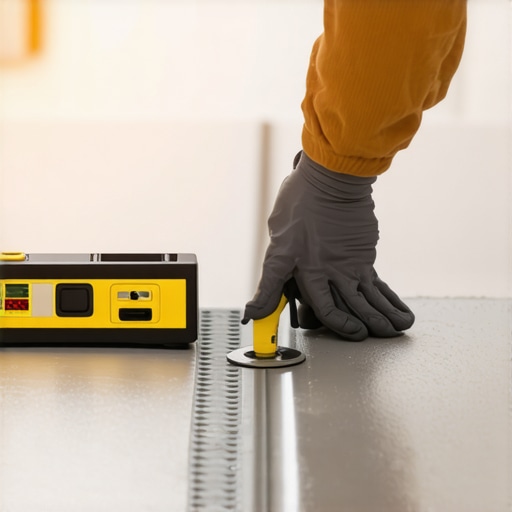
- Place pennies in a grid pattern around the drain to check for subtle shifts in the plane.
- Mark any areas where water remains after five minutes with a wax pencil for correction.
The 1/8 inch that ruins everything
Small errors in flooring are magnified by the presence of water. An eighth of an inch might not matter in a carpet install, but in a shower, it is a canyon. When you are leveling a floor for laminate or hardwood, you can get away with minor imperfections because the material spans the gaps. In tile, every dip is a trap. I have seen $20,000 bathrooms ripped out because the installer didn’t understand that the subfloor was crowning in the middle. The penny test would have saved them. It is a humble tool, but it does not lie. It forces you to look at the floor at eye level, to see the way the light reflects off the standing water.
Modern large-format tiles make this even harder. When you use a 12 by 24 inch tile in a shower, you have very few grout lines to accommodate the slope. This leads to lippage, where the edge of one tile sits higher than another. This is not just an aesthetic issue. It is a drainage issue. Water will get trapped against the high edge of the tile, creating a line of slime that no amount of scrubbing will fix. For these installs, the slope must be even more precise. You might even need to move to a linear drain system, which allows for a single-plane slope. This eliminates the complex four-way envelope cut required for traditional center drains. It is a cleaner look, but it requires even more discipline during the subfloor leveling phase.
The regional climate impact on shower longevity
The environment outside your home dictates the behavior of the materials inside. If you are in a high-humidity region, your mortar beds will take longer to cure. You cannot rush the chemistry. If you apply a waterproof membrane over a wet mud bed, you trap that moisture. This leads to a phenomenon called outgassing, where the evaporating water creates bubbles in your membrane, breaking the bond. I have seen entire shower floors delaminate because the installer was in a hurry to get to the next job and didn’t wait for the hydration process to complete. In colder climates, the expansion and contraction of the house can cause hairline cracks in the grout if you haven’t used a high-quality modified thin-set with some flexibility.
Always consider the vapor drive. Moisture wants to move from warm to cold. In a heated bathroom, that steam is pushing against the walls and floor. If you haven’t built a proper moisture barrier, that vapor will find its way into the wall cavity. This is why we use liquid-applied membranes or sheet membranes like Kerdi. We are creating a sealed capsule. But that capsule only works if the floor at the bottom is pitched correctly. If the floor is flat, the capsule just holds a pool of water against your bottom plate. The penny test is your final quality control check before you sign off on the structural integrity of the home’s most vulnerable area.