The 15-Minute Test to See if Your Garage Floor is Ready for Epoxy
The 15-Minute Test to See if Your Garage Floor is Ready for Epoxy
I’m Tony Watkins, and over the decades I’ve spent as one of the leading epoxy garage floor installers on the East Coast, I’ve seen the same tragedy play out hundreds of times. A homeowner spends their entire weekend – and a significant chunk of their paycheck – applying a DIY floor coating kit, only to watch it peel up under their tires three months later. It’s the “dream garage” turned “peeling nightmare.” Most people blame the product, but the truth is that 90% of epoxy failures happen because of the concrete itself, not the coating. In the world of industrial coatings, we have a saying: a floor is only as good as the surface it’s bonded to. Before you even crack open a bucket of resin, you need to know if your slab is ready to cooperate.
Why Surface Prep is the “Make or Break” of Garage Coatings
Adhesion is a science, not a suggestion. When we talk about industrial coatings, we are looking for a mechanical bond. Concrete might look solid and impenetrable, but it is actually a porous, breathing sponge. Over time, it accumulates what we call “laitance” – a weak, dusty layer of cement fines on the surface – along with oils, salts, and old sealers. If you apply epoxy over laitance or a sealed surface, the coating isn’t sticking to the concrete; it’s sticking to the dust. Eventually, that dust lets go, and your floor fails.
Furthermore, moisture is the silent killer of resinous floors. Concrete holds water deep within its capillaries. If that moisture is trapped beneath a non-breathable epoxy layer, it creates hydrostatic pressure. This pressure eventually forces the coating to detach in a process known as osmotic blistering. This is The Hidden Reason Your Leveling Compound is Peeling from Concrete in many residential settings. Without proper testing and preparation, even the highest-grade materials will succumb to the moisture vapor drive pushing up from the earth beneath your home.
The 15-Minute Porosity Test (The Water Drop Test)
This is the most critical test you can perform, and it takes less time than brewing a pot of coffee. The 15-Minute Porosity Test, often called the Water Drop Test, tells you instantly if your concrete is “open” enough to accept a coating or if there is a hidden sealer standing in your way. Many homeowners don’t realize that their builders may have applied a “cure and seal” product when the house was built, which acts as a permanent barrier to epoxy.
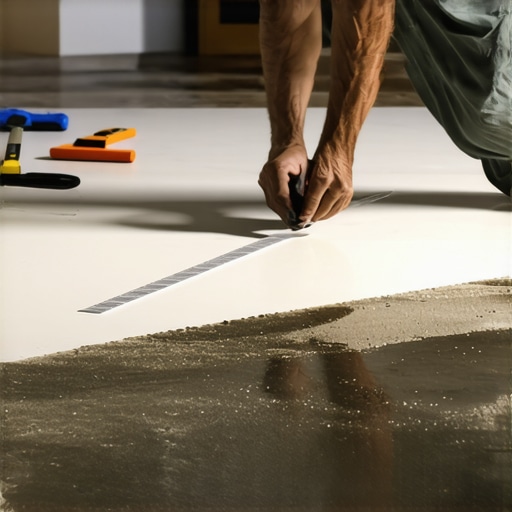
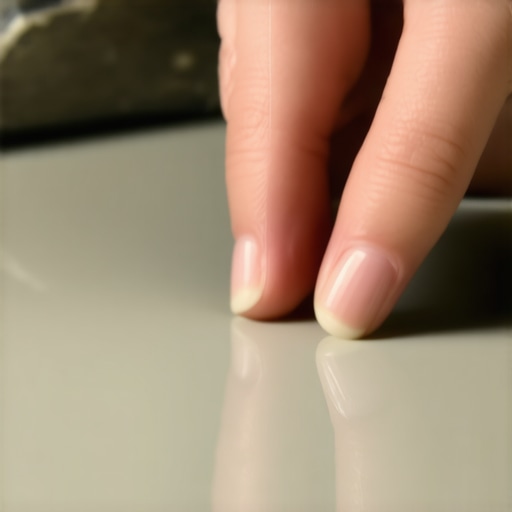
The Process: Take a bottle of room-temperature water and pour a tablespoon-sized puddle in 5 to 10 different spots across your garage. Focus on high-traffic areas, the center of the floor, and near the garage door where the concrete is most exposed to the elements.
The Result:
- If the water beads: You have a major problem. Beading water indicates the presence of a sealer, wax, or heavy oil contamination. Epoxy cannot penetrate this. You’ll need professional mechanical grinding to “open” the pores. This is very similar to The Water Bead Test for Checking Your Grout Sealer Integrity, where beading is a sign of success; here, it’s a sign of a surface that isn’t ready.
- If the water soaks in: If the concrete darkens and absorbs the water within 15 minutes, your floor is porous. This is a green light for prep, but it doesn’t mean you can skip cleaning. It just means the “pores” are available for the coating to bite into.
If you find that the water isn’t absorbing, you might also find Why Your Floor Leveler Primer is Not Soaking Into the Concrete to be a relevant read, as the underlying causes of surface tension are often identical.
The 24-Hour Follow-Up: The Plastic Sheet Moisture Test
Porosity tells us if the coating can get in, but moisture testing tells us if the coating will stay on. While the water drop test is fast, the moisture test requires patience. Even if your floor feels bone-dry to the touch, it could be exhaling moisture vapor constantly.
The Process: Cut several 2-foot by 2-foot squares of clear plastic sheeting. Duct tape them tightly to the garage floor, sealing all four edges so no air can get in or out. Leave them for at least 24 hours (though 48 is better).
The Result: Peel the plastic back. If the concrete underneath is darker than the surrounding floor, or if there are actual droplets of condensation on the underside of the plastic, you have a high moisture vapor emission rate. Applying a standard DIY epoxy over this will almost certainly result in delamination. While best epoxy garage floor installers often use sophisticated calcium chloride tests or electronic moisture meters for 72-hour precision, the plastic sheet is a highly effective DIY “litmus test” for ground-level slabs.
If your floor fails this test, you may need a specialized moisture vapor barrier primer. Professional epoxy flooring delaware specialists are equipped to handle these high-moisture environments using industrial-grade vapor blockers that DIY kits simply don’t include.
Identifying Structural Red Flags: Cracks and Spalling
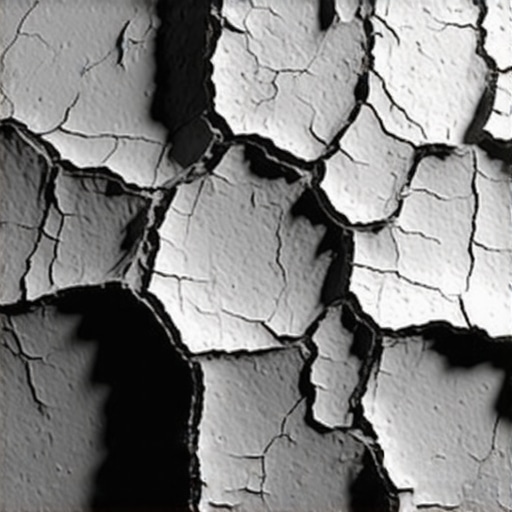
Before you commit to a epoxy garage floor installers service, you need to look at the structural integrity of your slab. Not all concrete is savable with a simple coating. If you see “spiderweb” cracking, it might just be surface shrinkage. However, if you see “heaving” cracks where one side of the crack is higher than the other, you have a sub-grade issue.
You can use a simple tool to check the “soundness” of your concrete. Much like The Screwdriver Test for Finding Rotting Joists Under Your Subfloor, you can take a heavy screwdriver or a mason’s hammer and tap the concrete around cracks. If you hear a hollow “thud” rather than a sharp “ping,” the concrete has delaminated from the sub-base. In these cases, you must contact concrete crack repair companies to stabilize the slab before any aesthetic coating is applied. Applying epoxy over a moving crack is like putting a band-aid on a broken leg – it won’t last.
Epoxy vs. Polyaspartic vs. Polyurea: Which Is Right for You?
Once you’ve determined your floor is ready, you have to choose your weapon. Most people use “epoxy” as a catch-all term, but the industry has evolved significantly.
Epoxy: This is the old faithful. It has incredible adhesion properties and is very cost-effective. However, traditional epoxy is sensitive to UV light (it will yellow over time if exposed to sunlight) and takes a long time to cure. You might be looking at 3 to 7 days before you can park your car on it.
Polyaspartic and Polyurea: A polyaspartic garage floor coating is often the preferred choice for modern residential garages. Why? Because it is 4x stronger than epoxy, UV stable (it won’t turn yellow), and highly resistant to “hot tire pick-up.” Furthermore, a polyurea garage floor coating can often be installed in a single day, allowing you to get your garage back in 24 hours. Professionals specializing in epoxy flooring delaware have shifted toward polyaspartic because it handles the temperature swings of the Mid-Atlantic much better than rigid epoxies.
When choosing, consider your lifestyle. If you use your garage as a workshop where you drop heavy tools, the impact resistance of polyurea is worth the investment. If you are just looking for a clean, dust-free storage area, a high-solids epoxy might suffice.
Why Professional Installation Trumps DIY Kits
It’s tempting to grab a $150 kit from a big-box store. But there is a reason epoxy floor coating companies charge what they do. Most DIY kits are “water-based” and only contain about 40-50% solids. This means that as the floor dries, half of the product evaporates into the air, leaving you with a paper-thin film. Professional-grade materials are 100% solids, meaning what goes down on the floor stays on the floor, resulting in a much thicker, more durable build.
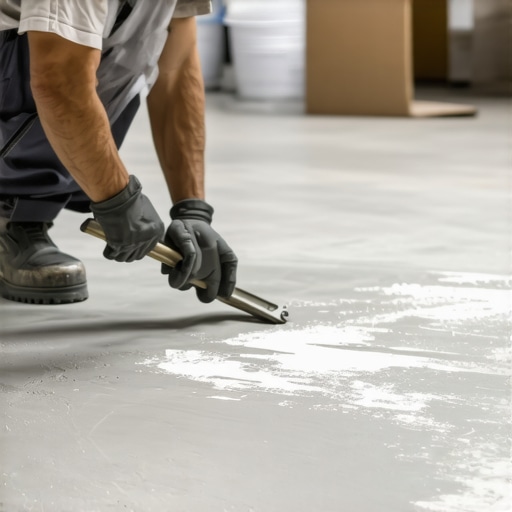
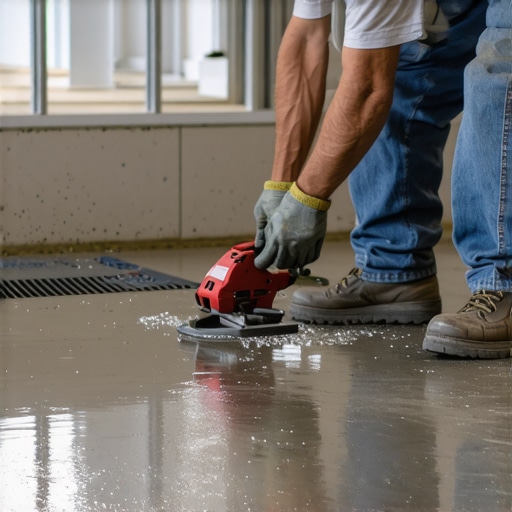
More importantly, professionals don’t “acid wash” floors. Acid etching is the DIY standard, but it’s often ineffective and introduces even more water into the slab. Best epoxy garage floor installers use industrial diamond grinders to mechanically “profile” the concrete. This creates a surface texture similar to 80-grit sandpaper (known as a CSP 2 or 3 profile), which is the gold standard for long-term adhesion. If the prep isn’t right, you’ll end up wondering Why Your Floor Leveler Is Peeling Like an Orange in the Corners within a year.
Before you start, you might also want to perform The Sponge Test for Checking if Your Floor Primer is Still Tacky or use The ‘Credit Card’ Trick for Checking Subfloor Flatness Before Tile if you are considering other flooring types, but for epoxy, the diamond grind is the only way to go.
Conclusion & Final Checklist
Upgrading your garage floor is one of the best ways to add value to your home, but only if it’s done correctly. Remember the 15-minute rule: if the water doesn’t soak in, the epoxy won’t either. Take the time to do the plastic sheet test, and don’t ignore those structural cracks. Preparation is the most boring part of the job, but it’s the only part that determines if your floor lasts for twenty years or twenty days.
Don’t risk a peeling floor. Contact the best epoxy garage floor installers at get-epoxy.com today for a professional grade-evaluation of your garage concrete.