The Chalk Line Trick for Centering a Pattern in Your Shower Floor
The smell of oak dust from the adjacent bedroom hardwood install was still heavy in the air when I stepped into the master bath. My knees were already barking from a week of floor leveling on a commercial slab that had more waves than the Atlantic. Most guys skip the leveling compound. They think the underlayment will hide the dip. It won’t. I spent three days grinding concrete on a job last month just so the floor wouldn’t click like a castanet, and now I was staring at a custom shower pan that needed a perfectly centered pebble mosaic. If you miss your center by even a quarter inch, the entire aesthetic falls apart as the tile hits the walls. A shower floor is not just a surface, it is a structural drainage system where physics and geometry collide.
The geometry of a perfect drain alignment
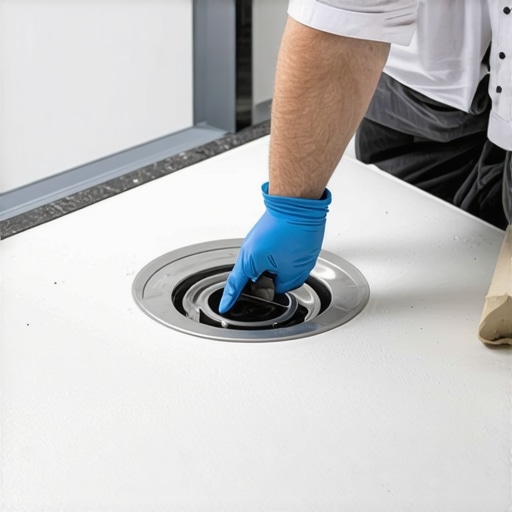
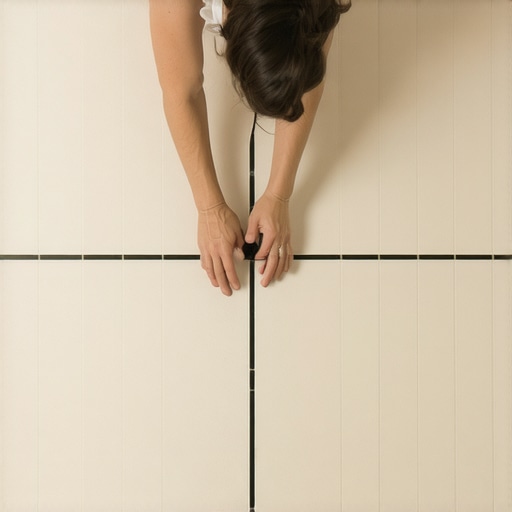
To achieve a centered tile pattern in a shower floor, the installer must locate the geometric center of the drain assembly and snap perpendicular chalk lines that bisect the shower pan at exactly 90-degree angles to ensure symmetrical cuts at the perimeter walls. This process begins with the drain, which is the fixed point of the entire universe in a bathroom. Unlike a standard carpet install where you can hide a bit of stretch or a laminate floor where the baseboard covers a multitude of sins, tile is unforgiving. If the drain is off-center, the chalk lines must be adjusted to create a visual illusion of symmetry. We use the 3-4-5 triangle method to ensure our lines are perfectly square. One line runs through the center of the drain to the back wall, and another crosses it at a hard 90 degrees. This provides the primary axes for the tile layout. Without these lines, you are just guessing, and guessing leads to slivers of tile at the wall that look like garbage.
Why your subfloor is lying to you
A subfloor often appears flat to the naked eye, but a straightedge test reveals deviations that exceed the TCNA allowable tolerance of 1/8 inch over 10 feet, requiring floor leveling or mechanical grinding to prevent tile lippage and structural failure. When you transition from a carpet install to a hard surface like tile or laminate, the existing substrate is rarely ready. In showers, the subfloor is even more critical because of the weight of the mortar bed. We look at the deflection of the joists. If the floor bounces, the grout will crack. I have seen guys try to install tile over a bouncy floor, and within six months, the floor leveling compound they used underneath has turned to powder because it could not handle the micro-movements of the wood. You need to verify that the subfloor meets L/360 for ceramic or L/720 for natural stone to ensure the installation lasts a lifetime.
“A floor is only as good as the subfloor beneath it; deflection is the enemy of every joint.” – Master Flooring Axiom
The chemistry of modified thin set bonds
Modified thin-set mortar utilizes liquid latex or redispersible polymer powders to increase tensile strength, provide flexibility against thermal expansion, and create a hydrophobic barrier that prevents moisture migration from the shower floor into the cementitious substrate. When you snap your chalk line, you are marking a surface that will soon be covered in a chemical paste. This paste, the thin-set, works through a process of hydration where crystals grow and interlock with the pores of the tile and the substrate. If you use a non-modified mortar on a waterproof membrane, the water in the mix has nowhere to go, and it can take weeks to cure. Modified mortars are engineered to deal with this. They contain polymers that act like tiny rubber bands, allowing the tile to expand and contract as the water temperature in the shower fluctuates from cold to 110 degrees in seconds. This thermal shock is the primary cause of bond failure in cheap installations. [IMAGE_PLACEHOLDER]
Snapping the line on a four way slope
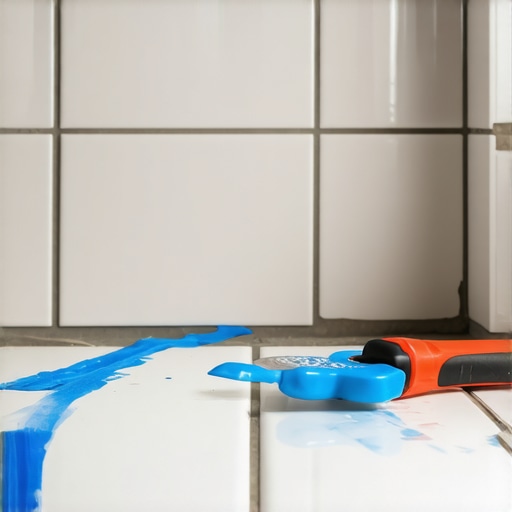
To snap a chalk line on a sloped shower pan, the installer must maintain high string tension to prevent the line from arching over the divergent planes of the pre-slope, ensuring a straight reference mark across the drain throat. This is where most novices fail. A shower floor is not flat; it slopes 1/4 inch per foot toward the drain. When you pull a chalk line across a slope, the string wants to follow the curve of the floor. You have to pull that string until it is singing like a guitar wire. Then, you snap it straight down. The chalk itself matters too. Do not use red chalk. Red chalk is permanent and will bleed through your grout like a horror movie. Use blue or white. The pigment in the chalk is essentially a fine dust that sits on the surface of the waterproofing. If the line is too thick, it acts as a bond breaker. I always lightly blow off the excess dust after snapping so the thin-set can actually grab the floor instead of just grabbing the chalk.
| Material Type | Janka Hardness / Grade | Water Absorption Rate | Typical Application |
|---|---|---|---|
| Porcelain Tile | Grade 5 | Less than 0.5% | Heavy Traffic Showers |
| Ceramic Tile | Grade 3-4 | 3% to 7% | Residential Bathroom Walls |
| Natural Stone | Varies | Over 0.5% | High Maintenance Floors |
| Laminate Wood | AC3-AC5 | High (Not for Wet) | Living Areas Only |
The physics of expansion and perimeter gaps
Every shower floor installation requires a movement joint at the perimeter where the horizontal floor meets the vertical wall, filled with 100 percent silicone sealant rather than rigid grout to accommodate structural shifting. If you jam your tiles tight against the wall, the floor will tent. I have seen it happen. The house settles, the wood expands with humidity, and suddenly your beautiful tile floor is popping up in the middle. This is why we leave a 1/8 inch gap at the edges. This gap is not a mistake, it is engineering. In a carpet install, you have the tack strip and the baseboard. In showers, you have the waterproofing membrane and the transition. If that transition is rigid, it will fail. Silicone is the only way to go because it remains flexible. It can stretch and compress while keeping the water out of the wall cavity.
“A slope of 1/4 inch per foot is the standard for drainage, ensuring gravity overcomes the surface tension of water.” – TCNA Handbook Section B4
Technical checklist for shower layout
- Verify the subfloor is clean and free of bond-breaking contaminants like wax or oil.
- Check the slope of the shower pan to ensure it meets the 1/4 inch per foot minimum requirement.
- Snap the primary control lines through the center of the drain using blue non-permanent chalk.
- Dry lay the tiles from the center out to the walls to check for tiny cuts or slivers.
- Ensure the waterproofing membrane is fully cured before applying any thin-set mortar.
- Mix the modified thin-set to a peanut butter consistency for maximum ridge support.
The microscopic reality of grout saturation
Once the tiles are set according to your chalk lines, the grouting process must address the capillary action of porous materials by ensuring full joint penetration and proper hydration during the curing phase. Grout is not just filler. It is a structural component. It locks the tiles together and distributes the load across the floor. If you use too much water when cleaning the grout, you wash out the pigments and the polymers, leaving the joint weak and prone to cracking. I always tell people to wait. Don’t use the shower for 72 hours. Let the chemistry happen. The cement needs time to form its crystalline structure. If you rush it, you end up with soft grout that will harbor mold and fail within a year. A professional floor is about patience and understanding the molecular bond of the materials you are handling. Whether it is a carpet install or a complex shower, the prep is everything.