The Masking Tape Secret for Grout Lines That Do Not Bleed
Most guys skip the leveling compound. They think the underlayment will hide the dip. It won’t. I spent three days grinding concrete on a job last month just so the floor wouldn’t click like a castanet. That job taught me that if you do not respect the substrate, the finish will haunt you for a decade. My hands still smell like WD-40 and the fine white dust of a diamond cup wheel. If you want a floor that stands the test of time, you have to stop looking at it like a rug and start looking at it like a structural assembly. I have seen fifteen thousand dollar wide-plank walnut floors turn into potato chips because a guy was too lazy to crawl into the crawlspace with a hygrometer. Flooring is not art; it is physics and chemistry.
Why your subfloor is lying to you
A subfloor often appears flat to the naked eye, but deflection and undulation are invisible killers of finished flooring. Most plywood or concrete surfaces contain dips exceeding the industry standard of 3/16 inch over 10 feet, requiring self-leveling underlayment to prevent joint failure and hollow sounds during carpet install or laminate laying.
When you walk across a floor and hear that rhythmic clicking, you are hearing the sound of a poor floor leveling job. The physics of it are simple. If there is a void under a click-lock plank, every step forces the tongue into the groove with hundreds of pounds of pressure. Eventually, the fiberboard fatigue hits its limit. The locking mechanism snaps. Now you have a floating floor that is actually sinking. I have spent half my career fixing showers and living rooms where the installer thought a bit of foam underlayment would bridge a half-inch valley. It does not work that way. You need to understand the compressive strength of your leveling compounds. We are talking about products that hit 5,000 PSI, which is harder than the structural slab they are sitting on. If you do not prime the concrete first, the dry slab will suck the moisture out of the leveler so fast it will crack and delaminate before it even sets. That is the chemical reality of floor leveling.
“A floor is only as good as the subfloor beneath it; deflection is the enemy of every joint.” – Master Flooring Axiom
The science of floor leveling compounds
Floor leveling requires a precise water-to-powder ratio to ensure the polymer-modified cement flows correctly while maintaining its structural integrity. If you add too much water, the aggregates settle at the bottom and the polymers float to the top, creating a weak, chalky surface that will fail under the weight of a carpet install or heavy furniture.
The chemistry of these bags is complex. You have calcium aluminate cements that react at a molecular level much faster than standard Portland cement. This is why you only have about fifteen minutes to work with the stuff before it starts to gel. I always keep a spiked roller handy. You have to break the surface tension to let the air bubbles out, or you will end up with tiny craters that look like the moon. In showers, this is even more critical. You are not just leveling; you are creating a bonded waterproof membrane system. If the floor under the pan is not dead level, your pre-pitched slope will be off, and you will have standing water in the corners of the shower for the next twenty years. That leads to mold, and mold leads to a phone call I do not want to take.
| Material Type | Janka Hardness / PSI | Moisture Tolerance | Acclimation Time |
|---|---|---|---|
| Solid White Oak | 1360 lbf | 6 to 9 percent | 10 to 14 days |
| Self-Leveling Compound | 5000 PSI | High once cured | 24 hours |
| Laminate Core (HDF) | Variable | Very Low | 48 hours |
| LVP (Stone Core) | High Impact | Waterproof | 24 hours |
The masking tape secret for clean grout lines
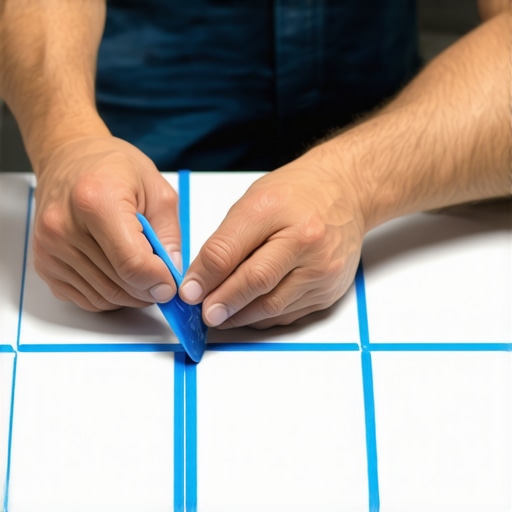
The masking tape secret involves pre-sealing the edges of the tape with a clear sealant or a base coat to prevent grout pigment from migrating via capillary action into the tile texture. This technical maneuver ensures razor-sharp lines between contrasting grout colors or between tile and walls in showers and kitchens.
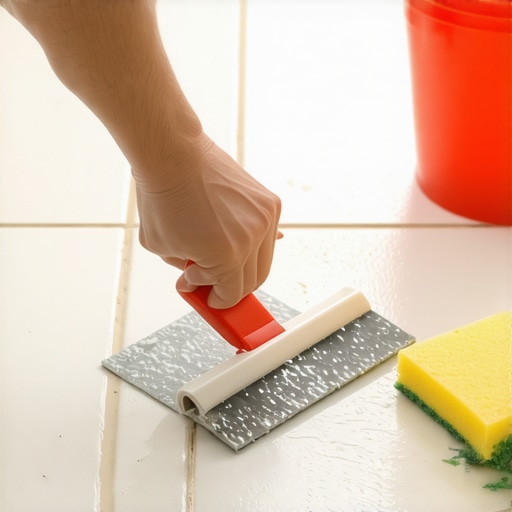
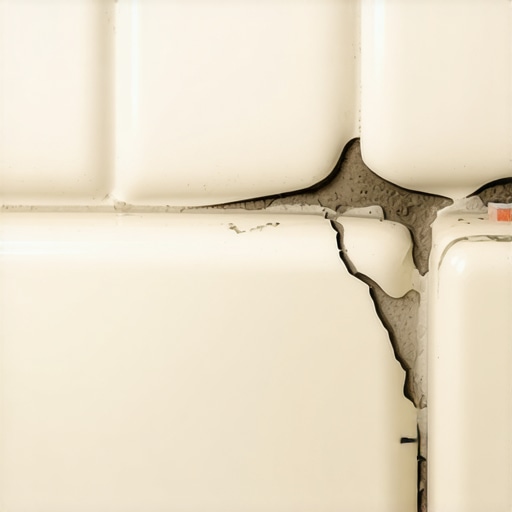
Here is the trick the amateurs do not know. When you stick tape down on a textured tile, there are microscopic gaps between the adhesive and the valleys of the tile surface. When you spread wet grout over it, the liquid pigment gets sucked into those gaps. To stop this, you apply your tape, then you take a tiny bit of clear silicone or even the tile’s own base color and wipe it along the edge. This seals the “tunnels.” When that dries, you apply your grout. When you pull the tape, the line is so sharp it looks like it was cut with a laser. This is especially vital when you are doing high-contrast jobs, like black grout against white subway tile. If you mess that up, the black pigment will stain the pores of the white ceramic, and you are done. You will be scrubbing with sulfamic acid for a week. I have seen guys ruin entire showers because they did not understand the porosity of the material they were working with.
The ghost in the expansion gap
An expansion gap is a mandatory perimeter space of at least 1/4 inch that allows laminate and hardwood to expand and contract with atmospheric humidity. Without this buffer zone, the floor will buckle or peak as the cellulose fibers absorb moisture and exert lateral pressure against the drywall.
People hate the look of baseboards or shoe molding, so they try to run the floor tight to the wall. That is a death sentence for a floor. Wood is an organic polymer. It is basically a bundle of straws. When the humidity in the room goes from 30 percent in the winter to 60 percent in the summer, those straws swell. If the floor has nowhere to go, it goes up. I have seen floors lift six inches off the subfloor in the middle of a room. It looks like a haunted house. And do not think laminate is immune. Even though it is a plastic-and-resin sandwich, the core is still high-density fiberboard. It wants to move. The same applies to a carpet install. If the tack strips are not set the right distance from the baseboard, the carpet will never tuck right, and you will have a 1/8 inch gap that collects every piece of lint in the house.
- Check subfloor moisture with a pin-less meter before starting.
- Ensure the room temperature stays between 60 and 80 degrees Fahrenheit.
- Grind down high spots in concrete with a 30-grit diamond segment.
- Vacuum the substrate three times; even a single grain of sand can cause a click.
- Seal the tape edges for grout transitions using the “bleed-block” method.
The myth of the waterproof laminate
While waterproof laminate features a resin-treated surface, the locking joints remain vulnerable to hydrostatic pressure and capillary wicking. If water sits on a laminate floor for more than a few hours, it will eventually penetrate the HDF core, causing irreversible swelling of the plank edges.
Marketing teams love the word waterproof. It sells floors. But in the real world, waterproof is a relative term. In showers, we use topical membranes like Kerdi because we know water is a relentless force. In a living room, you do not have that. If your dishwasher leaks, that water finds the tiny gap in the click-lock. Once it hits the fiberboard, the wood fibers expand. They never go back down. You get what we call “peaking” where the edges of the planks stick up. You can’t sand it down because it is a photograph of wood, not actual wood. While most people want the thickest underlayment, too much cushion actually causes the locking mechanisms on LVP or laminate to snap under pressure because the floor flexes too much. You want a high-density, low-compression underlayment. Anything else is just asking for a callback.
“The tile industry requires a subfloor flatness of 1/8 inch in 10 feet for large format tiles.” – Tile Council of North America
The carpet install mistake you are making
A professional carpet install requires the use of a power stretcher to ensure the backing is under proper tension across the tack strips. Using only a knee kicker results in carpet ripples and premature wear because the latex secondary backing is not fully elongated during the installation process.
I see it all the time. Guys show up with just a knee kicker and think they are done in an hour. A knee kicker is for positioning, not for stretching. If you do not use a power stretcher, the carpet will develop wrinkles within two years. It is basic mechanical engineering. The carpet has a memory. If you do not stretch it to the point where that memory is reset, it will try to return to its original shape. That is when you get those ugly bumps that people trip over. It is the same with the pad. People think a thicker pad is better. It isn’t. A pad that is too soft allows the carpet backing to flex too much, which breaks down the glue holding the fibers together. You want a dense 8-pound rebond pad. It feels firmer, but your carpet will last twice as long. Don’t be the person who spends five grand on a high-end nylon carpet and then ruins it with a two-dollar pad. It’s like putting budget tires on a Ferrari.