The Cardboard Trick for Leveling Small Dips in Plywood
I spent three days grinding concrete on a job last month just so the floor wouldn’t click like a castanet. Most guys skip the leveling compound. They think the underlayment will hide the dip. It won’t. I have seen fifteen thousand dollar wide-plank installations ruined by a single three sixteenths inch valley in the plywood. If you ignore the subfloor, the subfloor will eventually scream. My hands smell like WD-40 and oak dust most days, and that smell comes from a lifetime of fixing mistakes that people thought they could hide under a pad. When you are dealing with a plywood subfloor that has a slight belly between joists, you do not always need a gallon of expensive self-leveling liquid. Sometimes, you need the cardboard trick. It is a practical, old-school solution for minor imperfections that saves time without sacrificing structural integrity.
The physics of the subfloor belly
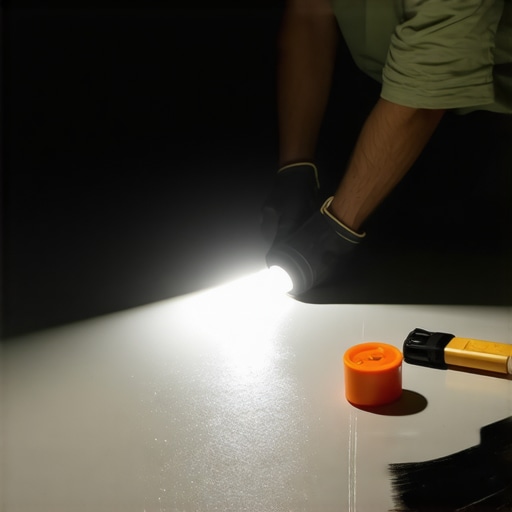
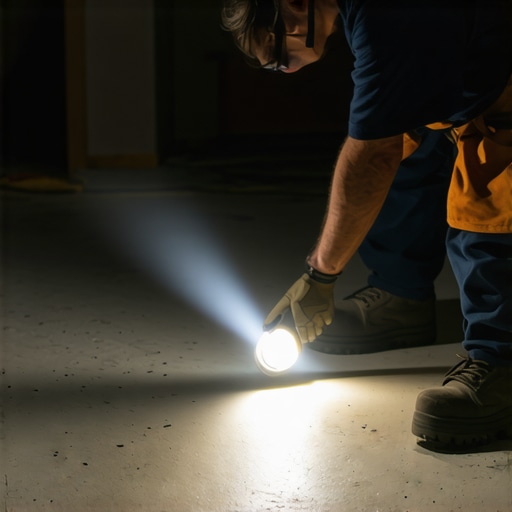
Subfloor leveling requires identifying deflection and planarity deviations using a ten foot straightedge or a laser level. A plywood dip usually occurs because of joist shrinkage or improper fastening during the initial construction. To fix a dip, you must understand that L/360 deflection limits dictate how much a floor can move before the locking mechanisms of a laminate floor or the grout lines of a tile installation fail. If a dip is less than one eighth of an inch, a liquid leveler might be overkill, whereas cardboard shimming provides a compressible but firm bridge for the underlayment. This method is specifically designed for carpet installs and floating laminate where the floor needs a flat plane to prevent vertical movement.
“A floor is only as good as the subfloor beneath it; deflection is the enemy of every joint.” – Master Flooring Axiom
The cardboard shim methodology
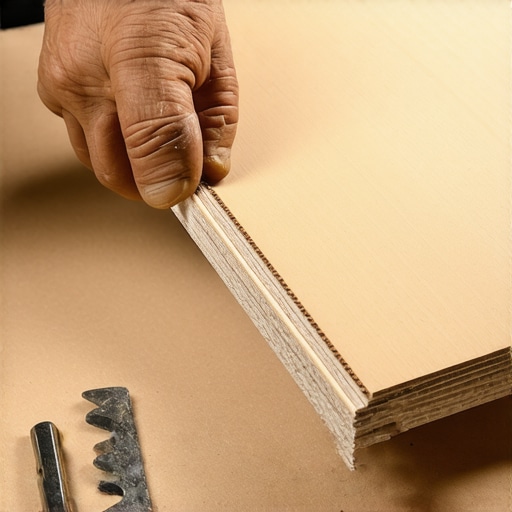
Cardboard shimming involves layering recycled cellulose fibers such as cereal boxes or kraft paper to create a topographical map of the subfloor depression. You must use non-corrugated cardboard because the fluting in standard shipping boxes will collapse under the static load of furniture. Thin, dense cardboard layers allow you to build up the floor height in increments of 0.015 inches. This precision is vital for subfloor preparation because it allows the installer to feather the edge of the dip until it is perfectly flush with the surrounding subfloor panels. Each layer should be slightly smaller than the one beneath it, creating a pyramid effect that fills the void.
[IMAGE_PLACEHOLDER]
Why thickness matters for structural support
Material thickness in floor prep is measured in mils or fractions of an inch to ensure the final floor height meets threshold transitions. While most people want the thickest underlayment, too much cushion actually causes the locking mechanisms on LVP to snap under pressure. Cardboard provides a rigid compression that foam cannot match. When you step on a floor shimmed with dense paperboard, the tensile strength of the fibers resists further compaction. This prevents the trampoline effect that often plagues poorly installed floating floors. You must secure the cardboard with construction adhesive or pneumatic staples to ensure it does not shift during the flooring installation.
| Material Type | Thickness (Inches) | Compressive Strength | Best Use Case |
|---|---|---|---|
| Kraft Paper | 0.010 | Low | Micro-shimming laminate |
| Cereal Box Board | 0.020 | Medium | Standard plywood dips |
| Roofing Felt | 0.040 | High | Subfloor leveling for carpet |
| Luan Plywood | 0.125 | Very High | Deep valley remediation |
The dangers of cardboard in wet environments
Moisture vapor transmission will destroy cardboard shims if they are used in showers or laundry rooms. Cardboard is hydroscopic, meaning it absorbs water from the air and the concrete slab below. If you use this trick in a bathroom remodel, the paper will rot, mold will grow, and the structural bond of your thin-set mortar will fail. For tile installations, you must use cementitious levelers or fiber-reinforced underlayments. The Tile Council of North America (TCNA) standards explicitly forbid the use of organic, rot-prone materials in wet area subfloors. Always check the relative humidity of your subfloor using a pin-type moisture meter before deciding on a leveling strategy.
Step by step guide to the cardboard trick
Subfloor remediation using the cardboard technique requires a systematic approach to ensure the surface flatness meets NWFA guidelines. You will need a long level, utility knife, staple gun, and a stack of dense paperboard. Follow these steps for a professional result.
- Identify the center of the dip using a straightedge and mark the deepest point with a pencil.
- Cut your first piece of cardboard to the exact shape of the deepest area.
- Layer subsequent pieces of paperboard, making each piece two inches larger in all directions than the previous layer.
- Check the planarity frequently with your level to ensure you are not creating a hump.
- Fasten the edges with quarter-inch staples every four inches to prevent edge curling.
- Vacuum the area to remove sawdust and debris that could cause crunching sounds under the floor.
“The installer must ensure that the subfloor is flat to within 3/16 inch in 10 feet or 1/8 inch in 6 feet to prevent premature floor failure.” – NWFA Installation Standards
The 1/8 inch that ruins everything
Vertical deflection in a laminate floor is the primary cause of joint separation and plank breakage. Even a tiny one eighth inch dip causes the tongue and groove to rub together, creating a squeaking noise. Over time, the MDF core of the laminate will fatigue and snap. Using cardboard to fill that void creates a solid bearing surface. It is about the molecular density of the shim. When you use a liquid leveler on plywood, the water content can cause the plywood veneers to swell or delaminate. Cardboard is a dry install method, which means you do not have to wait for curing times. You can level the floor and start laying planks immediately. It will stay. It will hold. Your floor will be silent.
Adhesive chemistry and bond strength
Chemical compatibility between the subfloor adhesive and the leveling material determines the longevity of the installation. If you are using pressure-sensitive adhesive for luxury vinyl tile, you must ensure the cardboard surface is primed. However, for floating systems, the friction fit between the underlayment and the shim is usually sufficient. Avoid using thick corrugated cardboard because the air pockets inside the flutes will collapse under the weight of a refrigerator or a heavy bookshelf. This collapse leads to localized sagging. Use solid bleached sulfate (SBS) board for the best structural performance. This is the same material used in high-end packaging because it maintains its caliper thickness under compressive stress.
The ghost in the expansion gap
Perimeter expansion is mandatory for every hardwood and laminate job. If you shim the center of the room but fail to leave a half inch gap at the walls, the floor will buckle regardless of how flat the subfloor is. The thermal expansion coefficient of engineered wood means the floor is constantly growing and shrinking. If the floor is bound against a wall, it will lift off the subfloor shims, creating a hollow sound. The cardboard trick only works if the floor is allowed to float freely over it. Do not ever nail through your floating floor into the cardboard shims. This creates a fixed point that will lead to stress fractures in the wear layer during seasonal humidity changes.