How to Close Gaps in Laminate Using Only Double-Sided Tape
Most guys skip the leveling compound. They think the underlayment will hide the dip. It won’t. I spent three days grinding concrete on a job last month just so the floor wouldn’t click like a castanet. That clicking is the sound of a failure in progress. When you see a gap in your laminate, you are looking at the result of physics and subfloor neglect. You do not need to rip up the baseboards yet. You need to understand how friction and pressure sensitive adhesives can solve a drift problem that most homeowners think is permanent.
The friction trick for drifting planks
Laminate floor gaps occur when the locking mechanism loses its grip due to subfloor deflection or lack of perimeter expansion space. You can close these gaps by using a scrap piece of wood and heavy duty double sided tape to create a temporary anchor point on the surface of the plank. This allows you to tap the board back into its original locked position without damaging the delicate edges of the high density fiberboard core.
When you are staring at a 1/4 inch gap in the middle of your living room, you are seeing the result of the floor system trying to find a path of least resistance. Laminate is a floating floor. It is a giant, heavy rug made of wood dust and resin. If there is a slight dip in the subfloor, even just 1/8 of an inch over a 6 foot span, the planks will flex as you walk on them. This vertical movement puts immense stress on the tongue and groove. Eventually, the friction that holds the short ends together fails. The board starts to walk. I have seen planks travel three inches over a season because the homeowner had a heavy treadmill on one end and a sliding glass door on the other. You can fix this drift if you understand the bond strength of your tape.
“A floor is only as good as the subfloor beneath it; deflection is the enemy of every joint.” – Master Flooring Axiom
The chemical bond of double sided tape
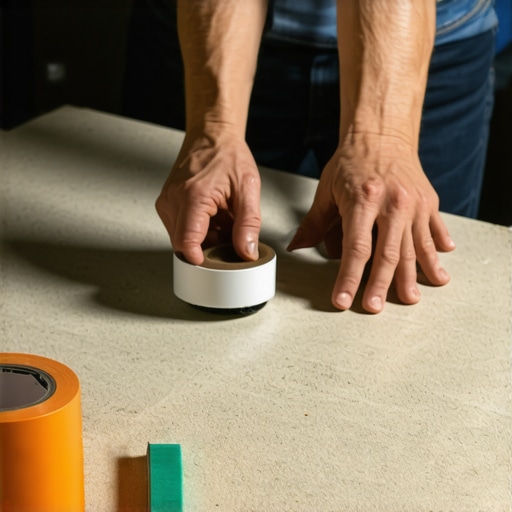
To move a laminate plank that weighs several pounds and is locked on its long sides, you need a tape with high shear strength. Most people grab a roll of office tape or masking tape. That is a waste of time. You need a 2 inch wide acrylic based double sided tape. Acrylic adhesives are superior here because they have a high resistance to plasticizers and temperature fluctuations. The chemistry of the adhesive must be aggressive enough to bite into the aluminum oxide wear layer of the laminate but stable enough to release without leaving a residue. The microscopic surface of a laminate floor is actually quite jagged when viewed under a lens. The adhesive must flow into these microscopic valleys to create enough surface area for a mechanical bond. This is why you must clean the floor with denatured alcohol first. Any oils from your skin or residue from floor cleaners will act as a lubricant, causing the tape to shear off the moment you strike the block with a mallet.
The 1/8 inch that ruins everything
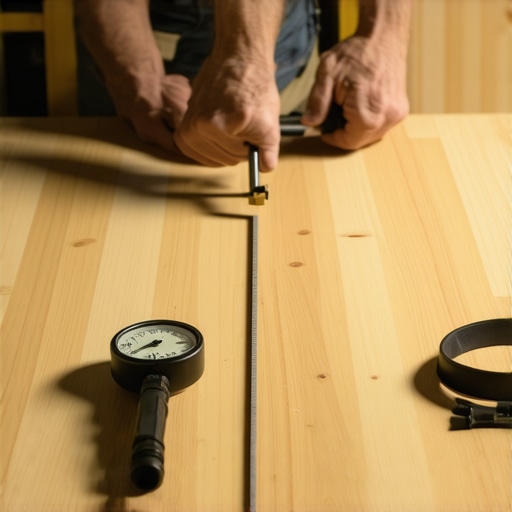
The National Wood Flooring Association is very clear about subfloor tolerances. If your subfloor is not flat, your repair will fail within weeks. I once saw a guy try to glue the gaps shut. All he did was create a mess that cracked like glass when the house settled. The gap is a symptom. The disease is usually a high spot in the plywood or a low spot in the concrete. Before you start tapping boards back together, check the levelness. If you have a dip, the boards will always want to slide back into that valley. The physics of a floating floor require it to move as a single unit. If one part is pinned down by a heavy kitchen island and the other part is free to move, the floor will pull itself apart at the weakest link. Usually, that link is the short end joint of a plank in a high traffic area.
| Tape Type | Adhesive Base | Shear Strength | Residue Risk |
|---|---|---|---|
| Carpet Tape | Rubber | High | High |
| Acrylic Double Sided | Acrylic | Very High | Low |
| Mounting Tape | Foam/Acrylic | Medium | Moderate |
| Masking Tape | Rubber/Starch | Low | Low |
Step by step gap closure protocol
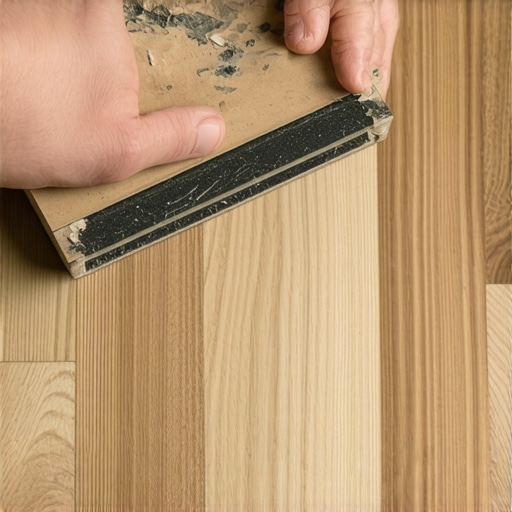
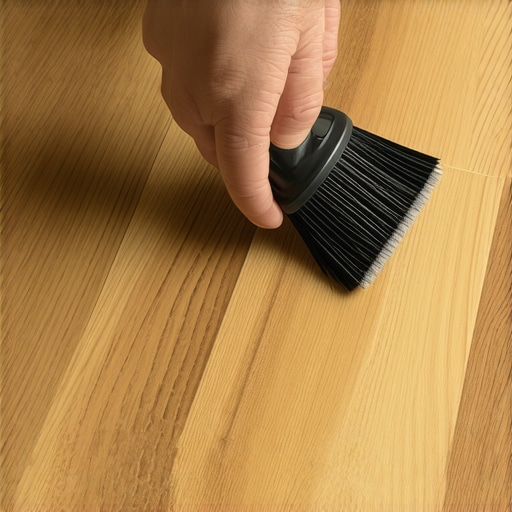
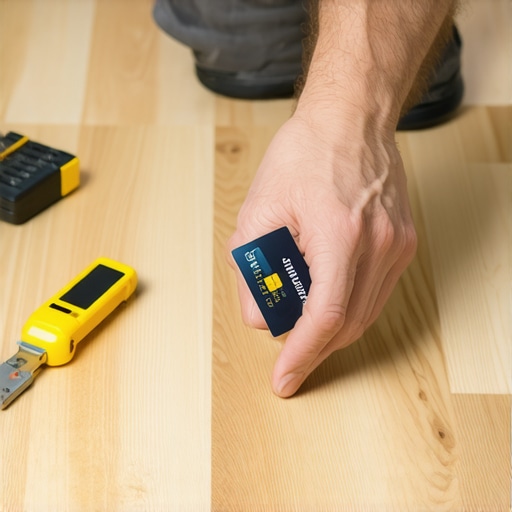
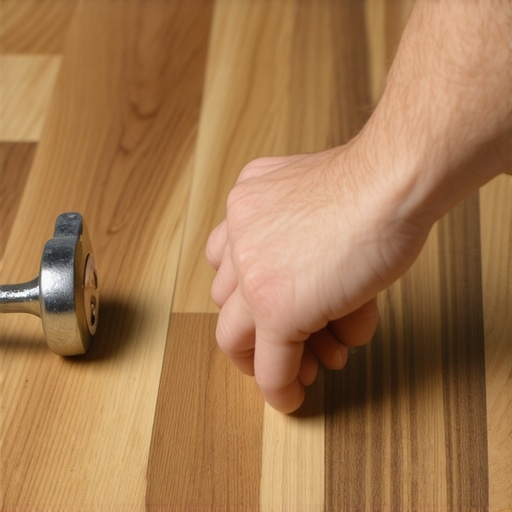
First, you must vacuum the gap. If there is even a single grain of grit or a pet hair inside that groove, the boards will never seat properly. I use a dental pick or a thin wire to scrape out any debris that has packed into the joint. Next, cut a piece of 2×4 scrap wood about 6 inches long. Apply three strips of your high strength double sided tape to the bottom of the block. Press the block firmly onto the plank you want to move, about 2 inches away from the gap. Stand on the block with your full weight for thirty seconds. This activates the pressure sensitive adhesive. Now, using a dead blow mallet, strike the end of the block in the direction of the gap. The force of the blow is transferred through the tape into the plank. You will see the board creep forward. Repeat this until the joint clicks shut. Do not use a standard hammer. A dead blow mallet has lead shot inside that prevents bounce back, ensuring all the energy goes into moving the floor.
- Inspect the gap for debris and vacuum thoroughly.
- Clean the plank surface with 99 percent isopropyl alcohol.
- Apply acrylic double sided tape to a 6 inch wood block.
- Press the block onto the plank and apply vertical pressure.
- Strike the block with a dead blow mallet until the gap closes.
- Check the expansion gap at the wall to ensure the floor hasn’t bottomed out.
The ghost in the expansion gap
If you close a gap and it opens back up tomorrow, you have a structural problem. Check your perimeter. Every floating floor needs a 1/4 inch to 1/2 inch gap around the entire edge of the room. If the floor is touching a wall or a door frame, it cannot expand when the humidity rises. Instead, it will bow or pull joints apart elsewhere. In the humid air of the Southeast, laminate acts like a sponge. It wants to grow. If it hits a wall, the pressure has to go somewhere. Conversely, in the dry winters of the North, the boards shrink. This is when the gaps appear. If you do not have enough expansion space, the floor gets hung up on the subfloor and can’t pull itself back together. This is where the double sided tape trick is a lifesaver. It allows you to reset the tension of the floor without a full tear out.
“Laminate flooring is a system of balanced forces; interrupt the perimeter and the center will fail.” – Master Flooring Axiom
Why your subfloor is lying to you
You might think your concrete slab is flat because it looks flat. It isn’t. Concrete is a porous material that releases moisture long after it is poured. This moisture can cause the HDF core of the laminate to swell slightly at the bottom, which creates a slight curl. This curl reduces the contact patch between the tongue and the groove. When the contact patch is reduced, the friction required to hold the joint is gone. This is why I always recommend a 6 mil poly film moisture barrier even if the laminate has a pre-attached pad. You are protecting the chemistry of the floor. If you are fixing a gap in a basement, you are likely fighting moisture. The tape method will work, but you should also check the humidity levels in the room. If the air is below 30 percent, the wood fibers are brittle. If it is above 55 percent, they are soft. Both states make the locking mechanism vulnerable to failure under the torque of foot traffic.
The contrarian truth about underlayment
While most people want the thickest underlayment possible for comfort, too much cushion actually causes the locking mechanisms on laminate to snap under pressure. A thick, squishy pad allows the floor to deflect too much. Think of it like walking on a mattress. The joints are designed to be supported by a rigid surface. When the floor dips 1/4 inch every time you step, the tongue is being used as a lever against the groove. Eventually, the fiberboard fatigues and snaps. If you find yourself using the double sided tape trick every few months, your underlayment is likely too thick or too soft. You are essentially trying to fix a structural defect with a friction hack. It is a temporary fix for a foundational error.
The science of the click profile
Laminate floors use different locking geometries. Some use a drop lock where the board falls into place, while others use a 45 degree angle snap. The tape method works best on the angle snap systems because they rely on lateral tension. When you hit that block, you are overcomes the static friction of the joint. Once the board is in motion, the kinetic friction is much lower, allowing it to slide into the locked position. If you have a drop lock system, you might need to give the board a slight vertical wiggle while tapping to ensure the locking tab clears the lip of the adjacent plank. This is the level of detail that separates a pro from a DIYer. You aren’t just hitting wood; you are navigating a micro-engineered locking system. If you force it, you will shear off the locking tab and the joint will never stay closed again, no matter how much tape you use.
{“@context”:”https://schema.org”,”@type”:”HowTo”,”name”:”How to Close Gaps in Laminate Using Double Sided Tape”,”step”:[{“@type”:”HowToStep”,”text”:”Vacuum and clean the gap using a dental pick to remove all debris.”},{“@type”:”HowToStep”,”text”:”Clean the surface of the laminate plank with isopropyl alcohol to ensure adhesive bond.”},{“@type”:”HowToStep”,”text”:”Apply high-strength acrylic double-sided tape to a scrap wood block.”},{“@type”:”HowToStep”,”text”:”Place the block on the plank and stand on it to activate the pressure-sensitive adhesive.”},{“@type”:”HowToStep”,”text”:”Strike the block with a dead blow mallet to slide the plank toward the gap until it clicks shut.”}]}