Why Your Self-Leveler is Turning Into Dust Under Your Feet
I spent three days grinding concrete on a job last month just so the floor wouldn’t click like a castanet. Most guys skip the leveling compound. They think the underlayment will hide the dip. It won’t. I have seen fifteen thousand dollar wide plank walnut floors turn into potato chips because of poor prep. When your self-leveler fails, it is not an accident. It is a chemical and mechanical betrayal of the substrate. You expect a solid surface, but you get a chalky mess that peels up like a scab. I have spent twenty five years on my knees with a moisture meter and a level. I can tell you that the difference between a floor that lasts fifty years and one that fails in five days is the physics of the bond. Most people treat leveler like pancake batter. They mix it by eye and pour it over dusty concrete. That is why their carpet install feels crunchy or their laminate joints snap. If you want a floor that performs like an engineered surface, you have to understand the molecular reality of the slab. You have to respect the moisture vapor transmission. You have to prime like your life depends on it. Otherwise, you are just throwing money into a bucket of dust.
The subfloor secret that contractors ignore
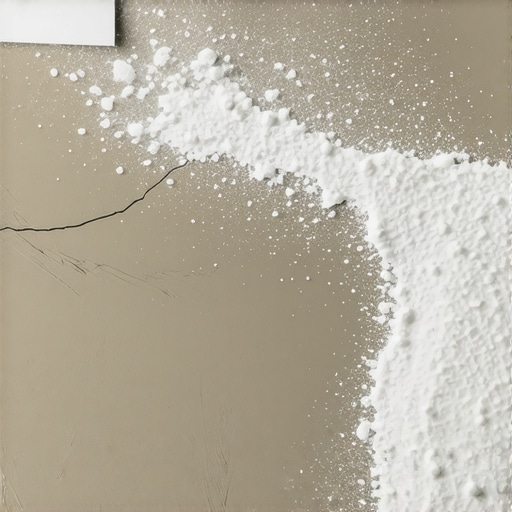
Subfloor leveling and self-leveling underlayment (SLU) require a pristine mechanical bond to the concrete substrate to prevent friable surfaces or delamination. When a leveler turns to dust, it is usually because the hydration reaction was compromised by a thirsty slab or an incorrect water-to-powder ratio during the mixing phase. This failure happens at the microscopic level where calcium silicate hydrate crystals fail to interlock properly. I have walked onto jobs where you could scrape the leveler off with a credit card. It happens because the installer didn’t understand that concrete is a sponge. If you do not seal the pores, the concrete will suck the water right out of your expensive leveler. This leaves the mix without enough moisture to complete its chemical journey. It dies on the surface. It becomes a layer of expensive dirt. This is why your laminate floor sounds hollow. This is why your carpet transitions feel soft. You are walking on a pulverized failure of engineering.
“A floor is only as good as the subfloor beneath it; deflection is the enemy of every joint.” – Master Flooring Axiom
The molecular failure of unprimed concrete
Substrate priming is the most critical step in any floor leveling project because it regulates the porosity of the concrete and ensures maximum adhesion. If you skip the primer, the surface tension of the leveler will be too high to penetrate the slab. I use a specific gravity test sometimes just to prove a point to the young guys. If the primer is not used, the leveler just sits on top like oil on water. The chemical bond never happens. You need a polymer-modified primer that acts as a bridge. This bridge connects the old concrete to the new cementitious topping. Without it, the leveler dries too fast. It cracks. It shrinks away from the edges. You end up with a floor that is not just uneven, but structurally unsound. I have seen showers fail because the leveling under the tile was never primed. The water gets in, the leveler turns back into mud, and the whole system collapses. This is not about aesthetics. This is about the structural integrity of your home.
| Leveler Type | Compressive Strength (PSI) | Acclimation Time | Max Thickness |
|---|---|---|---|
| Standard Gypsum | 2,500 PSI | 24 Hours | 1/2 Inch |
| Polymer-Modified Cement | 5,000 PSI | 4 Hours | 2 Inches |
| Fiber-Reinforced SLU | 4,500 PSI | 12 Hours | 1 Inch |
The mathematical error of the water bucket
Accurate water measurement is the foundation of compressive strength in self-leveling compounds and determines the final PSI rating of the floor. Most guys use a bucket and a guess. That is a recipe for dust. If you add too much water, you cause segregation. The heavy aggregates sink to the bottom and the light polymers and water float to the top. This creates a weak, chalky skin on the surface. It looks level, but it has the structural strength of a cracker. When you walk on it, the locking mechanisms of your laminate or LVP will put pressure on that weak skin. It will crumble. Now you have a floor that clicks every time you walk. You have to use a graduated measuring cylinder. You have to mix at the exact RPM specified by the manufacturer. If you whip too much air into it, you get pinholes. Those pinholes are air bubbles escaping from the concrete. They ruin the surface. They make the floor look like the moon.
The chemical reality of bond breakers
Bond breakers such as drywall mud, paint overspray, and adhesive residue must be mechanically removed to allow the leveling compound to achieve a Ten-C (TCNA) standard bond. You cannot just sweep the floor and pour. I have seen guys try to level over old carpet glue. That glue is a contaminant. It acts as a lubricant between the leveler and the floor. They do not mix. You need to use a diamond grinder. You need to get down to the Concrete Surface Profile (CSP) of 3 or higher. This creates teeth for the leveler to grab. If you leave the dust behind, the leveler bonds to the dust, not the floor. Then the whole thing just floats. One heavy piece of furniture or a kitchen island will snap those leveler sheets like glass. You must be a stickler for the details. I smell floor wax and WD-40 every day because I am in the trenches doing the prep that most people are too lazy to do. If the subfloor is lying to you, the finish floor will tell the truth eventually.
“Deflection in the substrate will always manifest as a failure in the finish material, regardless of the wear layer thickness.” – Master Flooring Axiom
The 1/8 inch that ruins everything
Expansion gaps at the perimeter of the room are essential for floor longevity because they accommodate the natural thermal expansion and contraction of the leveling layer. If you pour your leveler tight against the drywall, it has nowhere to go. When the temperature changes, the floor will heave. It will create a hump in the middle of the room. I have seen people blame the carpet install for ripples when the real culprit was the leveler pushing against the plates. You need to use foam expansion strips. You need to treat the floor like a living thing. It moves. It breathes. If you trap it, it will break. This is especially true with radiant heat. The thermal stress on a leveler is intense. If the mix is not perfect, the heat will turn it into dust from the inside out. You need high-polymer content for those jobs. You need a leveler that can handle the flex.
- Check the moisture content of the slab using a calcium chloride test.
- Remove all drywall compound and paint with a floor scraper or grinder.
- Vacuum the floor with a HEPA filter to remove microscopic dust particles.
- Apply the manufacturer-recommended primer with a soft-bristle broom.
- Measure water to the exact ounce before adding powder to the mixing barrel.
- Use a spiked roller to release entrapped air and promote a smooth finish.
- Allow the leveler to cure fully before walking or installing floor coverings.