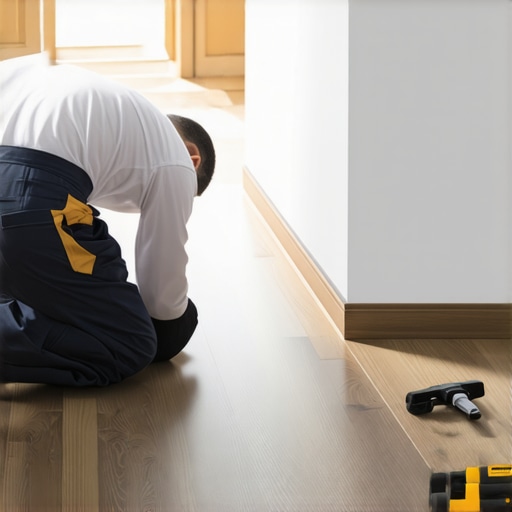
How to fix a laminate plank that has moved away from the wall
Homeowners always ask why their waterproof vinyl or laminate is buckling or gapping. Usually, it is because they locked it under a heavy kitchen island or nailed the baseboards directly into the planks, killing the ability of the floor to breathe and move. I remember a job in a high-rise where the entire hallway had separated into three distinct islands of wood because the installer decided that expansion gaps were merely suggestions. He had tight-fitted every single plank against the door casings. When the humidity dropped in the winter, the planks contracted, but they had nowhere to pull from except the weakest joint in the center of the room. I spent two days with a suction cup and a bottle of specialized adhesive just to pull that floor back into a single unit without ripping out the trim. It was a lesson in the physics of floating floors that most people ignore until they hear that first terrifying pop underfoot.
The physics of the floating joint
Fixing a laminate plank that has moved away from the wall requires a laminate floor pull bar, wood glue, and rubber mallet to restore the tongue and groove connection. This gap usually occurs because the floating floor lacks proper perimeter expansion space or the subfloor leveling was ignored during the carpet install transition. Laminate is not a static product. It is a high-density fiberboard core wrapped in a photographic layer and a melamine wear layer. This core is hygroscopic, meaning it absorbs and releases moisture from the air. In a typical environment, a floor can expand or contract by as much as an eighth of an inch over a ten-foot span. When a plank moves away from the wall, it is often the result of the entire floor shifting as a single mass or a specific joint failing due to vertical deflection. If your subfloor has a dip, every time you step on that spot, the tongue is forced to move within the groove. Over thousands of footsteps, the friction wears down the locking mechanism until the plank eventually walks itself away from its neighbor.
“A floor is only as good as the subfloor beneath it; deflection is the enemy of every joint.” – Master Flooring Axiom
The ghost in the expansion gap
Expansion gaps are the most misunderstood aspect of laminate flooring because they look like mistakes to the untrained eye. You need at least a quarter inch gap around all vertical obstructions to prevent floor buckling and plank separation. Without this space, the floor will hit the wall when it expands in the summer. When it cannot grow outward, it grows upward, creating a peak. Conversely, in the dry winter months, the floor shrinks. If the floor is pinched by a heavy cabinet or a poorly installed transition strip near showers or bathrooms, the shrinking floor will pull the weakest joint apart. This is why we see gaps at the ends of the room. The floor is trying to contract toward its center of gravity, and if the plank near the wall is not properly seated or if the friction of the underlayment is too high, that end plank becomes a castaway.
The suction cup and the pull bar method
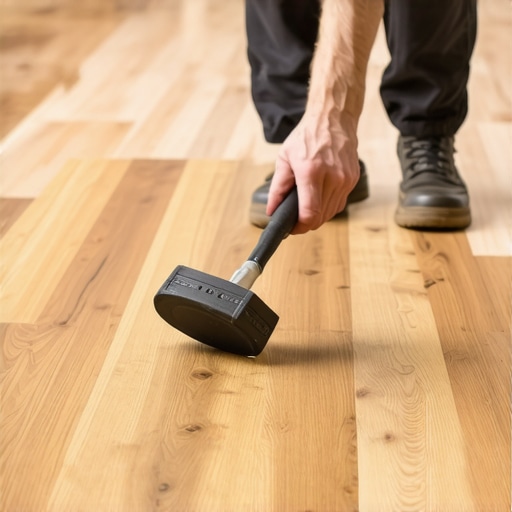
Repairing a gapped plank involves using a heavy-duty glass suction cup or a laminate pull bar to physically slide the laminate plank back into its locking mechanism. First, you must remove the baseboard or quarter round to see the edge of the plank. If the gap is small, you can often use a piece of scrap flooring and some double-sided carpet tape to create a temporary handle on the surface of the plank. I prefer a professional-grade suction cup because it provides a mechanical bond to the wear layer without leaving adhesive residue. Once you have a grip, you use a rubber mallet to strike the tool toward the wall. This kinetic energy transfers through the plank and forces the tongue back into the groove of the adjacent board. Before you close the gap, it is a pro move to squirt a tiny amount of PVA wood glue into the groove. This creates a chemical bond that will prevent the plank from walking again in the future.
The hidden role of subfloor levelness
Floor leveling is the most important step that most DIY installers skip when they move from a carpet install to hard surface flooring. Carpet is incredibly forgiving of subfloor imperfections, but laminate flooring is rigid and unforgiving. If your subfloor has a deviation of more than 3/16 of an inch over a 10-foot radius, the locking joints will be under constant stress. This stress leads to joint fatigue, where the thin HDF tongue eventually snaps. When that tongue breaks, there is nothing holding the plank in place. No amount of tapping or pulling will fix a broken joint permanently. In those cases, you are looking at a full plank replacement, which involves cutting the damaged board out with a circular saw and gluing a new one in place. This is why I always carry a 6-foot level on every job. If the floor is not flat, the floor will not last.
| Metric | Tolerance Level | Recommended Action |
|---|---|---|
| Subfloor Flatness | 3/16 inch per 10 feet | Use self-leveling compound |
| Expansion Gap | 1/4 to 1/2 inch | Check all wall perimeters |
| Relative Humidity | 35% to 55% | Use a humidifier in winter |
| Plank Stagger | 6 to 8 inches | Avoid H-joints in layout |
Adhesive chemistry in floating floor repairs
PVA wood glue is the industry standard for laminate floor repair because it offers a Type II water resistance and a flexible bond that can handle the micro-movements of the wood fiber. When you apply glue to a separated plank, you are not trying to glue the floor to the subfloor. That would be a disaster. You are only gluing the tongue to the groove. You must be careful not to over-apply the adhesive. If glue squeeze-out occurs, wipe it immediately with a damp cloth. If you let it dry on the aluminum oxide wear layer, you will need a specialized solvent to remove it without dulling the finish. The goal is to create a monolithic surface that moves as one large plate rather than individual pieces. This is especially important in high-traffic areas where the lateral force of walking can easily slide an unglued plank out of position.
“Laminate flooring requires a flat substrate to ensure the longevity of the mechanical locking system.” – NWFA Technical Guidelines
The 1/8 inch that ruins everything
Moisture barriers and underlayment thickness are often where people try to save money, but it backfires in the form of gapped planks. While most people want the thickest underlayment, too much cushion actually causes the locking mechanisms on LVP or laminate to snap under pressure. When the underlayment is too soft, the floor sinks too far when you step on it. This vertical travel is what pulls the joints apart. You want a high-density underlayment that provides sound dampening without the squish. If you are installing near showers or in a basement, a 6-mil poly film is non-negotiable. Moisture coming up through the concrete slab will swell the bottom of the HDF core. This uneven swelling causes the planks to cup, which opens the joints at the surface. Once those joints open, they are magnets for dirt and debris, which prevents you from ever being able to tap them back together tightly.
- Inspect the gap for debris or pebbles that might prevent a tight seal.
- Vacuum the groove thoroughly using a thin crevice tool.
- Apply a small bead of floor-grade wood glue to the bottom lip of the groove.
- Use a suction cup or professional pull bar to close the gap.
- Clean any excess glue immediately with a microfiber cloth.
- Apply blue painter tape across the joint for 24 hours to hold it while the glue cures.
Environmental stability and the seasonal dance
Indoor humidity control is the secret to a floor that stays together for twenty years. In regions with extreme seasonal swings, the wood fibers in the laminate core are constantly expanding and contracting. If your house reaches 10% humidity in the winter, the floor will shrink to its absolute minimum size. If the floor was installed in the middle of a humid summer without acclimation, the shrinkage will be massive. I tell my clients that they need to maintain a consistent environment. If you turn off the heat and leave for the winter, do not be surprised if your floor looks like a jigsaw puzzle when you get back. The coefficient of thermal expansion is a law of physics that no brand of flooring can fully overcome. You have to work with the material, not against it. Keeping your home between 60 and 80 degrees Fahrenheit and maintaining a steady humidity level will prevent 90% of all gapping issues.