How to repair a hole in the carpet without a patch kit
Most guys skip the leveling compound. They think the underlayment will hide the dip. It won’t. I spent three days grinding concrete on a job last month just so the floor wouldn’t click like a castanet. This is the reality of floor work. If you ignore the foundation, the surface fails. The same goes for a carpet install. When you see a hole in your carpet, you are not just looking at missing fabric. You are looking at a failure of the textile structure. Most people think they need a fancy store bought patch kit to fix a burn or a tear. They are wrong. All you need is the right chemistry, a donor site, and a fundamental understanding of how synthetic fibers are anchored into a secondary backing.
The hidden anatomy of your living room floor
Carpet repair without a kit requires harvesting donor fibers from hidden areas and bonding them to the primary backing using a waterproof adhesive. This process, known as fiber grafting, is superior to cheap patches because it maintains the original pile height and nap direction. To do this correctly, you must analyze the carpet type. Is it a cut pile, a loop pile, or a Berber. The mechanics of the repair change based on the tuft density and the gauge of the stitch. If you are dealing with a nylon fiber, it has different thermal properties than a polyester or olefin blend. You need to understand that the carpet is a system of three parts: the face fiber, the primary backing where the tufts are inserted, and the secondary backing which provides dimensional stability.
“A floor is only as good as the subfloor beneath it; deflection is the enemy of every joint.” – Master Flooring Axiom
The subfloor secret that ruins top layers
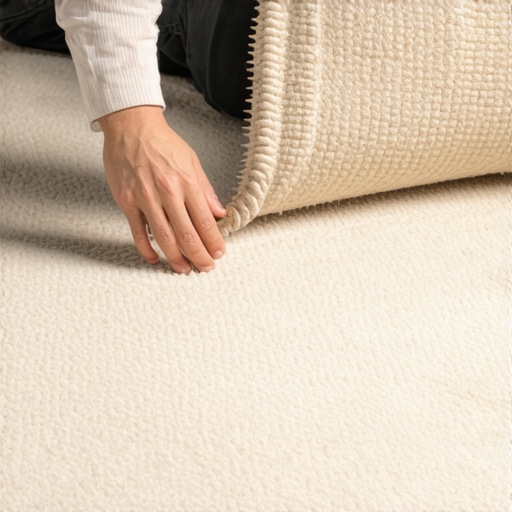
Before you even touch that carpet hole, look at what is happening underneath. If the carpet is dipping, you might have a subfloor issue. On a recent carpet install, I found that the homeowner was trying to patch a hole that was actually caused by a sharp ridge in the plywood. Floor leveling is not just for laminate or tile. If your subfloor has a 1/8 inch deviation, the carpet fibers will rub against the backing every time you walk on it, eventually creating a bald spot or a hole. This is why professional installers obsess over the slab or the wood deck. If you are fixing a hole near showers or bathrooms, you must also check for moisture. High humidity can cause the latex binder in the carpet backing to emulsify, making any repair attempt totally useless. You cannot glue new fibers to a backing that is currently rotting from the bottom up.
Harvesting donor fibers for a structural mend
The secret to an invisible repair is the donor site. You find a dark corner of a closet or the area behind a permanent radiator where the carpet is pristine. You are not cutting out a square of carpet. You are harvesting individual tufts. Use a pair of sharp, fine point scissors to snip fibers as close to the backing as possible. You need a pile of these fibers that is roughly 30 percent larger than the hole you are filling. This accounts for the compression that happens during the bonding phase. Most DIY guys try to use a patch from a scrap piece, but that creates a visible seam. Grafting individual fibers creates a gradient that the human eye cannot easily track. It is a slow, meticulous process that smells like industrial adhesive and old dust, but it is the only way to get a professional result without spending a dime on a kit.
The chemical reality of carpet adhesives
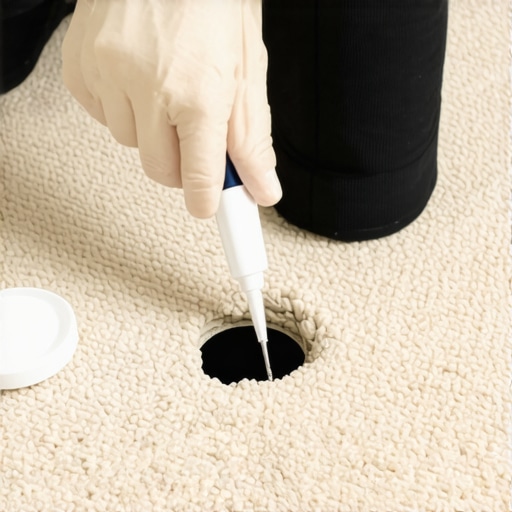
You cannot use white school glue or a hot glue gun for this. You need a clear drying, waterproof adhesive with a high shear strength. A cyanoacrylate gel or a specialized carpet seam sealer is best. The adhesive needs to bond the base of the donor fiber to the primary backing without wicking up the fiber. If the glue travel reaches the top of the pile, the repair will turn into a hard, crunchy plastic knot. You want a flexible bond that allows the carpet to move. Remember that carpet is a dynamic surface. It expands and contracts with the seasons. If you create a rigid island of glue in a sea of flexible textile, the repair will eventually pop out like a scab. Use a toothpick to apply the adhesive to the backing only. Then, using tweezers, insert the donor fibers one by one, mimicking the natural pile direction or nap of the surrounding area.
Comparing textile durability and repair success
| Fiber Type | Janka Equivalent Stress | Adhesive Compatibility | Repair Difficulty |
|---|---|---|---|
| Nylon | High | Excellent | Moderate |
| Polyester | Medium | Good | Easy |
| Olefin | Low | Poor | Difficult |
| Wool | High | Excellent | Expert Only |
Tools for the professional invisible mend
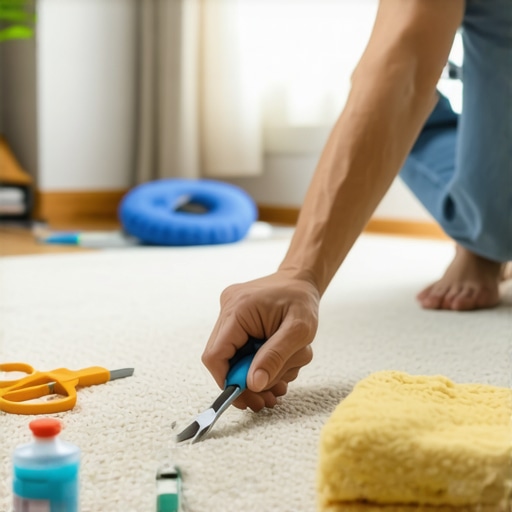
- Fine point surgical tweezers for fiber placement.
- Industrial grade curved embroidery scissors.
- Waterproof clear drying adhesive with a 24 hour cure time.
- A stiff bristle brush or a clean toothbrush to blend the nap.
- A heavy weight or a stack of books to compress the bond during the first hour.
“Subfloor flatness must be within 3/16 inch in 10 feet for most resilient and textile installations to prevent mechanical stress.” – Master Flooring Axiom
The 1/8 inch that ruins everything
Precision is the difference between a repair and a mess. If your donor fibers are even 1/8 inch too long, the repair will stand out like a sore thumb. If they are too short, you will have a divot. After the adhesive has cured for at least twelve hours, you must perform a surgical trim. Use your scissors at a 45 degree angle to taper the edges of the repair into the surrounding carpet. This is where the artistry comes in. You are essentially giving the carpet a haircut. While most people want the thickest underlayment for comfort, too much cushion actually causes the locking mechanisms on laminate to snap and causes carpet patches to flex too much. If your carpet is over a high quality, high density pad, your fiber graft will stay put. If it is over a cheap, mushy foam, the constant movement will break the adhesive bond within a month.
The final walk through
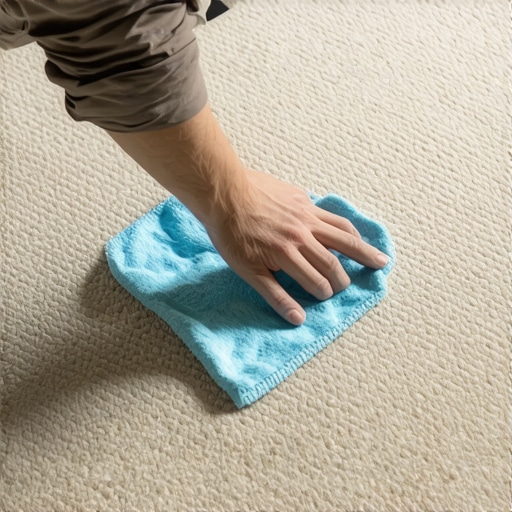
Once the trimming is done, take a vacuum and run it over the area. This is the moment of truth. If the vacuum pulls the fibers out, your adhesive choice was wrong or you did not prep the backing. If the fibers stay but look different, you need to brush them. Use a toothbrush to agitate the area, blending the new fibers with the old. The oils from your hands and the general traffic of the house will eventually give the new fibers the same patina as the old ones. This is not a fast process. It takes patience and a steady hand. But when you look down and cannot find the spot where the cigarette burn used to be, you will realize that understanding the physics of the floor is better than buying a cheap plastic kit from a big box store. Keep your subfloors level and your fibers clean, and the rest usually falls into place.