Why Your Shower Liner is Failing: The Sealing Shortcut to Avoid
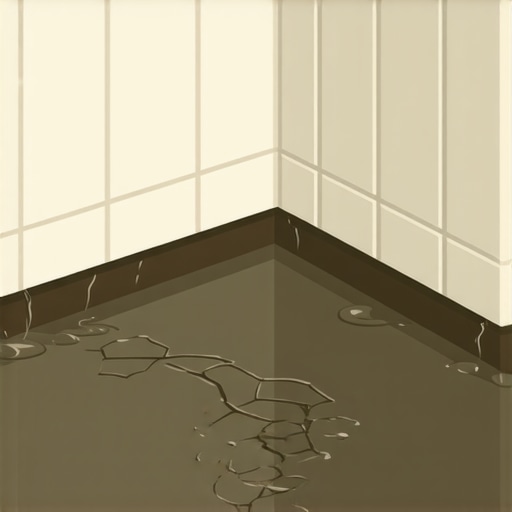
I spent three days grinding concrete on a job last month just so the floor wouldn’t click like a castanet. Most guys skip the leveling compound because they think the underlayment will hide the dip. It won’t. I was in a bathroom in a suburb outside Seattle where the homeowner complained of a musty smell. On the surface, the tile looked pristine. The grout was clean. The silicone was white. But when I pulled the first tile near the drain, the truth came out in a wave of black sludge. The installer had skipped the pre-slope. He laid the PVC liner flat on a wooden subfloor. Gravity did exactly what it always does. It pulled the water to the lowest point, but since there was no slope toward the drain, the water just sat there against the wood joists. That is the reality of a shower failure. It is not about the tile you see; it is about the physics of the water you do not see. Flooring is a structural engineering challenge that demands respect for fluid dynamics and chemical bonding. If you treat your shower like a craft project instead of a hydraulic system, you are essentially building a slow-release leak into the bones of your home.
The hidden rot in your floor joists
Shower liner failure usually occurs because of improper subfloor leveling and a lack of pre-slope beneath the waterproofing membrane. The TCNA Handbook dictates that the sloped mortar bed must maintain a 1/4 inch per foot fall toward the integrated drain assembly to ensure hydrostatic pressure does not compromise the clamping ring. When you ignore the subfloor, you invite the structural collapse of your framing. I have seen 2×10 joists turned into wet cardboard because someone thought a flat liner was good enough. It never is. The water permeates the grout, hits the liner, and stays there. This creates a stagnant pool where bacteria thrive. The smell is your first warning; the floor sagging is your last. You need to understand that tile and grout are not waterproof. They are water-resistant. The liner is your only line of defense, and if that liner is sitting in a puddle of its own making, the system has failed before the first shower is even taken.
“A floor is only as good as the subfloor beneath it; deflection is the enemy of every joint.” – Master Flooring Axiom
Why your subfloor is lying to you
Subfloor deflection and uneven surfaces are the primary causes of cracked grout lines and compromised shower pans in modern construction. Using a digital moisture meter and a 10-foot straightedge is mandatory to identify subfloor dips that exceed 1/8 inch over 10 feet. Most installers assume the cement backer board or the mortar bed will self-level. This is a lie. If the plywood or concrete beneath the shower is not dead level before you start your slope, the entire geometry of the drain is skewed. This leads to capillary action where water is sucked upward into the wall studs. I have walked onto jobs where the carpet install in the bedroom next door was soaking wet because water was wicking through the baseplate of the shared wall. The homeowner thought the laminate in the hallway was peaking due to humidity. It was not humidity. It was a failed shower pan three rooms away. The subfloor must be treated as the foundation of a skyscraper. You do not build on sand, and you do not build a shower on an unlevel, bouncy subfloor.
| Material Type | Permeability Rating | Flexibility Index | Typical Lifespan |
|---|---|---|---|
| PVC Sheet Liner | Low | Moderate | 15-20 Years |
| CPE Liner | Very Low | High | 25+ Years |
| Liquid Membrane | Variable | High | 10-15 Years |
| Bonded Foam Board | Zero | Low | 30+ Years |
The 1/8 inch that ruins everything
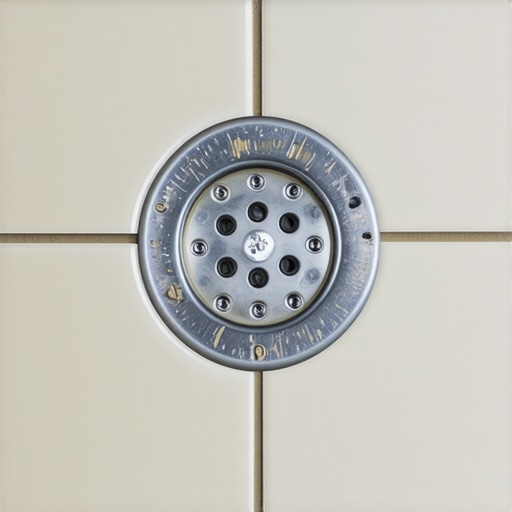
Precision measurements in floor leveling and drain height are the difference between a dry basement and a mold-infested nightmare. The clamping ring drain requires a specific weep hole clearance to allow interstitial moisture to escape into the waste pipe. If you pile thin-set mortar over those weep holes, you have effectively corked the bottle. The water will back up. It will find the fastener penetrations in your liner. It will find the curb transitions where you forgot to use pre-formed corners. I tell my apprentices that 1/8 of an inch might as well be a mile. In the Pacific Northwest, where the air stays heavy with moisture, these mistakes are amplified. The wood never gets a chance to dry out. You end up with dry rot which is a bit of a misnomer because it is caused by the wood being wet for a very long time. You have to be a stickler for the TCNA B415 or B422 standards. There is no room for interpretation when it comes to the capillary break at the door threshold.
- Verify subfloor stiffness to meet L/360 deflection standards.
- Install a primary mortar bed with a consistent slope toward the drain.
- Apply the waterproof liner, ensuring it is tucked into the drain clamping ring.
- Perform a 24-hour flood test before any tile is laid.
- Clear the weep holes of all debris and mortar.
- Install the top layer of fortified thin-set and tile.
The chemical betrayal of cheap thin-set
Polymer-modified thin-set provides the necessary bond strength to prevent tile delamination in high-moisture environments. The chemistry of adhesives is complex, involving long-chain polymers that create a flexible bridge between the impermeable liner and the porous tile backer. If you use a cheap, unmodified mortar, the bond will eventually shear due to thermal expansion. Every time you turn on the hot water, the tile expands. When the water turns off, it contracts. Over hundreds of cycles, a brittle bond will snap. This is why you see tiles popping up or grout turning into powder. It is not just about the water. It is about the molecular vibration of the materials. You need a high-solids latex additive to ensure that the floor moves as one unit. I have seen laminate flooring buckle in a living room because the owner used a steam mop, but a shower floor deals with a thousand times more stress. Do not go cheap on the mud. The mud is what holds your reputation together.
“Standardized testing through the Robinson Floor Test ensures that the assembly can withstand the calculated traffic and moisture loads of the specific environment.” – TCNA Technical Manual
A blueprint for a dry home
Successful shower installation requires a holistic approach that integrates the drainage system with the surrounding floor leveling strategy. You cannot view the shower in isolation from the rest of the bathroom floor. If you are doing a carpet install or laying laminate right up to the bathroom door, you need a silicone-sealed transition that prevents water from traveling under the floorboards. The capillary suction of a subfloor can pull water six feet away from the actual leak. This is why floor leveling is not just for the tile’s appearance. It ensures that any accidental spill or minor leak flows back toward the wet area instead of pooling under the baseboards. I always use a bonded waterproofing membrane these days. It is more expensive, but it eliminates the stagnant water issue of the old-school liner. You apply it directly under the tile. There is no place for water to hide. It is the only way I can sleep at night knowing my work is not rotting out someone’s floor joists from the inside out. Stop looking for the shortcut. The shortcut is the path to a $20,000 demolition bill. Do it once. Do it right. Keep the water where it belongs.