Why Your Leveler is Cracking Over Plywood Seams
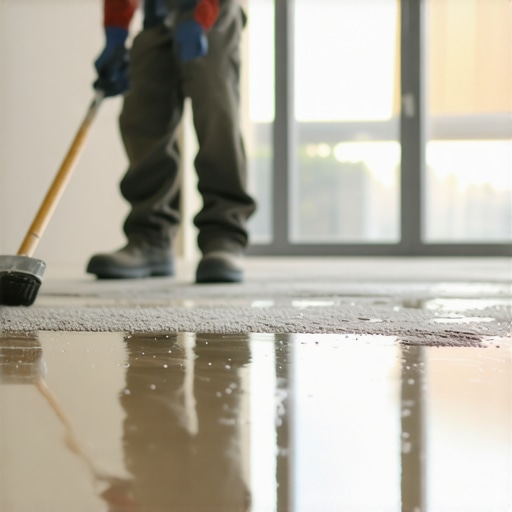
I spent three days grinding concrete on a job last month just so the floor wouldn’t click like a castanet. Most guys skip the leveling compound. They think the underlayment will hide the dip. It won’t. I walked into a site where the homeowner tried to DIY a self-leveling pour over 3/4 inch CDX plywood. The floor looked like a spiderweb. Every single seam in the subfloor had mirrored through the leveler. It is a common disaster that smells like wasted money and dust. You cannot just pour liquid rock over wood and expect it to stay still. Wood moves. It breathes. It flexes. If you do not account for the physics of that seam, your leveler will fail every time. My hands are still stained with the grey residue of that repair. Most installers want the fast check. They do not want the truth about deflection and moisture. I do. This is the structural reality of why your floor is falling apart before you even lay the first plank of laminate.
The liquid rock fallacy
Self-leveling underlayment fails over plywood because wood substrates possess a high coefficient of expansion and significant deflection. When you pour a cementitious product over a seam where two sheets of plywood meet, you are bridging a moving joint with a brittle material. Without proper isolation, primer, or reinforcement, the vertical movement of the panels under foot traffic snaps the leveler. This is a structural failure, not a product defect. Most people assume the compound will act as a structural cap. It does not. It is a surface leveler only.
The ghost in the expansion gap
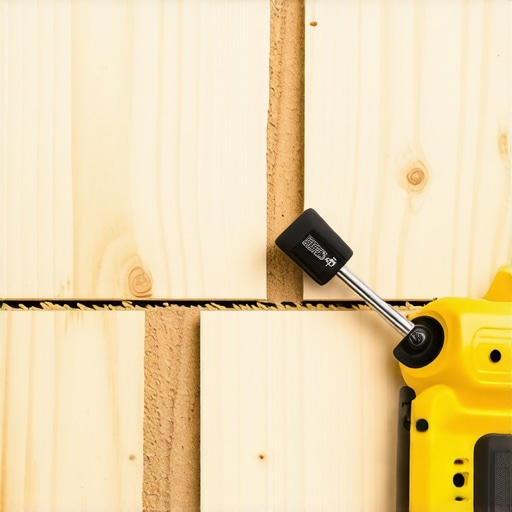
Plywood sheets are installed with a 1/8 inch gap for a reason. That gap allows the wood to swell when the humidity spikes. If you fill that gap with a rigid self-leveling compound, you have created a collision course. When the wood expands, it puts immense lateral pressure on the brittle cement. The leveler has nowhere to go but up. It shears away from the wood. This is why you see those long, straight cracks following the exact grid of your subfloor. You are fighting the biological nature of the wood itself. In a humid environment like a bathroom or near showers, this expansion is even more aggressive. If you are prepping for a carpet install, a few cracks might not matter. If you are laying thin laminate, those cracks will telegraph through or cause the locking tabs to snap. You have to respect the gap.
Physics of the structural seam
The L/360 deflection standard is the minimum for ceramic tile, but even for floating floors, deflection is a killer. When you walk across a floor, the plywood deflects between the joists. If the seams are not blocked or if the tongue and groove is compromised, the two sheets move at different rates. This differential movement is what causes the leveler to crack. It is a mechanical shear. You can use the most expensive compound in the world, but if the subfloor is bouncing, the leveler will turn to gravel.
“A floor is only as good as the subfloor beneath it; deflection is the enemy of every joint.” – Master Flooring Axiom
I always tell my apprentices that if they can feel the floor move, the leveler can too. You need to ensure the subfloor is screwed down every 6 inches on the edges and every 12 inches in the field. No nails. Nails pull. Screws bite.
Moisture content and the unseen swell
Before you even open a bag of leveler, you need a moisture meter. If your plywood is sitting at 14 percent moisture and you pour a wet compound over it, the wood is going to drink. It absorbs the water from the leveler, swells up, and then shrinks as it dries. This rapid change in the wood’s volume happens while the leveler is trying to cure. It is a recipe for a bond failure. The leveler loses its hydration too fast and becomes weak, while the wood substrate is shifting underneath it. This is particularly dangerous in regions with high seasonal humidity. In a place like Houston, the wood is always fighting you. In Phoenix, the wood is so dry it will suck the life out of the leveler in minutes. You must acclimate your materials and prime the surface to create a barrier.
The 1/8 inch that ruins everything
Flatness and levelness are not the same thing. You can have a floor that is perfectly level but has a 1/8 inch dip that will ruin a laminate click system. Most manufacturers require the floor to be flat within 1/8 inch over a 10 foot radius. If your leveler cracks at the seam, that 1/8 inch tolerance is gone. You now have a sharp edge. When you lay your laminate over that cracked seam, the underlayment will compress. Every time someone walks over it, the laminate flexes over the sharp crack. Eventually, the tongue snaps. While most people want the thickest underlayment, too much cushion actually causes the locking mechanisms on LVP to snap under pressure. You need a flat, solid base. Not a soft one.
Primer chemistry and the mechanical bond
You cannot pour leveler on bare wood. The wood is porous. It will pull the water out of the mix, preventing the chemical reaction needed for the cement to harden correctly. This is where most guys fail. They use a cheap primer or, worse, no primer at all. You need a high-solids acrylic primer. This primer does two things. It seals the wood so it does not steal the water from the leveler. It also provides a molecular bridge for the cement to grab onto.
“The chemical bond between a primer and the substrate determines the longevity of the entire installation.” – TCNA Handbook Excerpt
If that bond is weak, the leveler will delaminate at the seams where the movement is highest.
Reinforcement strategies for wood substrates
If you are pouring over plywood seams, you should be using a fiber-reinforced leveler or a lath. Metal lath is old school and a pain to work with, but synthetic mesh is a lifesaver. You staple the mesh over the seams. This gives the leveler tensile strength. It allows the compound to resist the minor micro-movements of the plywood. Think of it like rebar in a concrete bridge. Without it, the bridge has no tension strength. With it, it can handle the load. I never pour over a seam without at least a fiberglass mesh tape. It is the difference between a floor that lasts twenty years and one that lasts twenty days.
| Substrate Type | Expansion Risk | Deflection Rating | Required Prep |
|---|---|---|---|
| 3/4 Inch Plywood | High | L/360 | Acrylic Primer + Mesh |
| OSB (Advantech) | Medium | L/480 | Sanding + High-Solids Primer |
| Concrete Slab | Low | None | Moisture Testing + Mechanical Abrasion |
| Old Hardwood | Extreme | Variable | Full Removal or Isolation Membrane |
Why some compounds fail under pressure
Not all self-leveling underlayments are created equal. You get what you pay for at the big box stores. Those cheap bags are often high in Portland cement and low in polymers. They are brittle. Professional grade levelers use calcium aluminate and a heavy dose of powdered polymers. This gives the cured product a slight amount of flex. It is still rock hard, but it can handle the vibration of a residential floor. If you are doing floor leveling in a high traffic area, do not cheap out on the bag. The cost of the material is nothing compared to the cost of ripping up a finished floor because the substrate failed.
The final checklist for a stable floor
Before you pour, you must be certain. Here is the reality check for your subfloor.
- Check moisture levels in the wood. It should be within 2 to 4 percent of the target home humidity.
- Screw down all plywood sheets. Space screws every 6 inches on all joists and edges.
- Seal the perimeter. Use a foam expansion strip around the walls so the leveler does not bond to the studs.
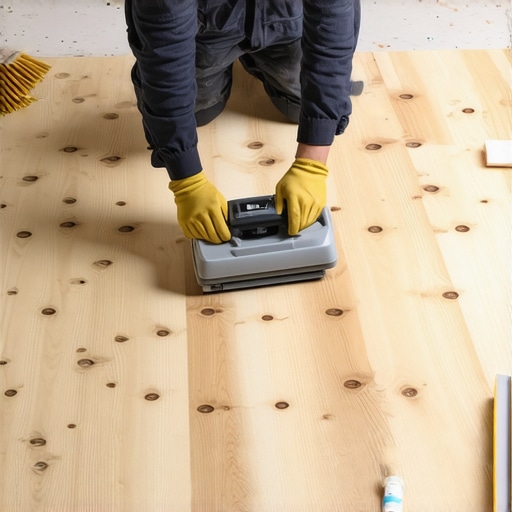
- Vacuum the floor. Dust is a bond breaker. If it is dusty, the primer is useless.
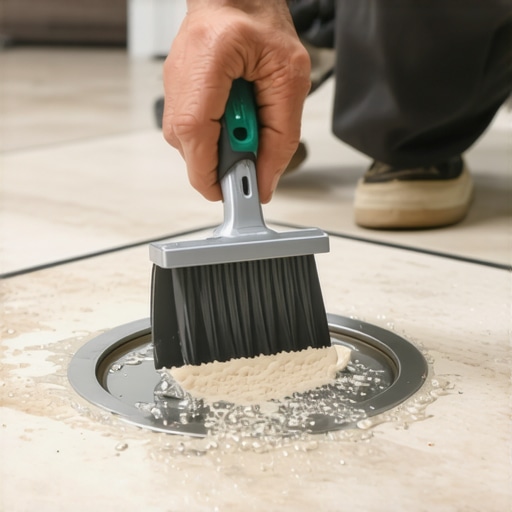
- Apply the primer with a soft-bristled brush. Work it into the pores of the wood. No puddles.
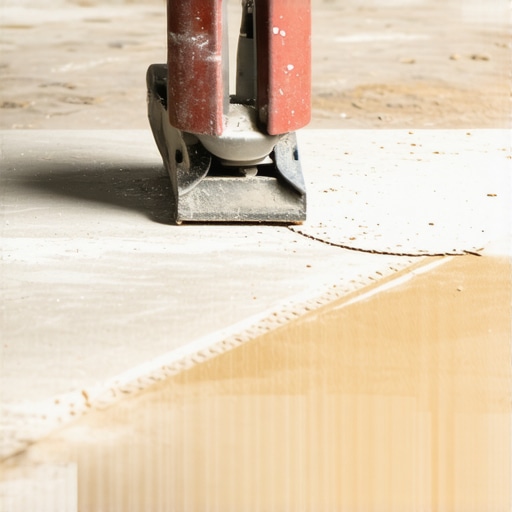
- Patch the seams. Use a rapid-setting skim coat to fill the gaps between plywood sheets before the main pour.
- Use a spiked roller during the pour. This releases air bubbles that create weak spots.
Laminate and LVP requirements
Floating floors are marketed as being able to go over anything. That is a lie. If you are installing laminate, that floor needs to be dead flat. The cracking leveler under a laminate floor will create a grinding sound. Every time you walk, you will hear the grit of the broken cement rubbing against the back of the plank. It sounds like sand in your shoes. This is especially true near transition areas like showers or kitchens where the floor meets a different material. If the leveler has failed at the transition, the T-molding will never sit flush. It will bounce and eventually kick out.
The chemistry of the cure
The first four hours of a leveler’s life are the most important. This is when the chemical bonds are forming. If the room is too hot, the water evaporates too fast. If there is a draft, the surface will skin over and crack. You have to control the environment. Turn off the HVAC. Close the windows. Let the leveler cure in a controlled, humid-stable environment. If the leveler cracks during the cure, it is almost always due to the substrate sucking the water out or the air being too dry. It is a delicate balance of chemistry and physics. When you get it right, the floor is as smooth as glass. When you get it wrong, it is a nightmare of grey rubble. Stop looking at the surface and start looking at the seams. That is where the battle is won or lost.