How to Level a Bathroom Floor Around an Existing Drain Pipe
Why a flat bathroom floor matters more than your tile choice
Most guys skip the leveling compound. They think the carpet install or the thick underlayment will hide the dip. It won’t. I spent three days grinding concrete on a job last month just so the floor wouldn’t click like a castanet. I once walked into a house where a custom shower was failing because the installer thought he could just ‘build up’ the thin-set to compensate for a half-inch plunge in the plywood. The tile cracked within a month. A bathroom floor is a structural performance surface. When you are dealing with an existing drain pipe, you are not just pouring cement. You are managing the geometry of water and the physics of load distribution. If the subfloor is not dead level, your laminate joints will snap and your shower pan will flex until the waterproof membrane rips. We do this right or we do not do it at all. Dirt and sawdust under my nails are the price of a floor that lasts fifty years.
The ghost in the expansion gap
Leveling a bathroom floor around an existing drain pipe requires the installation of a physical dam, the application of a high-solids primer, and the use of polymer-modified self-leveling underlayment (SLU). This process creates a flat substrate necessary for tile, laminate, or LVP while maintaining the structural integrity of the plumbing interface. You must protect the drain from the flow of the liquid cement while ensuring the new floor height aligns with the flange requirements. This is not about aesthetics. This is about preventing the microscopic movement that turns a beautiful bathroom into a moldy disaster.
“A floor is only as good as the subfloor beneath it; deflection is the enemy of every joint.” – Master Flooring Axiom
Why your subfloor is lying to you
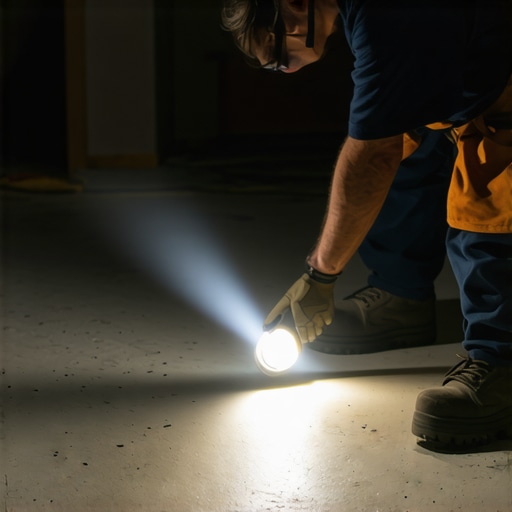
Subfloors often hide significant structural issues like joist deflection or moisture-induced swelling that can compromise a floor leveling project. You cannot trust a visual inspection. Use a ten-foot straightedge. If you see light under that bar, you have a dip that will haunt your laminate installation. In a bathroom, moisture is the constant antagonist. Plywood subfloors expand and contract at different rates than the cementitious materials we pour on top of them. This differential movement is why we use primer. The primer is the chemical bridge. Without it, the dry wood will suck the water out of the leveling compound so fast that the cement cannot hydrate properly. It will turn into a brittle, dusty mess that detaches from the wood. I have seen guys pour SLU on bare plywood. It is a crime. The floor will delaminate. You will hear it crunch when you walk on it. That is the sound of failure.
The chemistry of the primer bond
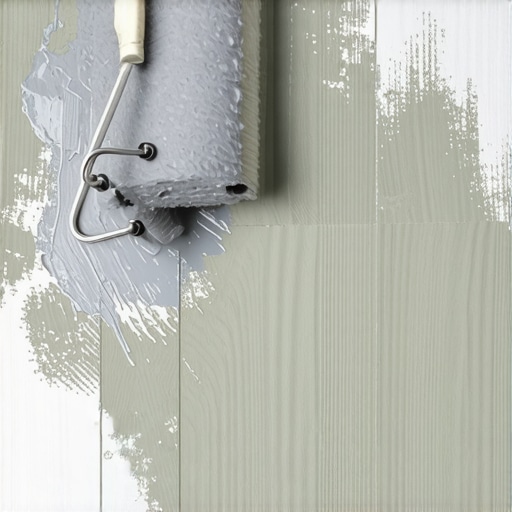
Primer for self-leveling underlayment acts as a pore-sealer and an adhesion promoter that prevents air bubbles from rising into the wet cement. When you apply a high-quality acrylic primer, you are managing the surface tension of the substrate. This is vital when working near a drain where the subfloor might have been cut and weakened. The primer fills the microscopic valleys in the wood or concrete. It creates a tacky film that the polymer-modified cement can grab onto. If you skip this, the SLU will develop pinholes. Those pinholes are evidence of air escaping. A floor full of pinholes is a weak floor. It lacks the compressive strength to support heavy porcelain tile. Use a soft-bristled push broom to work the primer into the grain. Do not leave puddles. Puddles are just as bad as dry spots. You want a thin, uniform film that has turned from milky white to clear before you even think about opening a bag of cement.
Engineering a dam around the plumbing
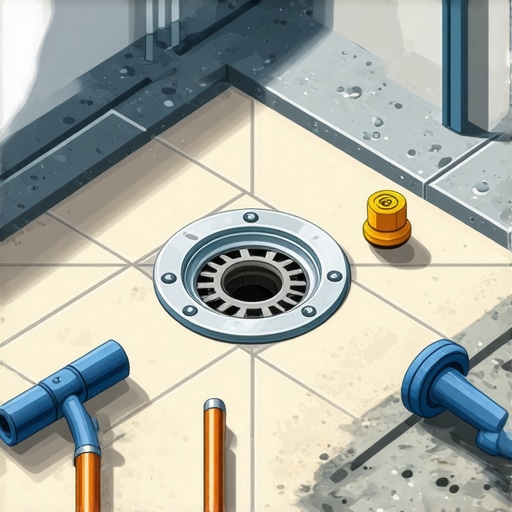
Creating a dam around an existing drain pipe involves using flexible foam strips or a PVC sleeve to prevent the leveling compound from entering the plumbing. This is the most technical part of the prep. If cement gets down that pipe, you are calling a plumber and writing a big check. I like to use a piece of 4-inch PVC pipe cut to a height slightly taller than the expected pour. Slide it over the drain. Seal the bottom with a bead of silicone or plumber’s putty. This creates a void. Once the floor is level and dry, you remove the sleeve. This leaves you with a perfectly round opening where your flange can sit. You must also consider the height. If you pour the floor too high, your drain flange will be buried. If you pour it too low, you will need jumbo wax rings which are a shortcut for losers. Aim for the flange to sit on top of the finished floor surface. That is the gold standard for leak prevention.
| Material Type | Max Thickness Per Pour | Drying Time for Foot Traffic | Compressive Strength (PSI) |
|---|---|---|---|
| Standard SLU | 1 inch | 4 to 6 hours | 4,000 |
| Fiber-Reinforced SLU | 1.5 inches | 3 to 4 hours | 5,000 |
| High-Flow Gypsum Base | 2 inches | 12 to 24 hours | 3,500 |
The 1/8 inch that ruins everything
The industry standard for floor flatness is a deviation of no more than 1/8 inch over a ten-foot radius for large format tile. People think they can fix a wavy floor with extra glue. They are wrong. When the adhesive shrinks during the curing process, it pulls the tile down. If the floor is uneven, the tile will lip. You will stub your toe on the edge of the marble every morning. In a bathroom, this is even more dangerous because wet feet and lippage lead to falls. The self-leveling compound is a liquid. It follows gravity. However, it has internal friction. It does not actually level itself perfectly without help. You need a gauge rake to move the material to the corners. You need a spike roller to break the surface tension and release the bubbles. If you leave a hump near the drain pipe, your shower transition will be a nightmare. You are looking for a flat plane, not a level one. There is a difference. A floor can be flat but slightly out of level and still work. A floor that is level but not flat is a disaster.
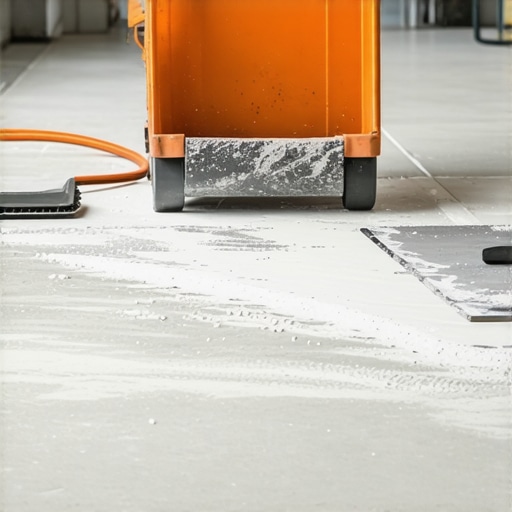
- Clear all debris and vacuum the subfloor until it is surgical grade clean.
- Seal all gaps in the subfloor with spray foam or caulk to prevent the liquid from leaking into the basement.
- Identify the highest point in the room using a laser level.
- Apply the primer using a 3/8 inch nap roller or a soft broom.
- Set your depth markers or ‘pins’ across the floor to guide your pour.
- Mix the compound using a high-torque drill to avoid introducing too much air.
- Pour away from the drain pipe toward the exit.
The physics of surface tension and slump
The slump of a leveling compound refers to its ability to flow and settle under its own weight without segregating the aggregate from the water. If you add too much water, the cement will settle at the bottom and a layer of weak, white powder will form on the top. This is called laitance. It has zero structural value. You can scrape it off with a fingernail. If you see this, you have to grind it all off and start over. I have seen guys try to save money by stretching a bag with extra water. It never works. The chemistry is precise. The polymers need a specific ratio of water to cross-link. This is what gives the floor its flexural strength. While most people want the thickest underlayment, too much cushion actually causes the locking mechanisms on laminate and LVP to snap under pressure. You want a rock-solid base. A bathroom floor should feel like a sidewalk, not a trampoline. When you walk across a floor I prepped, it is silent. No squeaks. No clicks. Just the weight of the material doing its job.
“Standard subfloor requirements for ceramic tile require a maximum deflection of L/360 under a concentrated load.” – Tile Council of North America