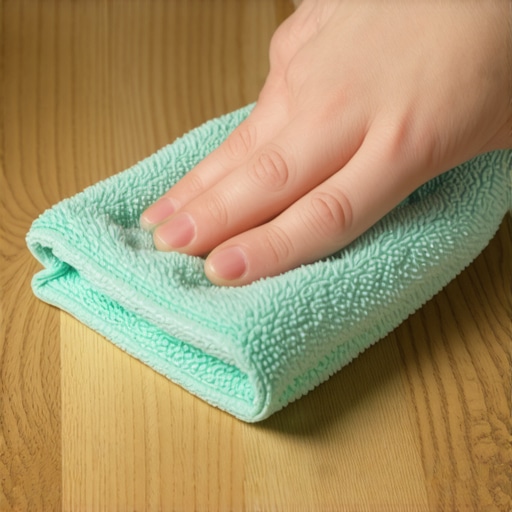
How to Clean Textured Laminate That Traps Dirt in the Grain
Mastering the Deep Clean of Textured Laminate Floors That Trap Dirt
I spent three days grinding concrete on a job last month just so the floor wouldn’t click like a castanet. Most guys skip the leveling compound because they think the underlayment will hide the dip. It won’t. I have seen countless homeowners drop thousands on high-end, embossed-in-register laminate only to see it look like a construction site within six months. They come to me complaining that the floor is defective. The truth is usually more painful. They are cleaning it like it is a flat piece of plastic. Textured laminate is an engineering marvel that mimics the grain of real timber, but those same micro-valleys and ridges act as a series of trenches for household oils, skin cells, and pet dander. If you do not change your mechanical and chemical approach, you are just pushing mud from one valley to the next.
The myth of the waterproof mop
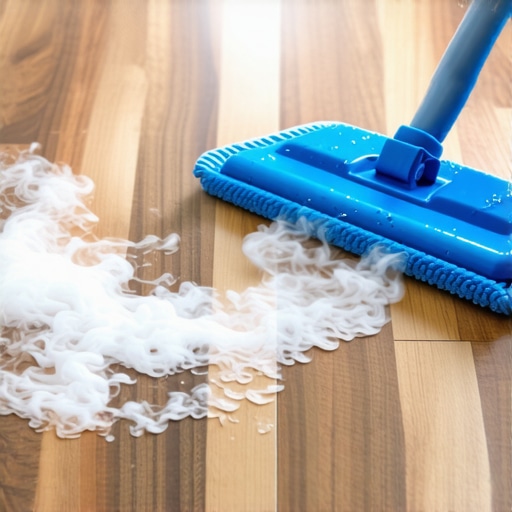
To clean textured laminate effectively you must avoid saturated mopping because excess water weakens the HDF core and allows dirt to settle deeper into the grain. Most people assume that because a floor is sold as waterproof, they can treat it like a ceramic tile. It is a lie. Even the best laminate is a sandwich of melamine, decorative paper, and high-density fiberboard. When you use a soaking wet mop, the water acts as a transport mechanism for fine particulates. It carries the dirt into the deep texture and, more dangerously, into the click-lock joints. Once that water evaporates, the dirt remains behind, now bonded to the surface by the minerals found in your tap water. You are essentially creating a layer of micro-cement in every grain of your floor.
How micro-valleys hold your floor hostage
Textured floors trap dirt due to the physics of surface tension and the depth of the embossed grain. When a manufacturer creates a floor with a hand-scraped or wire-brushed texture, they are adding verticality to a horizontal surface. Traditional flat-head mops only touch the peaks of these ridges. They glide right over the valleys. Imagine trying to clean the grout lines of a tile floor with a flat piece of cardboard. It will not work. The dirt in these valleys is often held in place by a thin film of grease or soap residue. To get it out, you need to break the surface tension of the liquid and use a tool that can reach into a space measured in microns. This is where the structural zooming comes into play. The wear layer, typically made of aluminum oxide, is incredibly hard but it is not smooth. At a microscopic level, it is a mountain range that requires a mechanical solution to desoil.
“A floor is only as good as the subfloor beneath it; deflection is the enemy of every joint.” – Master Flooring Axiom
The chemical failure of household detergents
Standard grocery store floor cleaners often contain waxes or surfactants that leave a sticky residue which attracts and holds dirt in the laminate grain. This is the most common mistake I see. You use a product that promises a shine. That shine is a chemical film. On a smooth floor, it is annoying. On a textured floor, it is a disaster. The film fills the grain and acts like flypaper for every piece of dust that enters the room. Over time, these layers of cleaner build up, turning the floor gray or hazy. You need a pH-neutral cleaner that leaves zero residue. In my shop, I tell people to look for cleaners specifically designed for professional hardwood maintenance, even for laminate, because they are engineered to evaporate cleanly without leaving a tactile footprint.
Why floor leveling affects your cleaning routine
Proper floor leveling ensures that your cleaning tools maintain consistent contact with the textured surface without skipping over low spots. If your subfloor has a dip of even 1/8 inch over a six-foot span, your laminate will flex when you walk on it. This deflection does more than just stress the joints. It creates localized low spots where dirty water pools during the cleaning process. As the floor settles, those puddles remain in the deep texture longer than they do on the high spots. This leads to uneven soil distribution. When I am out there with my self-leveling compounds and my 10-foot straight edge, I am not just making the floor flat for the install. I am making it maintainable. A floor that is not level is a floor that will always have dirty pockets in the grain.
| Cleaning Method | Deep Grain Extraction | Moisture Risk | Residue Level |
|---|---|---|---|
| String Mop | Low | High | High |
| Flat Microfiber | Medium | Low | Low |
| Soft Bristle Scrub | High | Medium | Low |
| Steam Mop | High | Extreme | None |
The gap that swallows the grime
The expansion gap at the perimeter of a laminate floor can become a reservoir for dust and dirt if not properly managed. Industry standards require a 1/4 to 1/2 inch gap around the entire perimeter of a room. This is to allow the floor to expand and contract with humidity changes. However, if your baseboards or quarter-round are not installed correctly, this gap becomes a gutter for dirt. When you sweep or vacuum, you often push debris into these hidden spaces. From there, it can migrate under the planks or get caught in the starting rows of the texture. If you live in a high-humidity area like New Orleans, that dust can turn into a mold-prone sludge. Keeping those perimeter areas clean is as important as cleaning the center of the room.
Engineering a better cleaning solution
A professional-grade cleaning solution for textured laminate involves distilled water and a small amount of isopropyl alcohol to ensure rapid evaporation. If you are struggling with dirt trapped in the grain, stop using tap water. Tap water contains minerals like calcium and magnesium. When the water evaporates, these minerals stay in the grain and act as anchors for new dirt. Distilled water is a hungry solvent. It wants to pick up minerals and oils. By mixing a gallon of distilled water with a half-cup of 70 percent isopropyl alcohol, you create a solution that cuts through grease and flashes off the surface before it can soak into the core of the plank. This is how you prevent the micro-cementing effect in the EIR embossing.
The physics of mechanical agitation
Mechanical agitation with a soft-bristled brush is the only way to physically dislodge packed dirt from deeply textured laminate grain. Sometimes, a mop just is not enough. You need to get aggressive but not abrasive. Using a brush with flagged bristles allows the tips to reach into the valleys of the hand-scraped texture. You should work in small sections, agitating the cleaner in a circular motion. This breaks the bond between the dirt and the aluminum oxide wear layer. You must immediately follow this with a dry microfiber cloth to pick up the suspended soil. If you let the liquid sit, the dirt will just resettle back into the grain. It is a back-breaking process if you have 2,000 square feet, but it is the only way to restore a floor that has been neglected for years.
“Moisture is the single greatest threat to the longevity of a wood-based laminate system.” – NWFA Technical Manual
Why you should never put laminate in showers
Installing laminate in or near showers is a structural failure because the high humidity and standing water will inevitably cause the HDF core to swell and the texture to delaminate. I have seen people try to run their laminate right up to a walk-in shower. It is a recipe for disaster. The steam from the shower enters the micro-texture and the joints, softening the melamine layer. Once that layer is soft, dirt becomes permanently embedded in the surface. If you want the look of wood in a wet area, you go with a porcelain plank. Laminate is for living spaces, kitchens, and hallways where you can control the environment. If you have laminate in a bathroom, you need to be twice as diligent about drying the floor after every use to prevent the grain from opening up and swallowing moisture.
A professional checklist for deep restoration
Follow this checklist to restore the appearance of your textured laminate without damaging the protective wear layer. Consistency is the key to preventing dirt from reclaiming the valleys of your floor. If you skip steps, you are wasting your time.
- Vacuum the entire surface using a hard-floor setting to remove loose grit that acts like sandpaper.
- Identify high-traffic areas where the grain looks darker or gray.
- Apply a pH-neutral, professional cleaner using a fine-mist spray bottle to avoid pooling.
- Agitate the grain using a soft-bristled nylon brush in 3-foot by 3-foot sections.
- Wipe the section immediately with a clean, dry microfiber pad.
- Repeat the process until the microfiber pad comes back white.
- Avoid using steam mops as the heat can melt the adhesive bond at the edges.
- Ensure all perimeter expansion gaps are clear of debris using a crevice tool.
Maintaining the structural integrity of the wear layer
Protecting the wear layer of your laminate is essential because once the melamine is scratched or worn thin, dirt will permanently stain the underlying decorative paper. The grain is your first line of defense, but it is also the most vulnerable to abrasion. Sand and grit are the primary enemies. They act like grinders on the ridges of your texture. If you lose the peaks of those ridges, the floor will lose its realistic look and become impossible to clean. Use heavy-duty walk-off mats at every entrance. If you are doing a carpet install in an adjacent room, make sure the transition strip is flush. High-profile transitions catch dirt and release it onto the laminate every time someone walks by. A floor is a system, and every part of that system needs to be engineered for cleanliness. Take care of the subfloor, watch your chemistry, and don’t let the water sit. That is how you keep a textured floor looking like it was just pulled out of the box.