How to Install Laminate Around a Radiator Pipe Perfectly
Precision Cutting for Radiator Pipes in Laminate Flooring
Most guys skip the leveling compound. They think the underlayment will hide the dip. It won’t. I spent three days grinding concrete on a job last month just so the floor wouldn’t click like a castanet. That experience taught me that if you do not respect the subfloor, the finished surface will betray you. When it comes to radiator pipes, that betrayal happens faster than anywhere else. The heat from the pipe works against the High-Density Fiberboard core of the laminate. If you do not account for the thermal expansion and the structural integrity of the plank, you will end up with a gap or a buckle that ruins the entire visual field of the room. It is not just about a pretty cut. It is about engineering a floating system that can move while remaining stable around a fixed thermal source. This is the difference between a floor that lasts twenty years and one that fails after the first winter cycle.
The physics of the radiator pipe expansion gap
Laminate flooring expansion gaps must be maintained at one-quarter inch around all fixed vertical objects like radiator pipes or door frames. The High-Density Fiberboard core of the plank expands and contracts based on ambient humidity and pipe temperature changes. Failing to leave this perimeter gap results in peaking or joint failure. I have seen hundreds of DIY jobs where the homeowner wedged the laminate tight against the copper pipe. They thought it looked clean. Two months later, the floor was lifting three inches off the subfloor because the planks had nowhere to go. You must treat the pipe like a wall. It is a boundary. Laminate is a floating floor. It is a giant wooden sail that moves as a single unit. If you pin it at the pipe, you break the system. You need that gap. You need to understand that the air in the room and the heat in the pipe are constantly fighting the moisture levels in the wood fibers. It is a chemical battle happening under your feet every day.
“A floor is only as good as the subfloor beneath it; deflection is the enemy of every joint.” – Master Flooring Axiom
Measuring and marking the plank with surgical precision
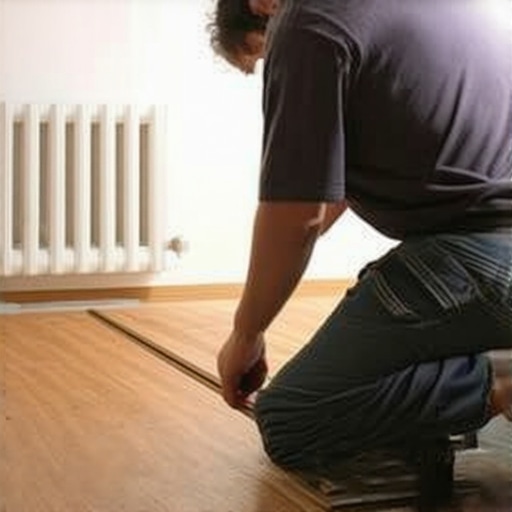
Accurate measurements for radiator pipes require a contour gauge or a speed square to locate the exact center point of the pipe diameter on the laminate plank. You must account for the expansion gap by adding half an inch to the hole diameter compared to the actual pipe width. This ensures the floating floor remains unrestricted during thermal cycles. Lay the plank next to the pipe. Mark the center of the pipe on the side of the plank. Then, measure from the last installed row to the center of the pipe. Transfer that mark to the board. This is where your drill bit will land. Do not guess. Do not eyeball it. If you are off by even an eighth of an inch, the board will not click into place. It is the same discipline required for a complex carpet install where you have to tuck into a difficult transition. Precision is the only thing that saves you from wasting material. I always tell my apprentices that the pencil is the most important tool in the box. A sharp lead line is the difference between a professional finish and a hack job.
The mechanics of the wedge cut and drilling
Drilling laminate planks for radiator pipes involves using a spade bit or forstner bit that is one-half inch larger than the pipe diameter. The wedge cut is then made from the back of the hole to the edge of the plank at a slight angle to allow for re-gluing and structural stability. Once you have your hole, you need to get the board behind the pipe. You do this by cutting a wedge out of the plank. Start from the center of the hole and cut straight to the edge. Then, cut another line at a slight angle to create a removable piece. This piece will be glued back in after the plank is locked into the rest of the floor. Use a high-quality wood glue. Do not use construction adhesive. You need something that bonds the HDF core without expanding too much. It is like floor leveling for a small, localized area. You are creating a custom fit that looks like a solid piece. This technique is what separates the masters from the guys who just want to get paid and leave. It takes an extra ten minutes, but it prevents the plank from separating later on.
| Pipe Diameter | Drill Bit Size | Expansion Gap Result |
|---|---|---|
| 1/2 inch | 1 inch | 1/4 inch per side |
| 3/4 inch | 1 1/4 inch | 1/4 inch per side |
| 1 inch | 1 1/2 inch | 1/4 inch per side |
Why your subfloor is lying to you
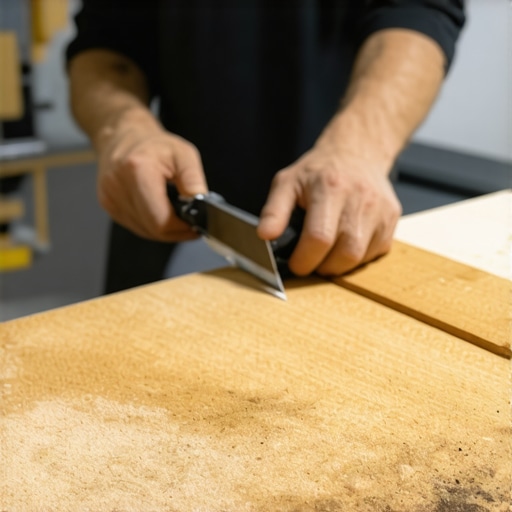
Subfloor flatness is the absolute requirement for any laminate installation or floor leveling project. A subfloor must be flat within three-sixteenths of an inch over a ten-foot radius to prevent locking mechanism failure and audible clicking. If you ignore a dip in the plywood or a hump in the concrete, the pipe cut will never look right. The board will bounce every time someone walks near it. This causes the glued wedge to pop out. I have walked into jobs where the installer tried to fix a subfloor issue with double-layered underlayment. That is a rookie mistake. While most people want the thickest underlayment, too much cushion actually causes the locking mechanisms on LVP or laminate to snap under pressure. It creates too much vertical movement. You want a firm, flat base. If the floor is not flat, you get out the grinder or the self-leveling compound. You do not move forward until the foundation is perfect. This is the same rule we follow in showers or high-moisture areas. The prep work is eighty percent of the job.
“Substrate preparation is the most critical phase of any flooring installation; failure to address moisture and flatness will lead to system degradation.” – TCNA Handbook Principles
- Check subfloor moisture levels with a calibrated pin meter.
- Grind down high spots in concrete using a diamond cup wheel.
- Fill low spots with a high-compressive strength leveling compound.
- Vacuum all dust and debris to ensure the underlayment lays flat.
- Verify that the expansion gap is consistent around the entire perimeter.
The ghost in the expansion gap and final sealing
Sealing expansion gaps around radiator pipes requires flexible 100 percent silicone or radiator pipe collars to hide the one-quarter inch opening while allowing for lateral movement. You must never use hard caulk or grout which will crack as the floor shifts. Once the board is glued and set, the gap looks like a dark void. Some people hate this. You can buy split-ring collars that snap around the pipe. They come in wood finishes, white, or chrome. They cover the gap and make the job look finished. If you use silicone, make sure it is a color-matched version. It stays flexible. It lets the floor breathe. If you skip this, dust and hair will fill that gap within a month. It is about the long-term maintenance of the surface. You want the homeowner to be able to clean the floor without gunk getting trapped under the edges. It is these small details that define a professional reputation. You are not just laying boards. You are managing the physics of a living, moving structure within a home. The heat of the radiator makes this the most volatile part of the room. Treat it with the respect it deserves.
Common failures in pipe transitions
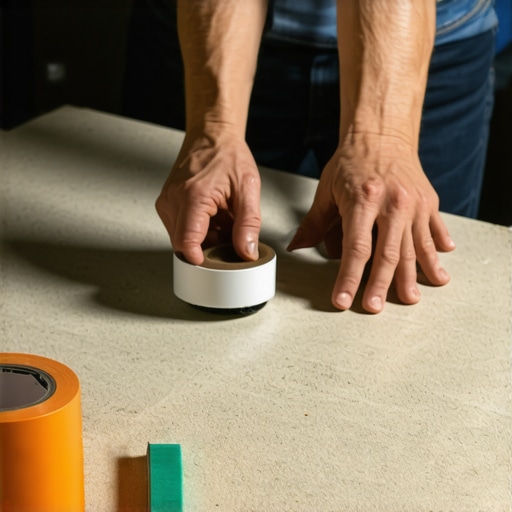
Laminate failure near heat sources typically stems from insufficient gaps or poor adhesive selection on the wedge piece. Over time, the thermal cycles of the radiator will cause inferior glue to brittle and break, leading to plank separation. I have seen guys try to use tape or hot glue. It does not work. You need a bond that handles the vibration and the heat. Also, consider the underlayment. If you are installing over a crawlspace or a damp basement, your moisture barrier must be taped perfectly around those pipes. If moisture creeps up through the pipe hole, it will swell the edges of your laminate. Then you get that ugly raised edge that you can feel through your socks. It is all connected. The floor leveling, the moisture barrier, the cut, and the glue. If one part of the chain breaks, the whole floor is compromised. It is a technical discipline. It requires patience and a refusal to cut corners. When you finish, the pipe should look like it is growing out of the floor, with a clean, consistent margin all the way around. That is the mark of a master. That is how you build a floor that stands the test of time.