The ‘Penny Trick’ for Checking Your Shower Floor Slope
The simple physics of the penny test for shower floors
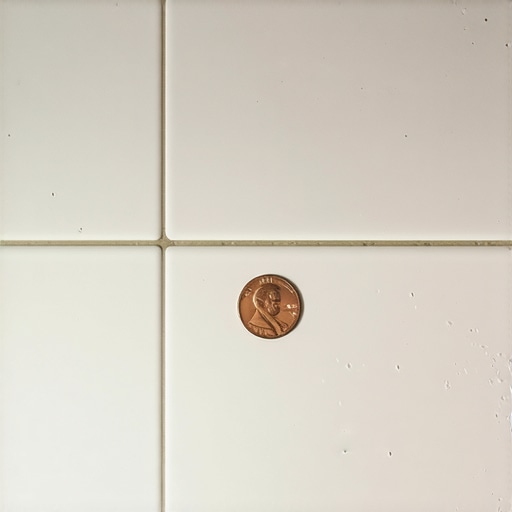
The penny trick for checking your shower floor slope involves placing a penny on the perimeter of the shower floor and watching it roll toward the drain. A successful test requires the coin to travel directly to the center without stopping or veering into low spots or birds-eyes. Most guys skip the leveling compound. They think the underlayment will hide the dip. It won’t. I spent three days grinding concrete on a job last month just so the floor wouldn’t click like a castanet, and that same level of obsession is required for your shower pan. If that penny stops, your water stops. When water stops, you get mold, hydrostatic pressure against your grout lines, and eventually, a failed waterproofing membrane that will rot your subfloor. I have seen thousand-dollar tile jobs ruined because someone didn’t understand the basic gravity required to move a few ounces of water toward a brass drain assembly. You smell the mildew before you see the leak. That smell is the scent of a contractor who didn’t own a level. Floored surfaces in wet environments are not decorative. They are functional components of a hydraulic system designed to move waste and greywater out of the building envelope as fast as possible. Any deviation from the required pitch is a structural failure in waiting.
The gravity trap in your drain
A shower floor must slope at a minimum of one quarter inch per linear foot toward the drain to ensure that gravity overcomes the surface tension of water on tile. This pitch prevents stagnant pools from forming in the corners or along the curb where moisture breeds bacteria. When we talk about the physics of drainage, we are dealing with the interaction between the coefficient of friction of the tile surface and the viscosity of water. A polished marble tile has less resistance than a textured slate, yet both require a precise geometric plane to function. If you have a five foot shower, your perimeter must be exactly one and a quarter inches higher than the drain throat. There is no wiggle room here. If the slope is too shallow, the water sits. If it is too steep, you create a slip hazard and make it impossible to set large format tiles without massive lippage. I always carry a handful of pennies because they are a perfect weight for testing. They have enough mass to overcome minor surface tension but are light enough to be stopped by even a 1/32 inch deviation in the thin-set bed. It is a brutal, honest assessment of your craftsmanship. If the penny stalls, you have a bird-eye. A bird-eye is a depression in the mortar bed that will hold a pool of water long after the shower is turned off. Over months, that water becomes a petri dish.
“A floor is only as good as the subfloor beneath it; deflection is the enemy of every joint.” – Master Flooring Axiom
The math of the mud bed
Constructing a proper shower slope requires a dry-pack mortar bed mixed at a four-to-one ratio of sharp sand to Portland cement. This mixture allows for a porous yet rigid substrate that can be shaped into a perfect truncated cone centered on the drain. Most DIY installers and even some ‘pros’ try to use wet-set concrete. That is a mistake. Wet concrete slumps. Dry-pack, often called deck mud, stays where you put it. You pack it tight with a wood float until it is as hard as a rock. You are aiming for a consistency that holds together when you squeeze it in your hand but doesn’t leak water. This is the foundation of your entire bathroom. If your sand-to-cement ratio is off, the bed will crumble under the weight of the tile and the person standing on it. I have seen mud beds that were so soft you could dig through them with a screwdriver. That happens when someone gets lazy with the mixing paddle. You need a consistent molecular bond across the entire surface to support the waterproofing layer. Whether you are using a liquid-applied membrane like RedGard or a sheet membrane like Kerdi, the substrate must be flawless. Any bump in the mud will be magnified when the tile goes down. This is where the penny trick saves your life. You run that test on the mud bed before you ever open a bucket of waterproofing. If it fails on the mud, it will fail on the tile.
| Measurement Component | Minimum Requirement | Structural Purpose |
|---|---|---|
| Vertical Pitch | 1/4 inch per foot | Gravitational acceleration of water |
| Mortar Ratio | 4:1 Sand to Cement | Substrate rigidity and porosity |
| Subfloor Deflection | L/360 | Prevention of grout line cracking |
| Penny Weight | 2.5 Grams | Low-mass kinetic testing |
Why your subfloor is lying to you
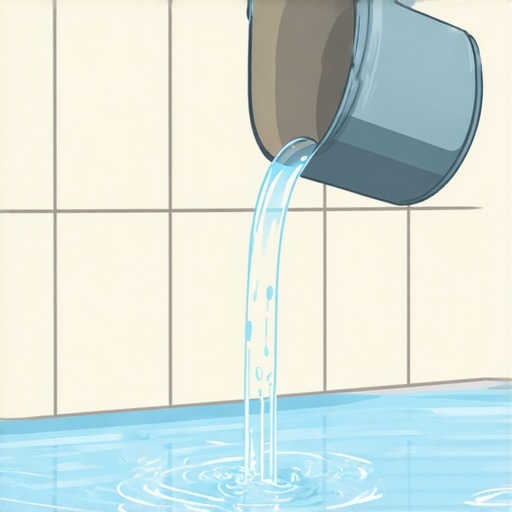
Your wooden subfloor or concrete slab is rarely level or flat, meaning you cannot rely on the existing structure to provide your shower slope. You must mechanically isolate the shower pan from the house movement using a slip sheet or a reinforced mortar bed. In older homes, the floor joists have almost always settled. If you build your shower directly on a sagging floor, your slope will be inconsistent from day one. I have walked into jobs where the house was leaning so much that the ‘high side’ of the shower was actually lower than the drain. You can’t fix that with a little extra thin-set. You have to sister the joists or use a self-leveling underlayment before you even think about the shower pan. In a humid climate like New Orleans or a basement in Chicago, moisture in the air can actually cause the subfloor to expand and contract, which puts stress on the drain connection. If that connection isn’t rock solid, the movement will break the seal. I once saw a $15,000 wide-plank walnut floor in a master bedroom cupping so bad it looked like a potato chip because the adjacent shower had a slow leak in the pan that no one noticed for six months. The water was migrating under the wall and soaking the hardwood from underneath. All because the installer didn’t check the slope and water was sitting against the curb. A shower is a vessel. It should be able to hold water like a swimming pool even before the tile is installed. If it can’t pass a 24-hour flood test, it’s not a shower. It is a disaster in progress.
The 1/8 inch that ruins everything
Precision in flooring is measured in eighths of an inch because that is the threshold where the human eye perceives a lip and where water begins to pool. A variation of just one eighth of an inch can disrupt the flow of water and lead to a permanent puddle. When you are screeding your mud bed, you are fighting against the clock and the physical properties of the cement. As the mortar loses moisture, it becomes harder to manipulate. This is why many installers rush and leave small ridges. These ridges act like dams. When you lay your tile, the thin-set fills in some of the gap, but the geometric problem remains. The penny trick identifies these dams. If the penny hits a ridge, it stops. That tells you exactly where you need to take your rub stone and grind it down. Do not wait for the tile to find the problem. I have spent too many hours with a diamond blade cutting out finished tile because a homeowner noticed a puddle in the corner. It is a nightmare to fix after the fact. You risk puncturing the waterproofing membrane and then you are back to square one. Take the extra hour to get the mud right. Your future self will thank you when you aren’t dealing with a moldy grout line three years from now.
“A shower floor is not a floor; it is a roof for the room below it.” – TCNA Standard Observation
The microscopic reality of thin-set bonding
Modified thin-set mortars use polymers to create a chemical bridge between the tile and the substrate, but this bond is weakened if the surface is dusty or if the slope is incorrect. Proper coverage requires a minimum of 95 percent contact in wet areas. People think you just slop some ‘glue’ on the floor and stick the tile down. That is how you end up with hollow tiles that crack when you step on them. You need to back-butter every single piece of tile in a shower. You want to see those ridges collapse into a solid bed of mortar. If you leave air pockets under the tile, those pockets will eventually fill with water. That water becomes stagnant and starts to smell. This is the ‘swamp effect’ that kills shower floors. If your slope is correct, the water that gets behind the tile through the grout will eventually find its way to the weep holes in the drain. If your slope is bad, that water just sits there, rotting the thin-set from the inside out. The chemistry of a high-quality ANSI A118.15 mortar is designed to handle moisture, but it is not designed to be submerged indefinitely. It needs to dry out. A proper slope ensures that the ‘under-tile’ environment stays as dry as possible through capillary drainage. This is technical, gritty work. It is not about making things look pretty. It is about managing the movement of fluid through a porous system. If you fail the penny test, you are failing the physics of the install.
- Ensure subfloor deflection meets L/360 or L/720 standards.
- Mix dry-pack mortar to a damp sand consistency.
- Screed from the perimeter corners down to the drain flange.
- Check for bird-eyes using a straight edge and a penny.
- Apply waterproofing membrane in two continuous coats.
- Perform a 24-hour flood test before tiling.
- Back-butter all tiles to ensure 95% mortar coverage.
Hydrodynamics of different tile materials
The texture of your flooring material significantly impacts how water moves toward the drain, with natural stone requiring a steeper effective pitch than glazed ceramic. Surface tension varies across different mineral compositions and finishes. A pebble floor is the hardest to drain. Every single pebble is a potential obstacle for the water. If you choose a pebble floor, your penny trick might not work in a straight line, but you still need to ensure that the overall trend of the coin is downward. You have to be even more aggressive with your slope on pebbles to compensate for the turbulence created by the uneven surface. On the other hand, large format porcelain is slippery. Water moves fast, but the tiles are hard to slope without creating ‘lippage’ at the corners. This is where ‘envelope cuts’ come in. You have to cut the tile diagonally from the corners of the shower to the corners of the drain to maintain the slope. If your installer doesn’t mention envelope cuts for large tile, he doesn’t know how to build a shower floor. He’s going to give you a flat floor with a hole in the middle, and you’re going to have a lake in your bathroom. I don’t care how beautiful the tile is if it’s underwater. You need to respect the material science. Stone is porous and will hold water longer than porcelain. If you don’t have a perfect slope on a marble floor, the marble will darken and stain as it absorbs the standing water. It’s a permanent reminder of a bad install. Get the penny. Roll it. Fix the dip. It is the only way to be sure.