How to Fix a Carpet Bubble Without Pulling Up the Whole Room
Most guys skip the leveling compound. They think the underlayment will hide the dip. It won’t. I spent three days grinding concrete on a job last month just so the floor wouldn’t click like a castanet. That same philosophy applies to the carpet bubble. A ripple in your rug is not just a trip hazard, it is a structural failure of the secondary backing. I have walked into thousands of homes where the owner thinks they can just walk the bubble to the wall. It does not work like that. I have seen fifteen thousand dollar installs ruined because a guy used a knee kicker when he should have used a power stretcher. You have to understand the physics of the stretch and the chemistry of the latex bond to fix this without tearing the room apart. My hands are stained with adhesive and my knees have the permanent calluses of a man who knows that a floor is only as good as the tension it holds. When you see a bubble, you are seeing a delaminated section where the primary backing has separated from the secondary backing, or the tension of the original install has finally succumbed to humidity and poor technique.
The physics of the delaminated bubble
A carpet bubble occurs when the secondary backing separates from the primary backing or the carpet loses its tension against the tack strips. Fixing it without removal requires injecting a specialized adhesive into the void or using a power stretcher to redistribute the slack toward the nearest wall. To understand why your carpet is lifting, you have to look at the SBR latex. This styrene-butadiene rubber is the glue that holds the yarn into the backing. When a carpet is installed in a high-humidity environment like Houston or the Gulf Coast, that latex can soften. If the installer did not achieve a fifteen percent stretch across the length and width, the fibers will eventually relax. This relaxation creates a surplus of material. Because the carpet is pinned at the perimeter, that surplus has nowhere to go but up. You are looking at a pocket of air trapped by the weight and rigidity of the surrounding tension. If you ignore it, the foot traffic will crack the brittle latex, leading to permanent delamination. At that point, no amount of stretching will fix it because the structural integrity of the weave is gone. You are effectively trying to stretch a piece of wet cardboard. It will just tear or fold.
“A floor is only as good as the subfloor beneath it; deflection is the enemy of every joint.” – Master Flooring Axiom
The strategic adhesive injection protocol
The injection method involves using a surgical grade syringe to place specialized carpet adhesive directly under the bubble through the primary backing. This creates a localized bond that pulls the carpet flat against the subfloor or padding without requiring a full room restretch or tool rental. You need a heavy duty syringe, often called a carpet needle. We are talking about a twelve to sixteen gauge bore. You do not just squirt glue in there and hope for the best. You have to map the bubble. I take a chalk line and mark the apex. You want an adhesive with high solids content and low moisture. If the glue is too watery, it will soak into the pad and do nothing for the backing. I prefer a pressure sensitive adhesive that stays tacky. You find the center of the ripple, insert the needle at a thirty degree angle to avoid snagging the face fibers, and depress the plunger. Once the adhesive is in, you need to use a weighted roller. I use a seventy five pound linoleum roller, but in a pinch, a heavy stack of books will do. You are forcing the backing to marry the adhesive. You must leave that weight for at least twenty four hours. If you walk on it too soon, you will break the bond before the cross-linking of the polymer is complete. This is chemistry, not magic. The bond must survive the lateral shear force of people walking over it daily.
Tools for a surgical precision repair
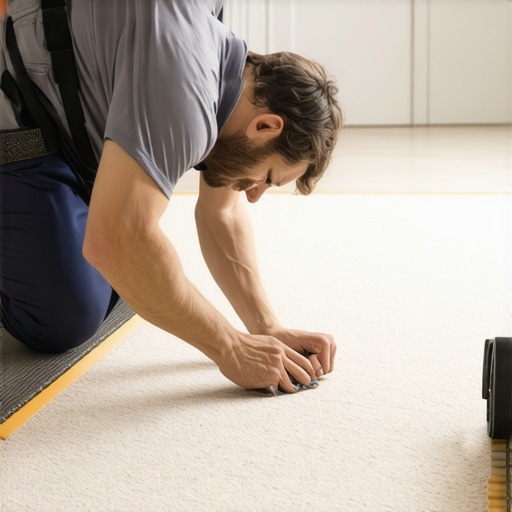
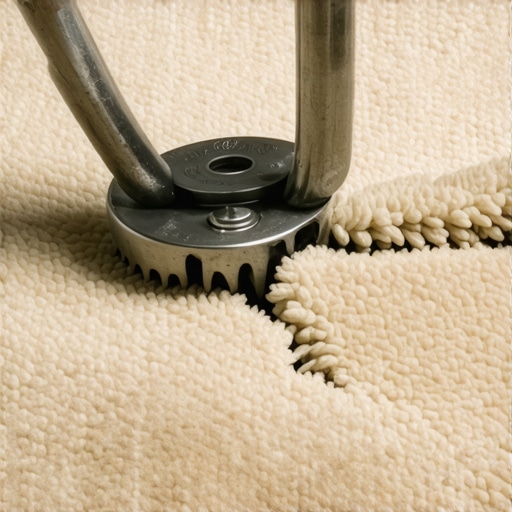
The essential tools for fixing a carpet bubble include a carpet syringe, a power stretcher, a stay plate, and a high-grade latex adhesive. These tools allow you to address the tension loss and the physical separation of the backing materials at a molecular level for a permanent fix. Do not touch a knee kicker for this. A knee kicker is for positioning, not for stretching. If you try to kick a bubble out, you will likely rip the carpet off the tack strips on the opposite side of the room. You need a power stretcher. This is a long pole system that braces against one wall and uses a geared head to pull the carpet on the other side. It can exert over five hundred pounds of force. This is how you get the ripples out for good. You also need a sharp utility knife with a fresh blade to trim the excess at the wall. When you stretch the bubble out, that extra carpet has to go somewhere. It will overlap the baseboard. You have to tuck it back onto the pins. Most homeowners fail because they do not have the mechanical advantage of the power stretcher. They are trying to fight the friction of the padding with their own muscle. You will lose that fight every time. The padding has a high coefficient of friction designed to keep the carpet from sliding. The power stretcher overcomes that friction by putting the entire surface under uniform tension.
| Feature | Injection Method | Power Stretching |
|---|---|---|
| Primary Goal | Rebond Delamination | Restore Tension |
| Tool Requirement | Syringe and Adhesive | Power Stretcher and Stay Plate |
| Drying Time | 24 to 48 Hours | Immediate Use |
| Skill Level | Moderate Precision | High Mechanical Effort |
| Risk Factor | Adhesive Bleed-through | Tack Strip Failure |
The structural limits of the knee kicker
A knee kicker is insufficient for removing carpet bubbles because it only provides localized, short-term tension that does not reach the center of the room. Using it for bubble repair often results in uneven stretching and can cause the carpet to fail at the perimeter seams. I have seen guys blow out their ACLs trying to kick a ripple out of a twenty foot room. It is a fool’s errand. The force required to move a carpet across a room is logarithmic. Every foot of distance increases the drag from the cushion underneath. If you are in a dry climate like Phoenix, the carpet backing is going to be stiffer and more resistant to movement. You need the steady, hydraulic-like pressure of a power stretcher. You set the head of the stretcher about six inches from the wall where the bubble is moving toward. You brace the foot against the opposite baseboard. As you pull the lever, you watch the ripple vanish. It is like watching a lake go still. Once the tension is set, you use a stair tool to jam that extra fabric into the gulley between the tack strip and the wall. This is where the 1/8 inch ruins everything. If you don’t tuck it tight, it will just pop back out the first time someone drags a chair across it.
- Inspect the subfloor for moisture before starting any adhesive repair.
- Verify the tack strips are not rotted or pulling away from the concrete.
- Ensure the carpet is acclimated to the room temperature for 72 hours.
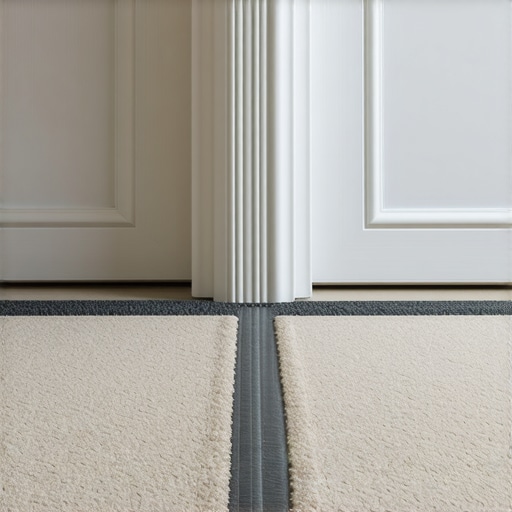
- Use a transition strip if the bubble is near a doorway or tile edge.
- Check the pile direction to ensure you are stretching with the grain.
Climate factors and regional floor behavior
Regional humidity levels directly affect the elasticity of carpet backing and the curing time of repair adhesives. High humidity regions require more aggressive stretching and longer adhesive set times to prevent the return of ripples and bubbles. If you are in the Midwest, the seasonal swing from humid summers to bone-dry winters is a nightmare for floors. The wood subfloor beneath the carpet expands and contracts. This movement can actually pull the tack strips inward, causing the carpet to go slack. When I work in places like Chicago, I always over-stretch the carpet by about one percent beyond the NWFA recommendations. I know that when the furnace kicks on in November, that carpet is going to tighten up like a drum. Conversely, if you are in a basement where the concrete slab is constantly off-gassing water vapor, your adhesive repair might fail. You have to use a vapor-rated adhesive. Concrete is a sponge. It looks solid, but it is breathing. If that moisture hits the bottom of your carpet, it breaks down the latex. That is why you get bubbles in the first place. You cannot fix a moisture problem with a syringe. You have to address the slab or use a synthetic backing that doesn’t rot.
“A floor is a performance surface, not a decoration; treat the subfloor with the respect its structural role demands.” – Master Flooring Axiom
The final word on floor integrity
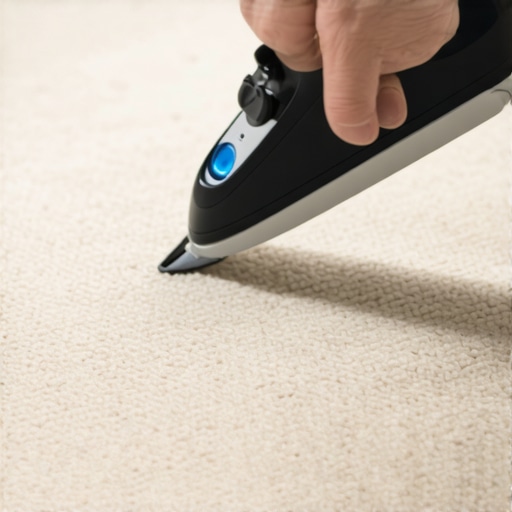
Fixing a bubble is about restoring the original engineering of the install. You are either re-bonding a failure or re-tensioning a slack system. If you take the shortcut and just try to steam it or iron it, you are going to be disappointed. Heat can sometimes shrink a synthetic fiber, but it also destroys the backing. You will end up with a flat carpet that feels like a potato chip under your feet. Do it right. Use the stretcher. Use the needle. If the bubble is larger than a basketball, the injection method is just a band-aid. You need to get the tools and pull the slack to the wall. My knees might be shot, but my floors stay flat because I don’t argue with physics. A floor is the foundation of your daily life. If it is rippling, the foundation is failing. Take the time to grind the subfloor, check the moisture, and stretch the fabric until it hums. That is the only way to ensure you aren’t doing this same job again in six months.