The Hidden Reason Your Shower Floor Tiles Are Popping Loose
The deceptive nature of a rigid surface
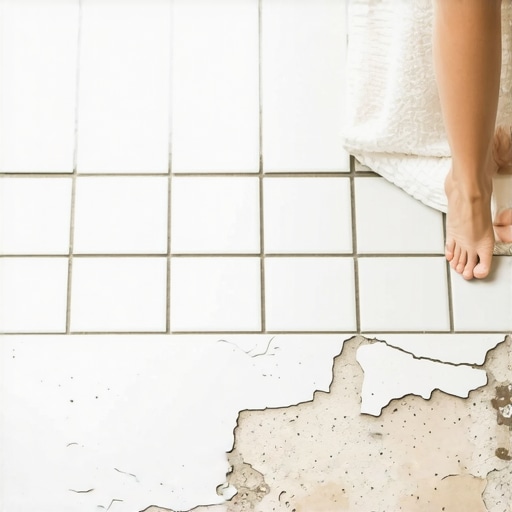
Shower floor tiles pop loose because of subfloor deflection and improper thin-set coverage rather than simple water exposure. When a subfloor flexes even a fraction of an inch, the rigid bond between the tile and the substrate snaps. This mechanical failure occurs long before the homeowner notices a single loose grout line. Most guys skip the leveling compound. They think the underlayment will hide the dip. It won’t. I spent three days grinding concrete on a job last month just so the floor wouldn’t click like a castanet. That job was a wake up call for the homeowner who thought their plywood was flat enough. It never is. The physics of a shower floor are unforgiving. You are dealing with constant thermal expansion and contraction. When hot water hits a cold tile, the material expands. If the mortar bed is too thin or the wrong chemistry, the tile has nowhere to go but up. I have seen fifteen thousand dollar bathrooms ruined because someone wanted to save fifty bucks on a high quality modified mortar. It is a tragedy of engineering. You smell the dampness before you see the movement. That smell of wet concrete and stagnant water is the scent of a failing system. You have to understand that tile is just the skin. The skeleton is the subfloor. If the skeleton is weak, the skin will tear.
The physics of subfloor deflection
Subfloor deflection refers to the amount of vertical movement a floor system undergoes when under a load. For stone and tile, the industry standard is L over 360, which means the floor should not bend more than the span divided by 360. If you exceed this, your grout will powder and your tiles will tent. I have walked onto jobs where the joists were spaced twenty four inches on center with only a single layer of five eighths subflooring. That is a recipe for a disaster. You can feel the bounce in your boots. Most people think floor leveling is about aesthetics. It is actually about structural integrity. If you have a low spot, the tile spans that gap like a bridge. Eventually, the bridge collapses under the weight of a person. You need a solid, non-compressible base. I always tell my apprentices that if the subfloor is not perfect, the tile will be a nightmare. We use a ten foot straight edge to find the dips. Anything more than an eighth of an inch over ten feet gets the grinder or the self-leveler. No exceptions. We do not use the thin-set to build up the floor. That is a rookie mistake. Thin-set is an adhesive, not a structural filler. When it dries in thick layers, it shrinks. That shrinkage pulls the tile down and creates internal tension. That tension is a ticking time bomb.
“A floor is only as good as the subfloor beneath it; deflection is the enemy of every joint.” – Master Flooring Axiom
The chemistry of the mortar bond
Thin-set mortar is a blend of portland cement, sand, and water-retention agents that create a chemical bond through hydration. Modern modified mortars include polymers that increase flexibility and shear strength. If you use a cheap, unmodified bag in a wet area, you are asking for a failure. The water eventually breaks down the crystalline structure of the cement. In high humidity regions like Florida or the Gulf Coast, this process accelerates. The moisture in the air prevents the mortar from ever fully curing if the house is not climate controlled. I have seen tiles that I could pick up with my bare hands six months after installation because the mortar turned back into dust. You need the polymers to create a bridge between the tile and the substrate. This is especially true with porcelain. Porcelain is dense. It has a water absorption rate of less than point five percent. That means the mortar cannot soak into the tile. It has to grab onto the surface. If you do not burn the mortar into the back of the tile, you have no mechanical bond. You are just resting the tile on a bed of mud. The moment the house settles, those tiles are coming for a ride. I always back-butter every single piece of stone or porcelain. It is the only way to ensure one hundred percent coverage. If you see ridges when you pull up a failed tile, you know the installer was lazy. Those ridges should be collapsed into a solid bed of support.
The ghost in the expansion gap
Expansion gaps are the intentional spaces left around the perimeter of a tile installation to allow for movement. Without these gaps, the tile assembly hits the walls and buckles. This is often called tenting. Many installers run the tile tight to the wall and then wonder why the floor pops in the middle of the room. The entire floor is a living organism. It grows when it gets warm and shrinks when it cools. In a shower, this cycle happens every time someone turns on the tap. If you do not have a movement joint filled with one hundred percent silicone, the grout will crack. Grout is rigid. Silicone is flexible. You cannot use grout in the corners. It will fail every single time. I have seen guys try to caulk over grout to hide the cracks. It never works. You have to dig out the grout and do it right. The gap should be at least an eighth of an inch. That small space is the difference between a floor that lasts fifty years and one that lasts five. People hate the look of a thick silicone bead, but they hate a cracked floor even more. It is about education. You have to explain to the homeowner that the gap is a safety valve. It releases the pressure that would otherwise destroy the bond. In regions with extreme temperature swings, like the desert Southwest, these gaps are even more vital. The dry air shrinks the wood framing, while the shower moisture swells the tile. It is a constant tug of war. | Feature | Mud Bed (Traditional) | Foam Pre-sloped Pan | | :— | :— | :— | | Installation Time | 48-72 Hours | 2-4 Hours | | Weight | Heavy (Concrete) | Ultra-light | | Customization | High (Any Shape) | Moderate | | Waterproofing | Requires Liner | Integrated | | Skill Level | Expert | Intermediate |
The 1/8 inch that ruins everything
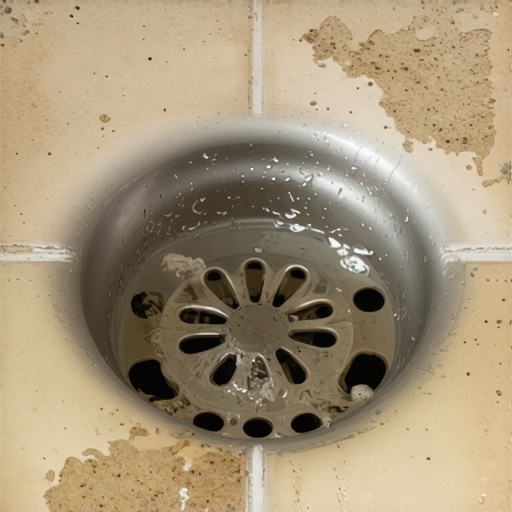
Precision in the slope of a shower floor is the only way to prevent standing water and mold growth. The industry standard is a quarter inch of fall per linear foot toward the drain. If you have an eighth of an inch of birdbath, that water sits there. It saturates the grout. It breeds bacteria. Eventually, it works its way under the tile and begins to rot the mortar bed from the bottom up. This is the hidden reason for popping tiles. The water is not just on top; it is underneath. If the weep holes in the drain assembly are clogged with mortar, the water has nowhere to go. It sits in the pan like a swamp. I have torn out showers where the mud bed was literally a sponge. You could squeeze it and water would pour out. That constant saturation softens the thin-set until the bond fails. You need to protect those weep holes with crushed stone or a dedicated protector. Most guys just slap the mud right against the drain. They are building a bathtub, not a shower. You have to think about the drainage that happens under the surface. It is a dual level system. The tile sheds the bulk of the water, but the liner and the weep holes handle the rest. If one part of that system fails, the whole floor is compromised.
“Tile is not waterproof; the system beneath the tile is what keeps the house dry.” – TCNA Handbook Standards
The checklist for a permanent shower floor
- Verify subfloor thickness and joist spacing to meet L/360 requirements.
- Ensure the concrete or plywood is flat within 1/8 inch over 10 feet.
- Use a high-quality liquid or sheet membrane for waterproofing.
- Install a pre-slope under the pan liner to ensure drainage to weep holes.
- Select a polymer-modified thin-set rated for submerged environments.
- Back-butter every tile to achieve 95% to 100% coverage.
- Leave 1/8 inch expansion gaps at all perimeters and changes of plane.
- Fill all internal corners and perimeters with 100% silicone sealant.
The chemical betrayal of improper cleaning
Harsh chemical cleaners can penetrate grout and attack the portland cement in the mortar bed. Many homeowners use bleach or acidic cleaners that eventually eat away the bond. This is a slow death for a floor. It starts with the grout becoming porous. Then the chemicals reach the thin-set. If you have a natural stone floor, like marble or travertine, the stone itself is sensitive to these acids. I have seen beautiful carrara marble floors turn yellow and start popping because the homeowner used a vinegar solution every week. You are literally dissolving the floor. You need a pH-neutral cleaner. The chemistry of the floor is a delicate balance. You have high-alkaline cement being attacked by low-pH acids. It is a basic chemical reaction that leads to structural failure. I always tell my clients to treat their shower floor like a fine piece of furniture. You would not spray bleach on a mahogany table. Do not do it to your stone. The bond between the tile and the mortar is a crystalline structure. When you introduce acids, you break those crystals. The tile loses its grip and begins to wobble. Once it wobbles, it is over. The mechanical bond is gone. You cannot just glue it back down. You have to remove the failed material and start over. It is a painful and expensive lesson. Most people blame the installer, but sometimes the culprit is the spray bottle under the sink. We live in a world where people want everything to be sterile, but that cleanliness comes at a cost to the masonry. Use a soft brush and a neutral soap. That is all you need. Your floor will thank you by staying attached to the ground. In the end, a floor is a machine. You have to maintain the machine if you want it to run. If you ignore the subfloor, the chemistry, and the physics, the machine will break. It is not a matter of if, but when. Stick to the standards. Don’t take shortcuts. And for heaven’s sake, check your moisture levels before you even open a bag of thin-set. It is the only way to build something that lasts longer than the warranty.