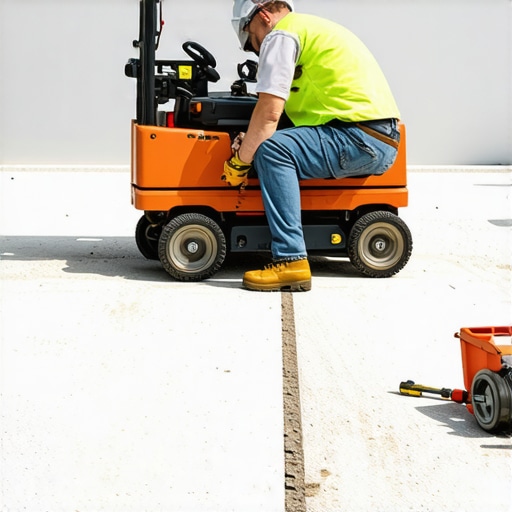
The ‘Pencil Test’ for Identifying Low Spots in Concrete Subfloors
The Pencil Test for Identifying Low Spots in Concrete Subfloors
Most guys skip the leveling compound. They think the underlayment will hide the dip. It won’t. I spent three days grinding concrete on a job last month just so the floor wouldn’t click like a castanet. That job was supposed to be a quick laminate install, but the slab was a topographical map of the Andes. Most installers walk onto a site, see a gray slab, and assume it is ready for glue or click-lock planks. They are wrong. A floor is a performance surface, and if the substrate is not within a 1/8 inch tolerance over a 10 foot radius, your expensive flooring will fail. I have seen 5000 dollar luxury vinyl plank floors come apart at the seams within six months because the installer was too lazy to run a straightedge. You cannot hide a valley with a piece of foam. You cannot fix a hump with a thicker pad. You have to address the structural reality of the concrete itself.
The shadow of a failing foundation
Concrete subfloors require extreme flatness tolerances to prevent laminate flooring joints from snapping and carpet install ripples from forming. While a slab may look smooth, low spots create voids that cause the floor to deflect downward under foot traffic, stressing the locking mechanisms and eventually causing catastrophic material failure. When you step on a floor that feels bouncy or hear a clicking sound, you are experiencing the result of a subfloor that was never leveled. The physics are simple. If the material bridges a gap, the weight of a human body will force that material to bend. Over time, the plastic or wood fibers in the tongue and groove system will fatigue and snap. This is why every professional starts with a moisture meter and a straightedge. We are looking for the invisible dips that ruin the integrity of the build.
“A floor is only as good as the subfloor beneath it; deflection is the enemy of every joint.” – Master Flooring Axiom
Why your subfloor is lying to you
Subfloor levelness is often confused with flatness, which is the primary metric for floor leveling and shower pan construction. A slab can be sloped toward a drain and still be perfectly flat, whereas a level slab can be full of microscopic humps and pitting that prevent adhesive bonding. When you are prepping for a laminate or hardwood job, you do not necessarily need the floor to be perfectly level in relation to the horizon, but you absolutely need it to be flat. If you put a marble on the floor and it rolls, the floor is not level. If you put a 10 foot straightedge on the floor and you can see light under it, the floor is not flat. Most residential slabs in the suburbs are poured in a hurry. The finishers use a bull float and call it a day. They are not thinking about the 1/8 inch requirements of a modern floating floor. They are thinking about getting the truck washed and going home. That is where we come in with the pencil test.
Mechanics of the pencil test
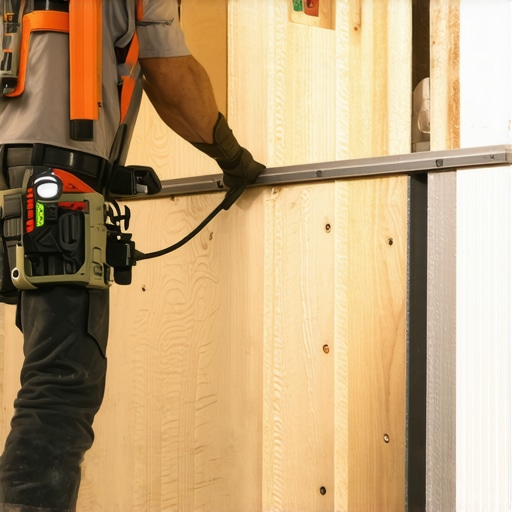
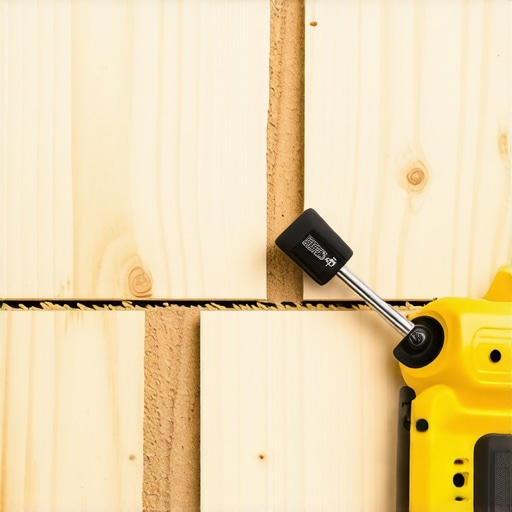
The pencil test involves sliding a standard graphite pencil under a 10 foot straightedge to identify low spots that exceed industry standards for subfloor preparation. If the pencil can pass beneath the bar at any point, the dip is deep enough to require a self leveling compound or patching material before the laminate flooring is laid down. This is a low tech solution for a high stakes problem. I use a heavy aluminum box beam straightedge because it does not bow or flex. I drag it across the room in a star pattern. When I find a spot where the pencil slides through, I circle it with a wax crayon. By the time I am done, the floor looks like a target range. These circles represent the areas where the floor would have failed. It is much cheaper to find these spots now than it is to tear up a finished floor three months from now because the homeowner is complaining about a squeak.
| Defect Type | Critical Limit | Impact on Material | Repair Method |
|---|---|---|---|
| Low Spot (Dip) | > 3/16 inch | Locking joint failure | Self-leveling pour |
| High Spot (Hump) | > 1/8 inch | Telegraphing through vinyl | Diamond grinding |
| Surface Pitting | > 1/4 inch depth | Adhesive voids | Cementitious patch |
| Cracking | > 1/16 inch width | Moisture migration | Epoxy injection |
The chemistry of self leveling compounds
Self leveling underlayments are cementitious products modified with polymers to create a high flow liquid that finds the lowest point of a concrete slab via gravity. These materials rely on calcium aluminate cement rather than standard Portland cement to ensure rapid setting and minimal shrinkage during the hydration process. You have to understand the chemistry here. If you just mix up some standard mortar and throw it in a hole, it will shrink as the water evaporates. That shrinkage creates a new dip. Professional levelers use polymers that keep the material stable. You also have to consider the primer. If you pour a leveler onto a dusty, unprimed slab, the dry concrete will suck the moisture out of the leveler before it can bond. The result is a brittle, flaky mess that will eventually delaminate. I always use a high solids acrylic primer. It creates a molecular bridge between the old concrete and the new leveler. It is the difference between a floor that lasts 50 years and one that fails in five.
Physics of the 1/8 inch tolerance
The industry standard tolerance of 1/8 inch over 10 feet exists because engineered wood and laminate planks are designed with locking joints that can only withstand a specific angular deflection before snapping. When the subfloor drops, the plank bridges the gap, and the fulcrum point moves to the tongue of the board. This creates mechanical stress. Think of it like a paperclip. You can bend a paperclip once or twice and it is fine. If you bend it back and forth every time you walk across the room, it will eventually break. This is why we are so obsessed with that 1/8 inch. It is not an arbitrary number. It is the limit of the material physics. When you go beyond that limit, you are asking the plastic and wood to do something they were not designed to do. No amount of expensive underlayment will change the fact that the floor is moving in a way that destroys its own joints.
Laminate flooring and the click lock failure
Laminate flooring is particularly susceptible to subfloor irregularities due to the high density fiberboard core which lacks the flexibility of luxury vinyl. When low spots are present, the click lock system is forced into a vertical shear position, leading to gapping and audible clicking sounds. I have seen guys try to double up on the padding to fix this. That is a amateur move. Too much cushion actually makes the problem worse. It provides more room for the floor to move, which puts even more stress on the joints. You want a firm, flat base. If the subfloor is right, you don’t even need a thick pad. The pad is there for moisture protection and sound dampening, not for structural support. If you are installing laminate in a climate with high humidity, like the coastal South, the expansion and contraction will only exacerbate the issues caused by a bad subfloor.
“Deflection in the substrate is the primary cause of topical floor failure in residential construction.” – TCNA Handbook for Ceramic, Glass, and Stone Tile Installation
Concrete grinding versus pouring liquid stone
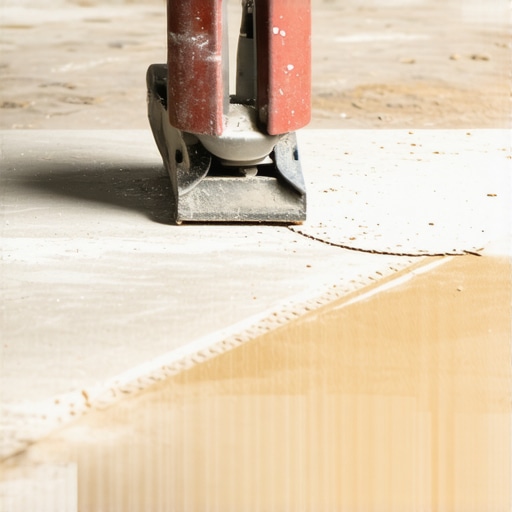
Diamond grinding is the preferred method for removing high spots in concrete, while liquid levelers are utilized to fill valleys and low spots identified by the pencil test. Grinding is a dirty, miserable job. It creates a cloud of silica dust that will get into every crack of a house if you don’t have a high end HEPA vacuum system. But sometimes, it is the only way. If you have a hump in the middle of a room, you can’t just pour leveler around it because you will raise the entire floor height and create issues with your door transitions and baseboards. You have to take the mountain down to the level of the valley. I use a walk behind grinder with 30 grit segments for the bulk of the work. It eats through concrete like a hot knife through butter. Once the hump is gone, then I look at the dips. It is a balancing act of addition and subtraction.
The shower pan connection
Shower installations require even tighter subfloor control because waterproofing membranes and large format tiles cannot tolerate the structural shifting caused by uneven concrete. In a wet environment, a low spot is more than just a tripping hazard; it is a place where water pools and bacteria grows. If the subfloor under a shower pan is not perfectly flat before the pre-slope is built, the entire drainage system is compromised. I see this a lot in