Why Your Floor Leveler Is Peeling Off Like a Sheet of Paper
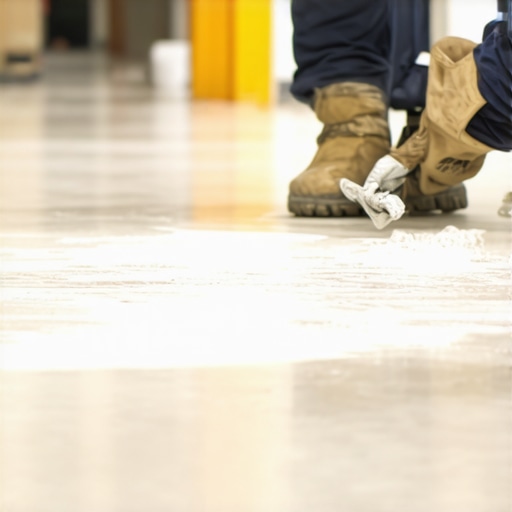
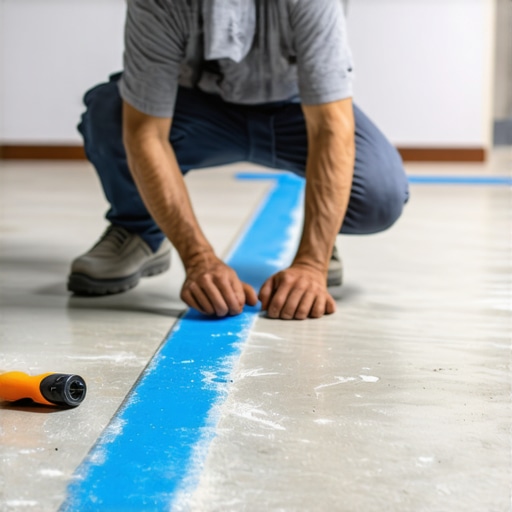
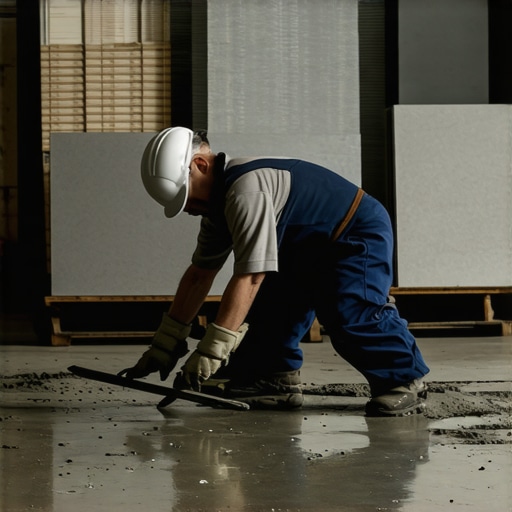
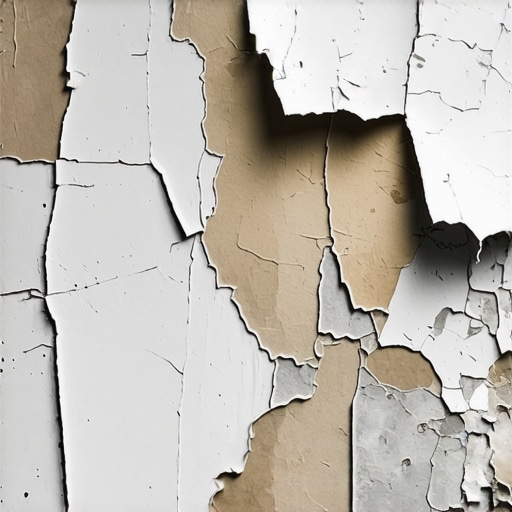
I smell like WD-40 and oak dust most days and my knees tell the story of twenty-five years spent chasing a flat surface. Most guys in this trade want to talk about the pretty finish. They want to show you the hand-scraped hickory or the high-gloss porcelain. I want to talk about the gray stuff. I want to talk about the chemistry of a failed bond. I spent three days grinding concrete on a job last month just so the floor wouldn’t click like a castanet. The previous installer had poured forty bags of self-leveling underlayment directly onto a dusty, unprimed slab. When I got there, I could slide a putty knife under the leveler and lift up two-foot sections like they were pieces of cardboard. It was a fifteen-thousand-dollar disaster because someone didn’t understand the physics of surface tension and the mechanical tooth required for a structural bond.
The silent war between concrete and chemistry
Floor leveler peels because the chemical bond between the new material and the old substrate was never established or was chemically compromised by moisture. High-performance self-leveling underlayments require a specific surface profile to bite into the slab. Without proper cleaning, priming, and mechanical preparation, the leveler remains a floating crust that eventually snaps under the weight of furniture or foot traffic. This is especially true before a laminate or carpet install where the subfloor needs to be rock solid.
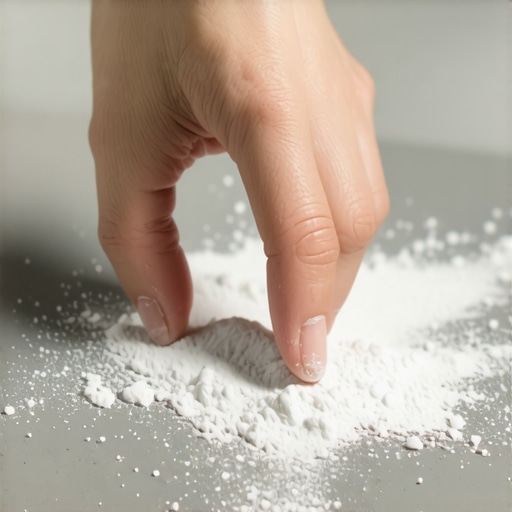
The molecular reality of concrete is that it is a thirsty, porous sponge. When you pour a wet leveler over a dry, unprimed slab, the concrete instantly sucks the water out of the leveler. This ruins the hydration process. Instead of the leveler curing into a dense, crystalline structure, it turns into a weak, chalky mess at the interface. You end up with what we call a cold joint. The leveler looks fine on top, but the bottom millimeter is basically powder. This is why you see it peeling off like a sheet of paper. You must treat the subfloor like a surgical site. Any presence of drywall dust, paint overspray, or oil will act as a bond-breaker. Even the residues from old adhesives used for a previous carpet install can react with the new leveler and cause a chemical rejection.
“A floor is only as good as the subfloor beneath it. Deflection is the enemy of every joint.” – Master Flooring Axiom
The betrayal of the unprimed surface
Priming is the most neglected step in floor leveling and is the primary reason for delamination and peeling. A primer acts as a bridge between two different materials, regulating the porosity of the concrete and ensuring the leveler has enough time to flow and bond properly. If the primer is skipped, air bubbles will rise from the concrete and create pinholes in your new floor, weakening the entire structure. Most homeowners and DIY-focused big-box stores treat leveler like it is just thick paint. It is not paint. It is a highly engineered cementitious product that requires a specific environment to work.
When we look at the physics of a leveler pour, we have to consider the Concrete Surface Profile or CSP. For most residential levelers, you want a CSP of 2 or 3. This means the concrete should feel like 60-grit sandpaper. If your slab is smooth-troweled and shiny, the leveler has nothing to grab onto. I have seen guys pour leveler on a slab that was so smooth they could have played air hockey on it. Within six months, that leveler was curling at the edges. This is because the leveler shrinks slightly as it cures. If it isn’t anchored to the slab, that shrinkage pull is enough to lift the edges, creating a hollow sound when you walk on it. This is why your laminate or LVP starts to feel bouncy. The floor underneath is literally disintegrating.
The 1/8 inch that ruins everything
A subfloor that is out of level by more than one eighth of an inch over ten feet will eventually cause the locking mechanisms on your flooring to fail. Many installers think they can hide a dip with a thick underlayment, but too much cushion actually causes the locking mechanisms on LVP to snap under pressure. You need a flat surface, not a soft one. This is why leveling is a structural engineering task, not a cosmetic one. Whether you are prepping for showers or a simple bedroom floor, the tolerance is the same. Failure to hit these numbers leads to the ghost in the expansion gap where your floor moves and squeaks for no apparent reason.
| Prep Method | Bond Strength | Labor Intensity | Best Use Case |
|---|---|---|---|
| Acid Etching | Moderate | High | Old concrete with heavy stains |
| Diamond Grinding | Excellent | Very High | Smooth-troweled slabs and laitance removal |
| Acrylic Priming | High | Low | Standard residential subfloors |
| Shot Blasting | Superior | Extreme | Commercial applications and heavy industrial slabs |
Why big box levelers fail in high humidity
Humidity and moisture vapor transmission are the invisible killers of floor leveling products in regions like the Gulf Coast or the humid Southeast. High moisture vapor emission rates or MVER can push the leveler right off the slab through hydrostatic pressure. If you don’t run a calcium chloride test or use a pinless moisture meter before you pour, you are gambling with your client’s money. In places like Houston or Miami, the slab is constantly exhaling moisture. If you seal that moisture in with a non-porous leveler or a vinyl floor, the pressure builds until the bond snaps.
You also have to consider the chemistry of the water you use to mix the leveler. If you use water that is too hot, the leveler will flash-set. This means it hardens before the polymers can align themselves to the concrete surface. You end up with a brittle layer that isn’t truly integrated. I always keep a bag of ice in the truck to cool down the mixing water during the summer months. It sounds like overkill until you have to jackhammer out a thousand square feet of failed leveler. The precise sound-dampening ratings of your underlayment won’t matter if the substrate is turning back into dust underneath it.
“Subfloors shall be dry, clean, smooth, and free of any substance that could prevent adhesion.” – NWFA Technical Guidelines
The no peel checklist for a permanent bond
- Perform a water bead test to check for existing sealers or oils on the concrete.
- Mechanical grinding to remove laitance and create a CSP 2 surface profile.
- Vacuuming with a HEPA filter to remove every microscopic particle of dust.
- Applying a high-solids acrylic primer with a soft-bristle broom to work it into the pores.
- Using a spiked roller during the pour to release trapped air and prevent pinholes.
- Verifying the moisture vapor emission rate is within the manufacturer’s specified range.
If you follow these steps, your leveler will become one with the slab. It won’t peel, it won’t crack, and it won’t sound like a drum when you walk across it. Flooring is a system. The leveler is the foundation of that system. If the foundation is weak, the most expensive hardwood in the world is just fancy trash. Respect the chemistry and respect the slab. Stop looking at the leveler as a liquid fix and start looking at it as a structural component. Your knees and your wallet will thank you in ten years when that floor is still as flat as a pool table.