The Secret to Tiling a Shower Floor Without Any Sharp Edges
The Hidden Engineering Behind a Perfectly Smooth Shower Floor
Most people think a shower floor is just a surface to stand on while they soap up, but I see a hydraulic battlefield. I spent three days grinding concrete on a job last month just so the floor wouldn’t click like a castanet because the subfloor was a mess. If you want a shower floor without sharp edges, you have to stop thinking about the tile and start thinking about the subfloor physics and the microscopic geometry of the edges. You cannot hide a bad slope with expensive tile. I have seen fifteen thousand dollar wide-plank walnut floors cup like potato chips and I have seen marble shower floors become razor blades for your toes because the installer did not understand deflection or edge easing. We are going to talk about why your floor feels like a jagged mountain range and how to fix it using structural zooming. This is not a weekend hobbyist guide. This is the master architect approach to high performance wet areas. If you are looking for a quick fix, go to a big box store and buy a plastic pan. If you want a floor that lasts fifty years and feels like silk under your feet, pay attention to the grit under my nails.
The brutal reality of the pre slope
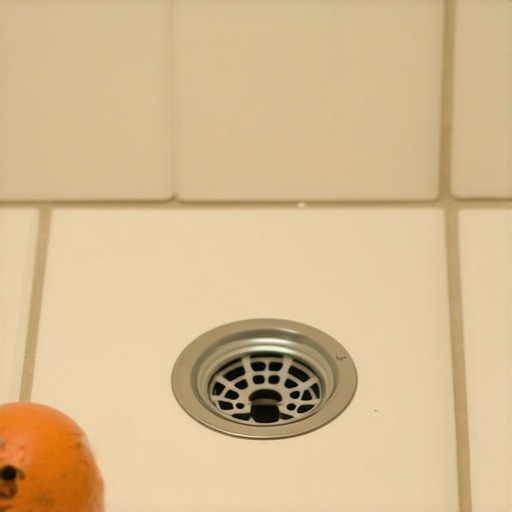
Pre-slope installation requires a one-quarter inch per foot drop toward the drain assembly to ensure water migration through the mortar bed. This foundational layer is the primary defense against stagnant water and mold growth within the shower system. If this slope is not perfect, no amount of thin-set or leveling will save the finish. I once walked into a house where the installer tried to slope the tile but kept the subfloor flat. Water just sat under the tile, rotting the joists for two years until the homeowner stepped through the floor. You have to build the slope twice. Once under the liner and once on top of it. This creates the primary and secondary drainage planes. Without the first slope, the water that hits the liner stays there forever, creating a swamp. We use a dry-pack mortar, a mix of four parts sand to one part Portland cement, mixed to a damp consistency that holds its shape. This is the soul of the shower. If this bed is lumpy, your tile edges will stand up like shark teeth. You need to screed this like a madman until it is as smooth as a pool table, just tilted.
“A floor is only as good as the subfloor beneath it; deflection is the enemy of every joint.” – Master Flooring Axiom
Why lippage is a structural failure
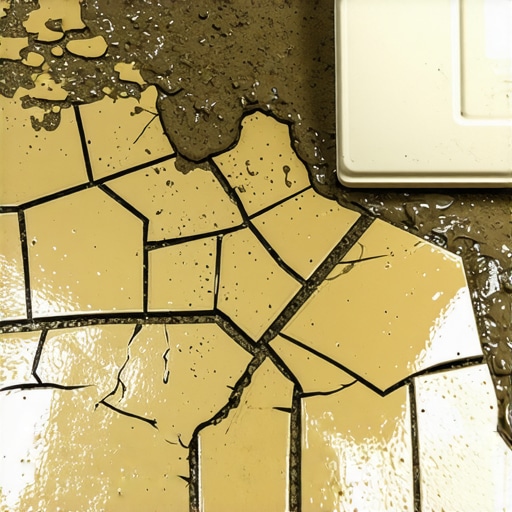
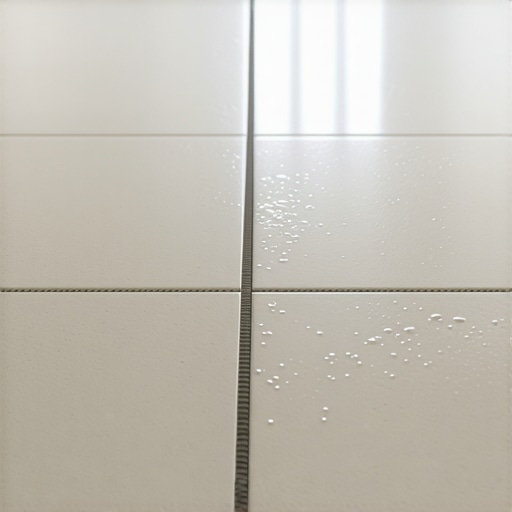
Tile lippage occurs when one tile edge sits higher than the adjacent tile, creating a vertical offset that violates ANSI A108 standards. In a shower environment, this is not just an aesthetic flaw but a safety hazard and a drainage obstruction. You feel it on your toes because our feet are incredibly sensitive to elevation changes. We are talking about the difference of a thirty-second of an inch. When you have lippage, the water cannot flow freely to the drain. It pools behind the high edge, leaving soap scum and mineral deposits. This is usually caused by using too much thin-set or not using a mechanical leveling system. People think the underlayment will hide the dip. It won’t. I have spent decades seeing guys try to ‘butter up’ one corner to hide a low spot. All they do is create a hollow spot under the tile. When you step on it, the air pocket compresses, the grout cracks, and eventually, the tile snaps. You need a dead-flat substrate before the first tile touches the floor.
The physics of the envelope cut
Envelope cuts are diagonal miter cuts made in large format tiles to allow them to conform to a multi-directional slope toward a center drain. This technique maintains the structural integrity of the slope while using porcelain or stone that is normally too large for shower pans. When you take a twelve by twenty-four inch tile and try to put it in a sloped shower, it will not lay flat. It is like trying to wrap a piece of paper around a basketball. It is going to wrinkle. The envelope cut is how we solve the geometry. We cut from the corners of the drain out to the corners of the shower walls. This allows the tile to ‘fold’ down toward the drain. The secret to making these edges not sharp is the way you treat the cut. A wet saw leaves a factory-sharp edge that is basically a glass knife. If you don’t ‘ease’ that edge with a diamond rubbing stone, you are asking for a lawsuit. You have to take that sixty-grit stone and run it at a forty-five-degree angle along every cut until the edge is slightly rounded.
| Material Type | Water Absorption | Edge Sharpness Risk | Expansion Coefficient |
|---|---|---|---|
| Ceramic | High (3-7%) | Moderate | Low |
| Porcelain | Low (<0.5%) | High | Moderate |
| Natural Marble | Variable | Very High | High |
| Pebble Stone | Low | Low | Variable |
The chemistry of the modern mortar bed
Polymer-modified thin-set uses latex additives to increase shear strength and flexural properties, creating a tenacious bond between the tile and the waterproofing membrane. This chemical bond is what prevents the locking mechanisms from failing under the thermal expansion of hot water. When you run a hot shower, the tile expands. If you are using cheap, unmodified thin-set from a discount retailer, the bond is brittle. It will snap. I only use C2TE S1 rated mortars for showers. These are high-performance adhesives that allow for a tiny bit of movement. Think of it like a skyscraper. It has to sway in the wind or it will crumble. Your shower floor is doing the same thing every time the temperature changes from sixty degrees to a hundred and five degrees. You also have to consider the ‘open time.’ If the thin-set skins over because you are working too slow or the room is too hot, you won’t get a transfer of material to the back of the tile. I always pull a tile up after setting it to check the coverage. If I don’t see one hundred percent coverage, I start over. No exceptions.
The rubbing stone as a master tool
Diamond rubbing stones are abrasive blocks used to manually hone the raw edges of cut tiles to match the factory bullnose. This process, known as edge easing, is the only way to ensure zero sharp edges in a custom tile installation. I keep three different grits in my bucket. Most guys skip this step. They make the cut on the saw and slap it on the floor. That is how you end up with a shower that feels like walking on broken glass. I take every cut edge and I work it until it feels like a river stone. You have to be careful with glazed ceramic because if you rub too hard, you will chip the glaze and show the red clay underneath. But with through-body porcelain or natural stone, you can shape that edge into whatever you want. This is where the craft is. This is what separates the installers from the ‘floor layers.’ You have to feel the tile. If your finger catches even a little bit on a transition, the stone needs more work.
“Consistency in thin-set ridges is the difference between a floor that lasts and a floor that fails; air is the enemy of adhesion.” – Master Flooring Axiom
Checklist for a smooth transition
- Verify the subfloor meets L/360 deflection standards before starting any work.
- Ensure the pre-slope is a consistent one-quarter inch drop using a dedicated transit level.
- Use a high-quality waterproofing membrane like Schluter-Kerdi or a liquid-applied guard.
- Back-butter every single floor tile to ensure one hundred percent mortar coverage.
- Check for lippage using a straight edge and a flashlight held at a low angle.
- Ease every cut edge with a 120-grit diamond rubbing stone.
- Select a high-polymer grout that matches the tile’s expansion characteristics.
The ghost in the expansion gap
Perimeter expansion joints are essential gaps left at the junction where the floor meets the wall to accommodate structural movement and thermal cycling. These gaps must be filled with one hundred percent silicone sealant rather than rigid grout to prevent tents and cracks. If you grout the corners where the floor hits the wall, that grout will crack within six months. It is a mathematical certainty. The walls and the floor move at different rates. When they are locked together with rigid grout, something has to give. Usually, the grout pulverizes and falls out, or worse, it pushes against the tile and causes the floor to buckle. I have seen entire shower floors lift off the substrate because there was no expansion gap. You leave a three-sixteenths inch gap and you fill it with a color-matched silicone. This acts like a gasket. It is flexible and waterproof. Most people want the look of grout in the corners, but that is a rookie mistake. Professionalism is knowing where to be rigid and where to be flexible.