The ‘Ping’ Test for Finding Loose Tiles in Your Shower
How the Ping Test Reveals Structural Failures in Shower Tile Installations
The sound of a hollow tile in your shower is the acoustic signature of a bond failure that threatens the structural integrity of your wall. Most homeowners assume that if a tile is still on the wall, it is doing its job. This is a dangerous misunderstanding of how moisture management and thin-set chemistry work. I spent three days grinding concrete on a job last month just so the floor wouldn’t click like a castanet. Most guys skip the leveling compound and think the underlayment will hide the dip. It won’t. When I finally got that floor flat to within an eighth of an inch over ten feet, I knew the tile would never sound hollow. A shower tile that pings with a high, sharp resonance is bonded tightly. A tile that thuds is a pocket of air waiting to collect water and breed microbial growth. You cannot ignore the physics of sound when it comes to the longevity of your home.
The acoustic signature of a loose tile
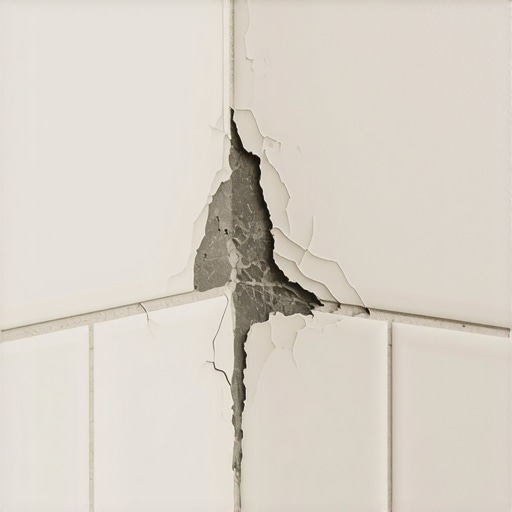
A hollow sound indicates a void or delamination where the mortar has detached from the tile or the substrate. This lack of contact means the tile is no longer a part of a monolithic structure but is instead a floating shell. When you tap a tile and hear a flat, low-frequency thud, you are hearing the vibration of air between the ceramic back and the cementitious bed. This gap is usually caused by poor trowel technique or the failure to back-butt the tile during installation. In a shower, these voids are not just structural weaknesses. They are reservoirs for moisture. Water vapor travels through the grout and condenses in these pockets. Over time, this stagnant water breaks down the alkaline chemistry of the mortar, leading to a total bond failure that can cause tiles to fall off the wall without warning. This is why the ping test is the first thing I do on every inspection.
“A floor is only as good as the subfloor beneath it; deflection is the enemy of every joint.” – Master Flooring Axiom
The chemistry of a failed bond
Thin-set mortar relies on the formation of microscopic crystals that grow into the pores of the tile and the substrate to create a mechanical bond. If the mortar dries too quickly or if the installer uses a skim coat that skins over before the tile is set, those crystals never penetrate. This is common in dry climates like Phoenix where the ambient heat sucks the moisture out of the mix before it can hydrate. This results in a weak, brittle interface. When we talk about the molecular reality of a shower, we are looking at polymer-modified mortars. These additives are designed to give the cement more flexibility, but they require a specific evaporation rate to cure correctly. If you hear a thud during the ping test, it often means the mortar has experienced a ‘dry-out’ failure where the chemical reaction was interrupted. The bond is merely a surface-level stickiness rather than a deep structural integration. This is the difference between a floor that lasts fifty years and one that fails in five.
The math of mortar coverage and deflection
The Tile Council of North America requires 95 percent mortar coverage for tiles in wet areas to prevent water from pooling behind the surface. Most ‘handyman’ installs achieve only 50 to 60 percent coverage because they use the ‘spot-bonding’ method, which involves putting five globs of mortar on the back of the tile. This is a crime in the world of professional flooring. Spot-bonding creates huge caverns behind the tile that you can hear instantly with a simple tap. Furthermore, we have to account for the L over 360 deflection standard. This means the subfloor cannot bend more than the length of the span divided by 360. If your subfloor is too bouncy, even the best mortar will crack under the pressure. The ping test will often reveal these cracks before they are visible to the naked eye because the air gap created by the micro-fracture changes the pitch of the tile when struck.
| Mortar Type | Bond Strength (PSI) | Ideal Application | Failure Risk |
|---|---|---|---|
| Unmodified Thin-set | 200-300 | Submerged concrete | Low flexibility |
| Polymer Modified (ANSI A118.4) | 400-500 | Porcelain and Large Format | Moisture sensitivity |
| Improved Modified (ANSI A118.15) | 600+ | High-traffic and Exterior | High cost |
The 1/8 inch gap that ruins everything
Expansion joints at the perimeter and within the field are mandatory to allow the tile assembly to move as the house breathes with the seasons. If a tile is jammed tight against a wall or a tub flange, it has nowhere to go when the wood framing expands in the humidity of a local summer. This pressure forces the tile to ‘tent’ or pop upward. The ping test is your early warning system for this pressure. Before the tile actually lifts, it will begin to delaminate from the center outward. By tapping the tile, you can hear the stress. A tile under compression will have a metallic, strained ring that sounds different from a healthy, relaxed bond. I always tell my clients that the grout is just the cosmetic filler, but the silicone expansion joint is the insurance policy. Without that 1/8 inch of space, your entire shower floor is a ticking time bomb of ceramic shards.
How to perform a professional ping test
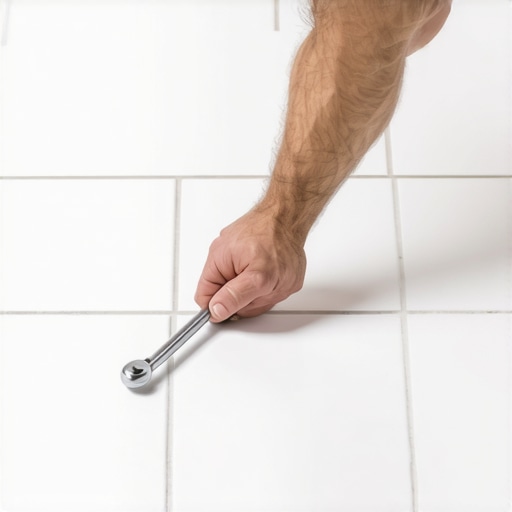
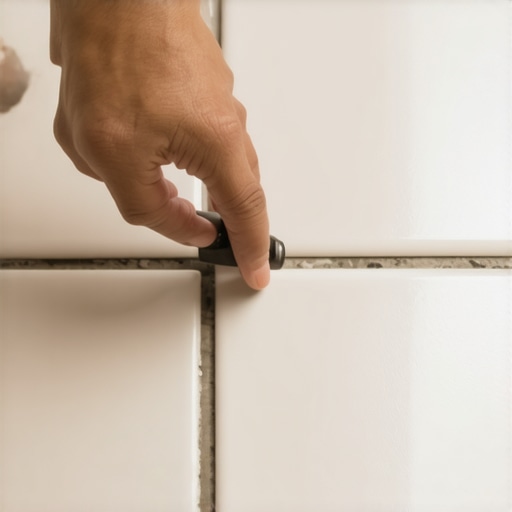
To perform the test properly, you need a heavy metal object like a large coin or a specialized acoustic mallet to strike the tile without scratching the glaze. Do not use a hammer or any tool that could cause impact damage. The goal is to produce a clean vibration. You must test multiple points on each tile, specifically the four corners and the dead center. Voids are most common at the edges where the trowel ridges may not have been fully collapsed during the beat-in process. If you find a tile that sounds hollow in the center but solid on the edges, you are looking at a manufacturing defect or a warped tile that was forced down. If the edges sound hollow, you have an installation error where the perimeter coverage was neglected. This is where most leaks start.
- Select a metal tapping tool like a half-dollar coin.
- Clean the tile surface of any soap scum or mineral deposits.
- Tap the center of the tile and establish a baseline sound.
- Tap all four corners moving in a clockwise direction.
- Mark any tiles that produce a dull or hollow thud with blue painter’s tape.
- Compare the sound of suspected hollow tiles to a known solid tile on a different wall.
“Tile failure usually begins at the bond coat; if the coverage is less than 95 percent in wet areas, the installation is a ticking time bomb.” – TCNA Handbook Guidance
The physics of sound in ceramic and stone
Ceramic is a dense, crystalline material that conducts sound waves efficiently when it is part of a solid mass. When you tap a well-bonded tile, the sound energy travels through the tile, through the mortar, and into the substrate, where it is absorbed. This creates a high-pitched, short-duration ‘ping.’ However, when an air gap exists, the sound waves hit the boundary between the tile and the air. Because air has a much lower acoustic impedance than ceramic or mortar, the waves are reflected back into the tile. This causes the tile to vibrate independently of the wall, creating a lower-frequency, longer-duration ‘thud.’ It is the same principle as a drum. The larger the void, the lower the pitch. If you are working in an area with high humidity, like a steam shower, these voids become even more problematic as the moisture-laden air inside the gap expands and contracts, further weakening the bond every time you take a hot shower.
Why your subfloor is lying to you
Subfloors often appear flat to the naked eye but harbor subtle dips and humps that prevent the mortar from making full contact. If you are installing a floor over a slab that hasn’t been properly leveled, you are going to have hollow spots. I have seen guys try to use ‘extra thin-set’ to fill a half-inch hole. This is a recipe for disaster. Thin-set is not a leveling agent. As it cures, it shrinks. The thicker the layer, the more it shrinks. This shrinkage pulls the mortar away from the back of the tile, leaving you with a beautiful-looking floor that sounds like a hollow log when you walk on it. This is why I insist on using self-leveling underlayment before a single tile is laid. If the substrate is flat to within 1/16 of an inch, the ping test will return a perfect result every time. Anything less is just guesswork. You have to respect the substrate if you want the surface to respect you.