The Secret to Cutting Laminate Without Chipping the Edges
I spent three days grinding concrete on a job last month just so the floor wouldn’t click like a castanet. Most guys skip the leveling compound because they think the underlayment will hide the dip. It won’t. I have seen countless $5,000 installations ruined because the installer was too lazy to run a straightedge across the slab. If the subfloor is off by more than an eighth of an inch over ten feet, your laminate is going to flex. That flex puts pressure on the locking mechanisms and eventually causes the edges to chip or the joints to fail entirely. You can smell the oak dust and the machine oil on my clothes after a long shift, but the one thing you will not find on my jobsites is a jagged edge on a plank. Cutting laminate without chipping is not magic. It is a calculated manipulation of blade physics and material density.
The physics of the carbide tooth
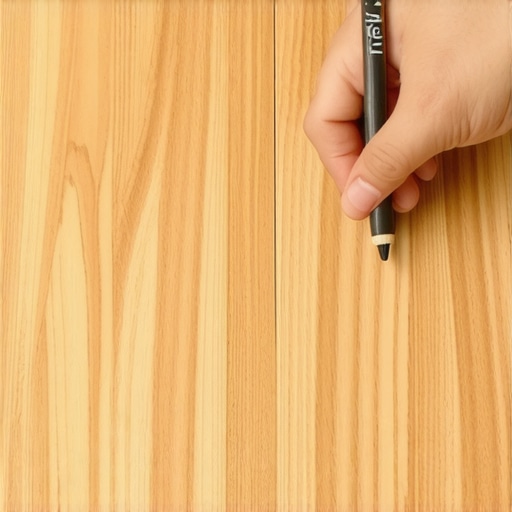
Cutting laminate without chipping requires understanding how saw blade teeth interact with the aluminum oxide wear layer and the high density fiberboard core. To prevent splintering, you must control the exit point of the blade tooth where the most force is applied to the brittle decorative surface of the plank. Laminate is essentially a sandwich of phenolic resins and melamine. The top layer is incredibly hard, often reaching high levels on the Mohs scale, which is why it dulls standard steel blades in minutes. When a circular saw blade rotates, the teeth enter the material on one side and exit on the other. The exit is where the damage happens. If you are using a circular saw or a table saw, the teeth are moving upward through the material as they pass the motor, meaning you should cut with the decorative side facing down. If you are using a miter saw, the teeth are coming down and through, so the finished side stays up. This simple flip ensures the tooth enters the ‘good’ side and exits through the ‘bad’ side, keeping the visible edge crisp and clean.
“A floor is only as good as the subfloor beneath it; deflection is the enemy of every joint.” – Master Flooring Axiom
Why your subfloor is lying to you
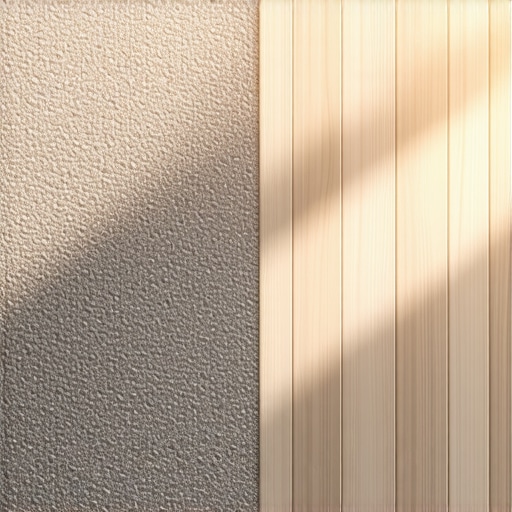
Floor leveling is the most overlooked step in the installation process and is the primary cause of post-installation chipping. Even if your cuts are perfect, a subfloor that is not flat will cause the planks to shift underfoot, leading to friction that chips the edges over time. I have walked into jobs where homeowners complained about ‘bad product’ only to find a half-inch dip in the plywood subfloor. You cannot fix a structural dip with a foam underlayment. You need a high-quality self-leveling underlayment compound, preferably one with a high compressive strength. You pour it, you spread it with a gauge rake, and you let the physics of gravity do the work. If you are working on a concrete slab, moisture is your other hidden enemy. Always use a calcium chloride test or a pinless moisture meter. If the slab is pumping out water, that HDF core will swell like a sponge, and no amount of clean cutting will save those edges from buckling.
The anatomy of the high density fiberboard core
Understanding the molecular density of the HDF core explains why specific blade tooth counts are necessary for a clean finish. Laminate cores are typically made from wood fibers compressed at pressures exceeding 900 kilograms per cubic meter. This density makes the material extremely stable but also very brittle when subjected to the high-speed impact of a saw blade. A standard 24-tooth framing blade will hack through the HDF like a chainsaw through a pine log, leaving a wake of destruction. You need a fine-finish blade with at least 60 to 80 teeth. The higher tooth count reduces the ‘bite’ size of each individual tooth, which minimizes the vibration and the shock delivered to the melamine surface. I prefer blades with a Triple Chip Grind (TCG) geometry. These blades have a trapezoidal tooth followed by a flat raker tooth, which is the gold standard for cutting hard, abrasive materials like laminate and non-ferrous metals.
| AC Rating | Usage Layer Thickness | Ideal Application |
|---|---|---|
| AC1 | 2mm to 6mm | Light residential bedrooms |
| AC2 | 6mm to 8mm | Moderate residential living rooms |
| AC3 | 8mm to 10mm | Heavy residential and light commercial |
| AC4 | 10mm to 12mm | General commercial and high traffic |
| AC5 | 12mm plus | Heavy commercial and public spaces |
The blue tape illusion
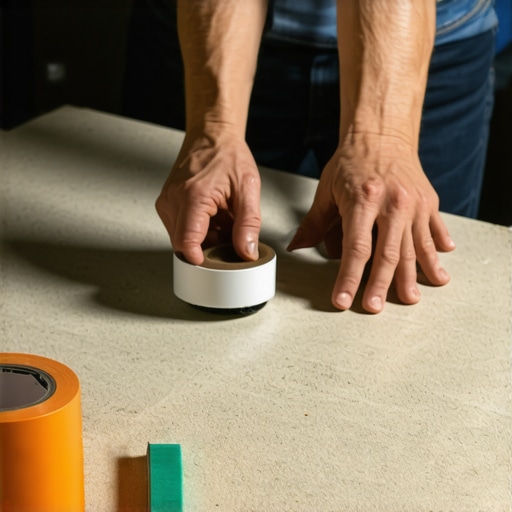
Applying high-quality painter’s tape along the cut line provides lateral support to the wood fibers and resins at the exit point. While some old-school installers scoff at this, the physics remain sound. The adhesive of the tape holds the brittle wear layer against the HDF core, preventing the upward force of the saw blade from lifting and snapping the melamine. You must burnish the tape down firmly with your thumb or a roller to ensure there are no air gaps. Once the cut is made, peel the tape slowly at a 45-degree angle back toward the cut line. This technique is particularly useful when you are making intricate notches around door jambs or HVAC registers where a full-size blade cannot easily maneuver. It is a small step that separates a hack job from a master installation.
Laminate near the shower pan
Installing laminate in bathrooms requires a specific focus on perimeter sealing to prevent core swelling and edge degradation. Even if your cuts are surgically precise, moisture from showers will migrate into the HDF core if the expansion gaps are not properly managed. Most manufacturers say laminate does not belong in a full bathroom, but with modern ‘waterproof’ laminate, it is possible if you follow the rules. You must leave a quarter-inch expansion gap around the entire perimeter, then fill that gap with a 100 percent silicone sealant. Do not use acrylic caulk. It will crack. Silicone stays flexible, allowing the floor to move while creating a literal dam against water. If water gets into the cut edge of a laminate plank, the fibers will expand, the wear layer will pop, and your ‘perfect cut’ will look like a disaster within six months.
The ghost in the expansion gap
The expansion gap is the most misunderstood structural requirement in the flooring world. Every floating floor is a living, breathing entity that expands and contracts with changes in ambient humidity. If you push your planks tight against the drywall, the floor has nowhere to go when the humidity spikes in the summer. It will bow upward in the center of the room, creating a ‘hollow’ sound when you walk on it. Eventually, the pressure at the joints becomes so great that the locking tabs snap or the surface chips. I always use spacers. Not just scraps of wood, but actual plastic spacers that won’t compress. You need at least a quarter inch for small rooms and up to a half inch for larger spans. This is not a suggestion. It is a requirement of the NWFA standards.
“Floating floors require a minimum perimeter expansion space; failure to provide this space leads to structural buckling.” – Master Flooring Axiom
Transitioning from carpet to laminate
When moving from a carpet install to a laminate surface, the height differential and the subfloor transition must be perfectly flush to prevent trip hazards. Carpet is forgiving. It hides dips and humps in the plywood. Laminate is the opposite. It highlights every flaw. When I transition between these materials, I often have to install a new layer of 1/4 inch lauan or use a feathering patch compound to ramp the subfloor up or down. If the transition is not smooth, the T-molding will sit at an angle. A tilted T-molding is a recipe for chipped edges because the foot traffic hits the edge of the laminate plank at an aggressive angle rather than flat. This constant impact eventually shatters the aluminum oxide coating.
The zero clearance insert solution
Using a zero-clearance insert on your table saw or miter saw is the ultimate professional secret for chip-free results. Most factory throat plates have a wide gap to allow for beveled cuts, but that gap is the enemy of a clean cut. It provides no support to the underside of the plank. I make my own inserts out of MDF or high-density plastic. By raising the blade through a solid plate, you create a slot that is the exact width of the kerf. This means the material is supported right up to the very edge of the tooth’s path. If you are using a circular saw, you can achieve a similar effect by attaching a thin piece of plywood to the base of the saw and plunging the blade through it. It sounds like extra work because it is. But that is how you get a floor that looks like it was installed by a professional rather than a weekend warrior with a rented saw.
- Use a 60-tooth or 80-tooth carbide-tipped blade for all cuts.
- Always cut with the decorative side down when using a circular or table saw.
- Maintain a consistent feed rate to avoid heat buildup and resin melting.
- Never skip the subfloor leveling process, as it protects the integrity of the joints.
- Apply blue painter’s tape to the cut line for added surface support.
- Seal all edges near moisture sources with 100 percent silicone.
The 1/8 inch that ruins everything
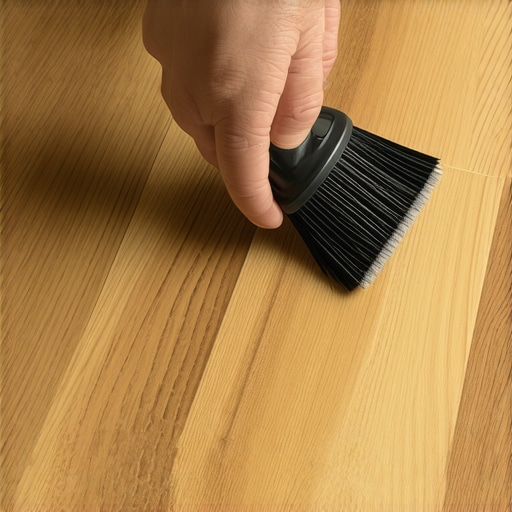
Precision measurement in laminate installation is not just about length but also about the depth of the locking tab. When you are cutting your final row of planks, you have to account for the width of the tongue that slides into the previous row. If you measure from the wall to the visible edge of the floor, you will end up with a gap that is too wide or a plank that won’t drop in. I have seen guys try to hammer these planks into place, which is the fastest way to chip the surface. Use a pull bar and a rubber mallet. The pull bar allows you to apply force to the cut edge of the plank from the wall side, protecting the delicate top surface. If you feel resistance, stop. Check the groove for debris. A single grain of sawdust inside the locking mechanism will prevent the plank from seating, and forcing it will result in a fractured edge every single time.
Laminate is a high-performance material that requires a high-performance approach. It is not ‘fake wood’ to be treated with a lack of respect. It is a complex engineered product that relies on chemistry and physics to provide a durable surface. From the AC rating of the wear layer to the PSI of the HDF core, every element of the plank is designed to work within strict tolerances. When you respect those tolerances, use the right tooth geometry, and obsess over subfloor flatness, you end up with a floor that lasts thirty years. When you cut corners, the floor will return the favor by chipping, clicking, and failing. My knees might be shot after twenty-five years on the floor, but my reputation is solid because I never let a chipped plank leave my sight. Professionalism is found in the details that most people never see, like the clean cut hidden under the baseboard or the perfectly level slab beneath the foam. Keep your blades sharp and your subfloors flat.