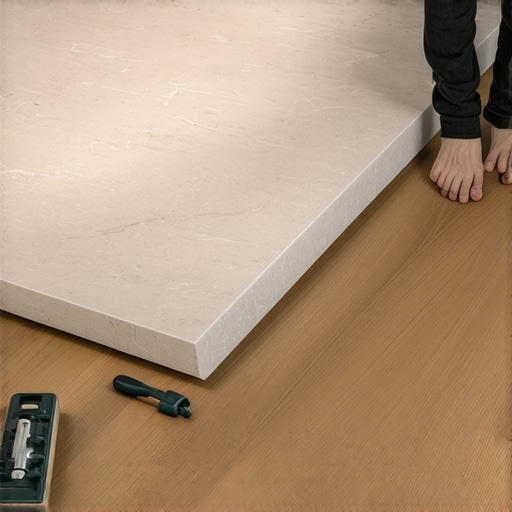
The Best Way to Transition Laminate to a Stone Hearth
The Best Way to Transition Laminate to a Stone Hearth
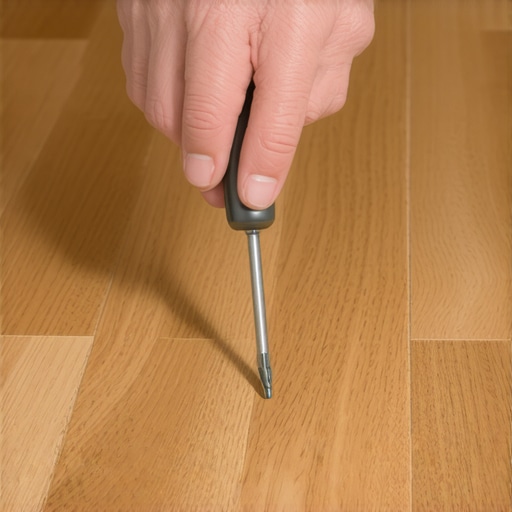
Most guys skip the leveling compound. They think the underlayment will hide the dip. It won’t. I spent three days grinding concrete on a job last month just so the floor wouldn’t click like a castanet. That job was a nightmare because the previous installer thought he could just slap some T-molding against a jagged river rock hearth and call it a day. Within six months, the laminate had pulled away, leaving a gap big enough to swallow a screwdriver, and the homeowner was furious. I had to rip out twenty rows of planks just to get back to the subfloor. When you are dealing with a stone hearth, you are not just making two surfaces meet. You are managing the marriage of a high-density fiberboard (HDF) product that wants to move with every change in the weather and a stationary, thermal-heavy mass of stone. If you do not respect the physics of that junction, the floor will fail. It is that simple.
Why your subfloor is lying to you
Floor leveling is the foundation of a successful laminate transition to a stone hearth. Before any underlayment or plank installation occurs, the subfloor flatness must be verified within 1/8 inch over 10 feet. Using a self-leveling compound or grinding high spots ensures the floating floor remains stable and does not deflect at the hearth edge. I have seen guys try to use extra layers of foam to hide a 1/4 inch dip near a fireplace. That is a recipe for broken locking tabs. When that laminate flexes underfoot, the tongue and groove will eventually snap. You need to get your 10-foot straightedge out and check for gaps. If you see light under that rail, you have work to do. Use a high-quality cementitious leveler. Do not go cheap. The cheap stuff cracks and turns to powder under the constant vibration of foot traffic. You want something with a high compressive strength, at least 3,000 PSI, to ensure that the transition point is rock solid.
The ghost in the expansion gap
Laminate expansion gaps are non-negotiable when bordering a heavy stone hearth. A floating floor requires a 1/4 inch to 3/8 inch perimeter space to allow for hygroscopic expansion and thermal contraction of the HDF core. Without this expansion zone, the floor will peak or buckle as relative humidity rises. You have to realize that laminate is basically a sponge made of sawdust and resin. When the humidity in the room goes from 30 percent in the winter to 60 percent in the summer, those planks are going to grow. If they hit that stone hearth with nowhere to go, they will lift right off the subfloor. I have walked into houses where the floor was humped up three inches in the middle of the room because the installer pinned the laminate against the fireplace. You must maintain that gap. If you hate the look of a wide gap, there are ways to hide it, but you cannot eliminate it. The stone does not move, but the floor certainly does.
“A floor is only as good as the subfloor beneath it; deflection is the enemy of every joint.” – Master Flooring Axiom
The chemistry of the scribed joint
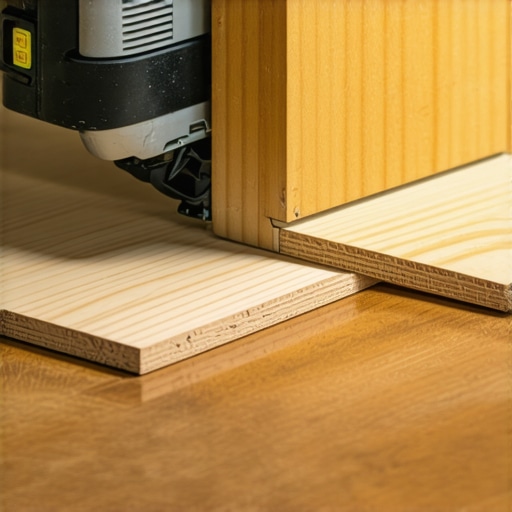
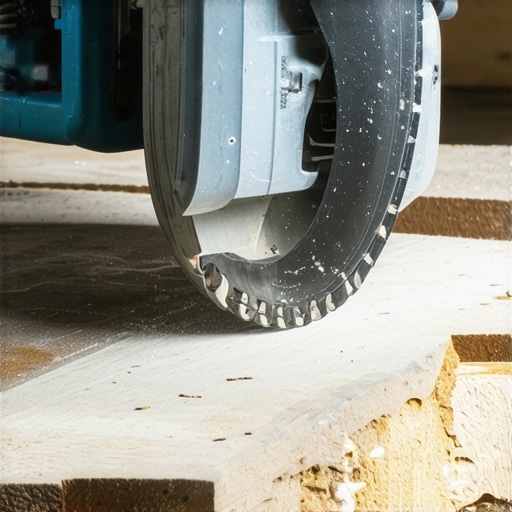
Scribing laminate to a stone hearth involves precision cutting to match the irregular profile of the masonry. By using a drawing compass or contour gauge, the installer transfers the stone texture onto the laminate plank. This custom-fit transition allows for a tight visual aesthetic while maintaining the structural expansion gap beneath the stone or within a flexible sealant. If the stone is relatively flat, you can sometimes get away with a straight cut and a slim reducer, but most hearths are anything but straight. You want to take your time here. I use a jigsaw with a fine-tooth downward-cutting blade to prevent chipping the melamine wear layer. If you cut it too fast, you will blow out the edges and it will look like a beaver chewed on your floor. After the cut, I always sand the edge to a smooth finish. This is where the sawdust under my nails comes from. It is tedious work, but it is the difference between a pro job and a DIY disaster.
The 1/8 inch that ruins everything
Vertical height transitions between laminate flooring and stone hearths must be flush or beveled to prevent trip hazards. Using shims or specific underlayment thicknesses can align the laminate wear layer with the top of the stone. If the hearth is elevated, a baby threshold or square-nose molding is required to cap the expansion gap. Most people do not think about the thickness of the underlayment. They buy the thickest, softest foam they can find, thinking it will feel better. But too much cushion actually causes the locking mechanisms on LVP or laminate to snap under pressure. You want a high-density underlayment with a high IIC (Impact Insulation Class) rating. This provides a firm base so the transition does not feel like you are stepping on a marshmallow. If your laminate is 12mm thick and your underlayment is 3mm, you have a 15mm stack height. Compare that to your stone. If the stone is higher, you need a reducer. If the stone is lower, you might need to grind the stone or accept a small step-down.
The physics of thermal shock and moisture
Thermal expansion near a fireplace affects the dimensional stability of laminate planks. Because stone hearths retain radiant heat, the adhesive bonds and locking systems of nearby flooring are subjected to temperature fluctuations. Maintaining a moisture barrier of 6-mil poly film over concrete slabs is mandatory per NWFA standards to prevent subfloor vapors from warping the laminate. I always tell people that a fireplace is a giant heat sink. It gets hot, then it stays warm for hours after the fire is out. That localized heat can dry out the laminate core faster than the rest of the floor, leading to gapping. You need to make sure the floor is acclimated to the room for at least 48 to 72 hours before you even think about cutting. If you pull it out of a cold truck and install it right next to a warm hearth, you are asking for trouble. The moisture content of the subfloor needs to be checked with a pin-less meter. If that concrete is reading high, you need a vapor retarder, or you will be looking at mold and warped boards by next spring.
| Transition Method | Pros | Cons | Best Use Case |
|---|---|---|---|
| T-Molding | Easy install, allows full expansion | Bulky appearance, trip hazard | Standard doorways and large spans |
| Scribe to Stone | Custom look, very clean lines | Difficult to cut, requires sealant | Irregular natural stone hearths |
| Baby Threshold | Covers raw edges, handles height changes | Visible profile, limited colors | Elevated hearths or thick stone |
| Undercutting Stone | Hidden gap, most professional look | Extremely messy, risky to masonry | New construction or flat stone |
Why bulky T-moldings are a failure of imagination
Standard T-moldings are often the default choice for flooring transitions, but they frequently clash with the organic aesthetic of natural stone. Alternative transition solutions like color-matched silicone caulk or flexible grout provide the necessary expansion relief while offering a low-profile finish. I hate T-molding. It looks like a cheap plastic strip because, well, it usually is. If you have a beautiful slate or granite hearth, the last thing you want is a piece of MDF wrapped in contact paper sitting next to it. If you have done your scribing correctly, you can fill that 1/4 inch gap with a high-quality, flexible 100 percent silicone sealant that matches the color of your grout or your floor. This keeps the dust out of the gap while still letting the floor breathe. Do not use standard caulk. It will harden and crack within a month. You need something with 25 percent movement capability. This is the secret to a high-end look without sacrificing the mechanical integrity of the floating system.
“Wood and stone are ancient partners; the transition between them requires both the hand of an artist and the mind of an engineer.” – Master Flooring Axiom
Essential tools for the hearth transition
- Contour Gauge: For capturing the exact bumps and dips of the stone edge.
- Jigsaw with Down-Cut Blades: To ensure clean cuts on the melamine surface.
- Diamond Grinder: If the concrete subfloor needs leveling near the hearth.
- Moisture Meter: To verify that the subfloor is dry enough for installation.
- Non-Hardening Silicone: For filling the expansion gap at the stone junction.
- Pull Bar and Tapping Block: To seat the planks tightly against the transition.
The myth of the waterproof floating floor
Waterproof laminate and LVP are often marketed as impermeable, but the joints and perimeter gaps remains vulnerable to liquid intrusion. Near a stone hearth, where cleaning products or spilled liquids may accumulate, a perimeter seal is vital to protect the HDF core from swelling. I have seen it a thousand times. A homeowner buys “waterproof” flooring and thinks they can mop it with a bucket of water. The water runs right into the expansion gap at the hearth, soaks into the raw edge of the HDF, and the floor starts to puff up like a marshmallow. Even the best laminate is only waterproof on the top. The bottom and the edges are its Achilles heel. That is why I always use a bead of sealant at the hearth. It is not just for looks. It is a dam. It keeps the moisture out of the core. If you are installing this in a basement where showers or laundry rooms are nearby, you need to be even more careful. Carpet install guys don’t have to worry about this, but for us, moisture is the enemy that never sleeps.
Managing the mechanical lock near masonry
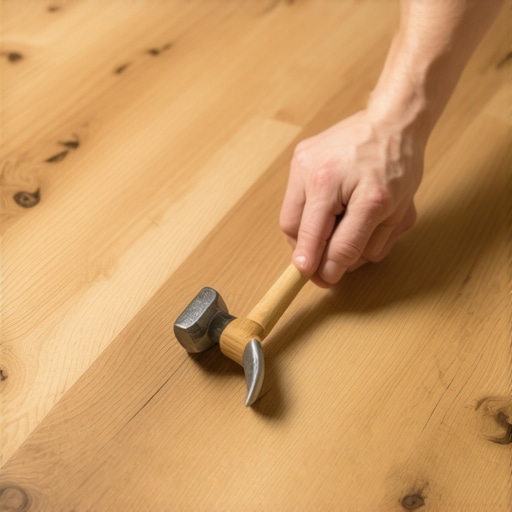
Locking mechanisms on laminate planks require clearance to engage properly, which can be challenging when working against a fixed stone surface. Using a pull bar allows the installer to lock the final row into place without damaging the stone or the plank edge. You cannot just swing a hammer near a stone hearth. One slip and you have chipped the granite or cracked a brick. I use a heavy-duty pull bar with a felt backing to protect the floor. You have to be patient. Sometimes you have to shave the locking tongue off and use a specialized wood glue to join the last row if there is not enough room to tilt the plank in. This is a common trick in the trade, but you only do it on the very last row, and you make sure that the glue is rated for the material. If you do not lock those planks in tight, the gap will open up the first time someone walks on it. And once that gap opens, it is a magnet for dirt, which will act like sandpaper and destroy the joint from the inside out.
The ghost of the expansion gap revisited
The relative humidity of your home will fluctuate by as much as 30 percent between summer and winter. A 12-foot span of laminate can expand by as much as 1/8 of an inch over that humidity range. This is why the hearth transition must be dynamic rather than static. Think of the floor as a living thing. It needs to breathe. It needs to move. If you pin it down with heavy furniture or a heavy transition strip that is screwed into the subfloor through the laminate, you are killing it. The floor will eventually pull itself apart at its weakest point. Usually, that is right at the hearth. When I am finishing a job, I always check the perimeter one last time. I make sure no stray spacers were left in. I make sure no globs of leveler are blocking the gap. It is the little things that get you. You spend all day doing the hard work, and then a 50-cent spacer ruins the whole thing. Take the time to do it right. Your floor, and your knees, will thank you for it in ten years when it still looks as good as the day it was laid.