The ‘Sandwich’ Method for Soundproofing Your Laminate Floors
Most guys skip the leveling compound. They think the underlayment will hide the dip. It won’t. I spent three days grinding concrete on a job last month just so the floor wouldn’t click like a castanet. That job was the perfect example of why soundproofing is a structural engineering task, not an aesthetic one. If your subfloor has a 3/16 inch dip over ten feet, your laminate becomes a drum head. Every step vibrates through that air pocket. You can buy the most expensive flooring in the world, but if you do not address the physics of the assembly, it will sound cheap. I have seen fifteen thousand dollar wide-plank installs ruined by a simple lack of subfloor prep. We are going to talk about the sandwich method. This is not just throwing down some foam. This is a layered defense against kinetic energy and acoustic vibration.
The physics of the acoustic sandwich
The sandwich method for soundproofing laminate floors involves a multi-layered assembly of a leveled subfloor, a high-density vapor barrier, a specialized acoustic underlayment, and a high-mass laminate plank. This approach targets both airborne noise and impact sound by decoupling the floor surface from the structural framing. You are creating a vibration break. When a foot hits the floor, the energy must travel through multiple materials of differing densities. Each change in density saps energy from the sound wave. This prevents the click-clack noise common in cheap laminate installs. You want materials that absorb energy rather than reflecting it back into the room. This is the difference between a floor that feels solid like a rock and one that feels like a plastic tray. The chemistry of the adhesive in the laminate and the molecular density of the underlayment dictate how many decibels are scrubbed from the environment.
Why your subfloor is lying to you
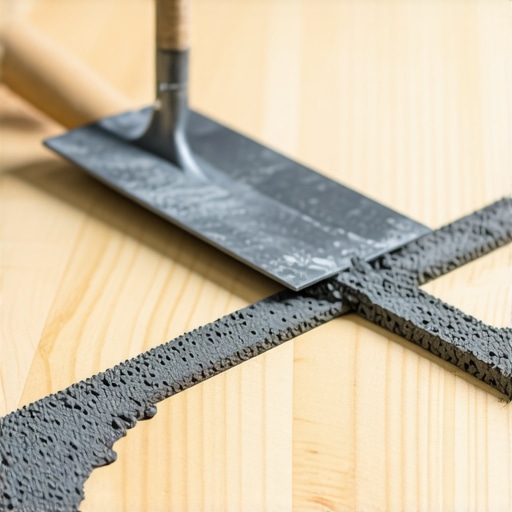
You might look at your slab and think it is flat. It is not. Concrete slabs are rarely flat enough for a high-performance sandwich install. If you have a hump or a valley, your laminate will bridge that gap. This creates a trampoline effect. Every time you walk over that spot, the locking mechanism flexes. Eventually, the tongue snaps. Then you have a floor that moves and squeaks. I spend more time with a 10-foot straightedge and a grinder than I do with a saw. You need to grind down the high spots. Use a vacuum attachment for the dust. Then you fill the low spots with a high-strength self-leveling compound. This creates the foundation for your sandwich. Without a flat base, your soundproofing layers will be compressed unevenly, rendering their acoustic ratings useless. I have seen homeowners complain about noise only to find the installer left a layer of drywall dust under the foam. That dust acts like a lubricant, causing the whole assembly to slide and grind. Cleanliness is not about being tidy, it is about the integrity of the bond. Moisture is another liar. A slab might look dry but can be pumping out water vapor. Use a calcium chloride test. If you ignore the moisture, your soundproofing sandwich will eventually turn into a mold sandwich. We use 6-mil poly as a baseline, but on heavy-moisture slabs, you need a liquid-applied epoxy moisture mitigator. This is the structural reality of flooring.
“A floor is only as good as the subfloor beneath it; deflection is the enemy of every joint.” – Master Flooring Axiom
The anatomy of an IIC rating
Impact Insulation Class or IIC ratings measure how well a floor assembly blocks the sound of footsteps and dropped objects from traveling to the room below. For a laminate sandwich, you want an IIC rating of 70 or higher if you are in a multi-family building. Most local building codes require a minimum of 50. The IIC rating is not just about the underlayment. It is about the entire system. A 12mm laminate over a 3mm rubber underlayment on a 6-inch concrete slab will have a different rating than the same materials on a wood joist system. You have to understand decibel reduction. Every 10-decibel increase represents a doubling of perceived loudness. If your sandwich method reduces sound by 20 decibels, the room below will hear one-fourth the noise. This is why we use high-mass materials. Density is your friend. Thin foam rolls from big-box stores are useless for IIC. They flatten out within six months. You want recycled felt or high-density rubber. These materials do not have memory. They stay thick and keep their acoustic properties for decades. We look at the Delta IIC, which measures the improvement the floor provides over the bare subfloor. If a product does not list a Delta IIC, it is probably marketing fluff. You need the hard data to ensure your house does not sound like a bowling alley.
The ghost in the expansion gap
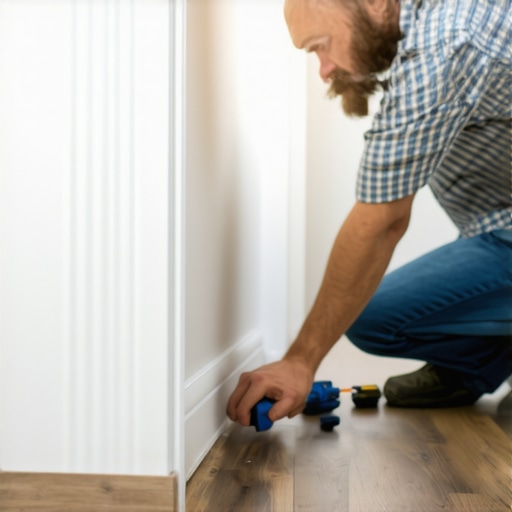
One of the biggest mistakes I see is running the laminate tight against the wall. Laminate is made of wood fibers. It expands and contracts with the seasons. If you do not leave a 3/8 inch gap, the floor will eventually hit the wall and buckle. But there is an acoustic reason for this gap too. If the laminate touches the wall, it creates a mechanical bridge. Sound vibrations will travel from the floor directly into the wall studs. This is called flanking noise. It bypasses your expensive underlayment entirely. I use closed-cell backer rod in the gap and then cover it with an acoustic sealant before I install the baseboards. This keeps the floor floating while sealing the air gap. Air leaks are sound leaks. If air can move through a gap, sound can move through it. You have to think like a plumber. If the floor was a pool of water, where would it leak? Those are your sound weak points. Most installers just slap on the baseboard and call it a day. They leave a hollow cavity behind the trim that acts as a megaphone. I back-fill that space. It makes a massive difference in the room’s atmosphere. You want a dead room, not one that echoes every cough and dog bark.
| Material Type | IIC Rating Range | Compression Strength | Moisture Resistance |
|---|---|---|---|
| Basic PE Foam | 50-55 | Low | Moderate |
| Recycled Felt | 65-72 | High | High |
| High-Density Rubber | 68-75 | Very High | Excellent |
| Cork Underlayment | 60-68 | Medium | Low |
The 1/8 inch that ruins everything
Precision is the difference between an amateur and a master. If your floor is out of level by 1/8 inch over six feet, your laminate will feel spongy. This vertical movement is the death of soundproofing. When the plank moves, it pushes air. That air movement creates a low-frequency thud. I have walked onto jobs where the homeowner complained their carpet install felt better than their new laminate. It is always because the subfloor was not prepped. You cannot fix a bad subfloor with a thick underlayment. In fact, if you use an underlayment that is too thick and soft, it actually makes the problem worse. The locking joints will flex too far and eventually snap. I never use anything thicker than 3mm for the acoustic layer. If you need more soundproofing, you add mass, not thickness. I use a layer of mass-loaded vinyl under the felt if the client wants a recording-studio level of quiet. This adds weight without adding soft loft. It keeps the floor stable. You want the floor to feel like it is part of the house, not like it is floating on a cloud of marshmallows. High-quality laminate with a high Janka-equivalent density is also part of the sandwich. Thinner planks vibrate more. Go with a 12mm or 15mm plank for the best acoustic results. The heavier the plank, the harder it is for sound waves to move it.
“Deflection in the subfloor is the primary cause of mechanical failure in floating floor systems.” – TCNA Handbook Supplement
Regional climate and the expansion factor
If you are installing in a place like Houston, the humidity is your enemy. You need a sandwich that can breathe while blocking liquid water. Solid wood is a death wish in high humidity, but even laminate will swell if the humidity stays above 60 percent. The sandwich method must include a vapor retarder that allows for some drying potential if moisture gets trapped. In a dry climate like Phoenix, the opposite happens. The wood fibers in the laminate shrink. This can cause the joints to pull apart. You need to acclimate your flooring in the room where it will be installed for at least 48 hours. I prefer 72 hours. Open the boxes. Cross-stack them. Let the material reach equilibrium with the house’s HVAC system. If you take the flooring from a cold warehouse and install it immediately, your soundproofing sandwich will shift and groan as it adjusts. I have heard floors that sounded like a haunted house because the installer was in a rush. Patience is a technical requirement. You are dealing with organic materials that respond to the environment. Respect the wood, or it will humiliate you.
The sandwich assembly checklist
- Inspect the subfloor for moisture and levelness using a 10-foot straightedge.
- Grind high spots and fill low spots with self-leveler until the floor is flat within 3/16 inch per 10 feet.
- Vacuum the entire surface to remove all grit and debris.
- Lay down a 6-mil polyethylene vapor barrier, overlapping seams by 6 inches and taping with moisture-proof tape.
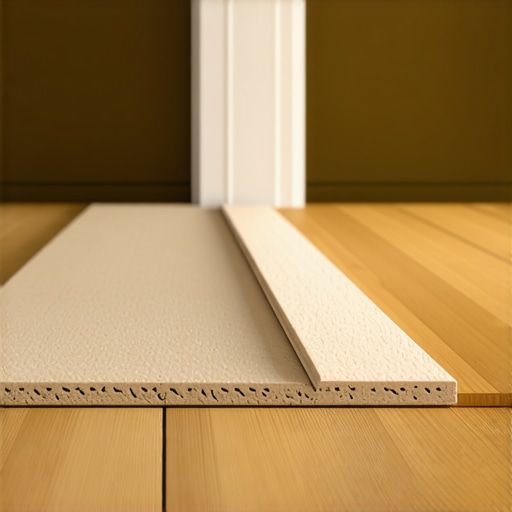
- Install a high-density acoustic underlayment like recycled felt or rubber, butting the seams together without overlapping.
- Install the laminate planks, ensuring a 3/8 inch expansion gap at all vertical surfaces.
- Use a tapping block to ensure all joints are fully seated to prevent acoustic leakage.
- Fill the expansion gap with backer rod and acoustic sealant before installing baseboards.
- Ensure that the baseboards are nailed to the wall, not the floor, to maintain the floating system.
The final result of the sandwich method is a floor that sounds and feels like a permanent part of the architecture. You will not hear the clicking of pet claws or the hollow echo of footsteps. It is a professional-grade solution for a common problem. Most people want the cheapest price, but they regret it the first time they hear their neighbor upstairs. Do it right the first time. Level the floor. Use high-density layers. Leave your expansion gaps. This is how you build a floor that lasts a lifetime. [IMAGE_PLACEHOLDER]