How to Level a Plywood Subfloor Without Adding Weight
How to Level a Plywood Subfloor Without Adding Weight
Most installers think the answer to every dip and valley in a floor is to pour five bags of self-leveling cement. They are wrong. I spent three days grinding concrete on a job last month just so the floor wouldn’t click like a castanet, but on a plywood subfloor, that extra weight is a structural liability. Adding three hundred pounds of cement to a wooden structure changes the deflection physics of your joists. If you are prepping for carpet install, laminate, or even showers, you need a subfloor that is dead flat, not just heavy. You have to understand that plywood is a living material. It reacts to the moisture in your crawlspace and the weight of your furniture. Most guys skip the leveling compound. They think the underlayment will hide the dip. It won’t. If the subfloor is not within 1/8 inch over a 10 foot radius, your new floor will fail. It is that simple. I have seen fifteen thousand dollar walnut floors turned into potato chips because the installer was too lazy to pull out a level. We are going to look at the mechanical ways to fix your floor. We are going to sand, shim, and sister our way to a perfect surface without overloading the floor system.
The structural lie of the self leveling bag
Leveling a plywood subfloor without adding weight requires mechanical correction like sanding high spots and shimming low spots from the joists below. By avoiding heavy cementitious compounds, you preserve the structural integrity of the home framing and prevent the long term sag caused by excess dead loads on the floor joists. Traditional self-leveling underlayment (SLU) is essentially wet rocks. When you pour that into a 1/2 inch dip, you are adding roughly five pounds per square foot. Over a large living room, that is equivalent to parking a small car in the middle of the floor. Wood joists are engineered for specific live and dead loads. Pushing those limits leads to bounce, vibration, and eventual cracking in your drywall downstairs. Instead of adding mass, we look at why the dip exists. Is it a crowned joist? Is it a subfloor that was installed with too few fasteners? We address the root cause with structural solutions. You want a floor that feels solid under your boots, not a floor that feels like it is floating on a layer of brittle crackers. This is why mechanical leveling is the superior path for any veteran floor mechanic.
“A floor is only as good as the subfloor beneath it; deflection is the enemy of every joint.” – Master Flooring Axiom
Why your subfloor is lying to you
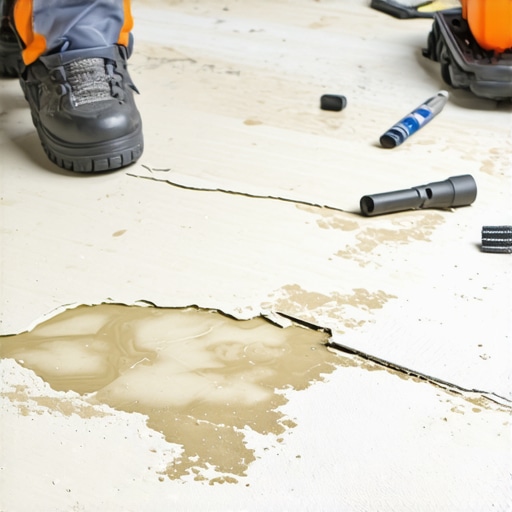
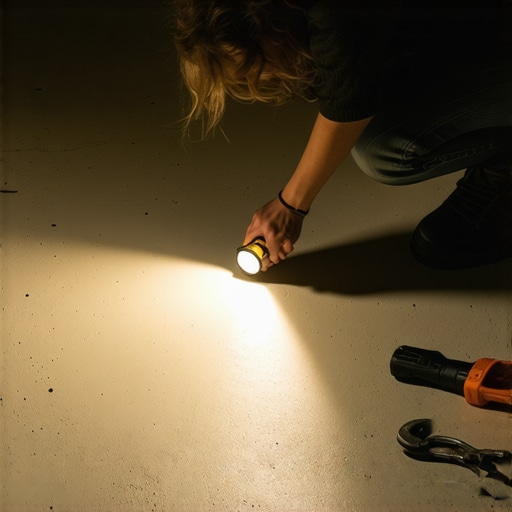
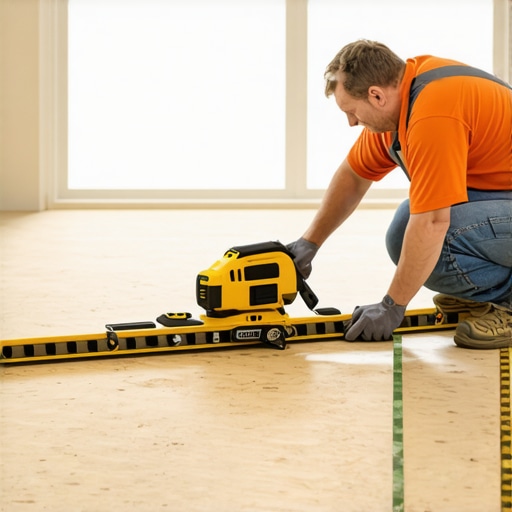
Subfloor flatness is often obscured by factory stamps and surface texture, but a 10 foot straightedge reveals the truth about peaks and valleys. You cannot trust your eyes in a room with overhead lighting because shadows hide the 1/4 inch dips that ruin a laminate installation. To find the truth, you need a professional grade straightedge or a laser level. Sweep the room clean of every speck of sawdust. Even a single grain of sand can throw off your readings. Lay the straightedge down and look for daylight. If you can slide a nickel under the bar, you have a problem. If you can slide a stack of three quarters, you have a disaster. Wood moves. It is hygroscopic, meaning it absorbs water from the air. If your plywood sat out in the rain during construction, the edges likely swelled. This creates a peaked seam. You might think the whole floor is low, but in reality, the seams are just high. Sanding these ridges down is the first step to a flat floor without adding an ounce of cement. It is about removing the high points to meet the low points. This is surgical flooring, not a demolition derby. You are looking for a tolerance of 3/16 inch over 10 feet for carpet, but for laminate or engineered wood, you need 1/8 inch. Anything less and you will hear that annoying hollow click every time you walk to the kitchen.
Sanding as a surgical instrument
Removing high spots from a plywood subfloor with a heavy duty belt sander or an edger is the most effective way to achieve flatness. This process requires a 36 grit ceramic paper to aggressively chew through the wood fibers and level the ridges at the seams or the crowns in the joists. I always wear a respirator and keep the vacuum running because plywood dust is a cocktail of glue and wood resins that you do not want in your lungs. When you sand, you are not just making it smooth; you are altering the topography. Watch the screw heads. If you hit a screw with a 36 grit belt, you are going to see sparks and ruin a five dollar belt instantly. Set all fasteners 1/8 inch below the surface before you start. Focus on the seams where the plywood sheets meet. These are the most common areas for swelling. You can take off up to 1/8 inch of a 3/4 inch subfloor without significantly compromising its structural shear strength, but do not go deeper. If the dip is deeper than that, sanding is not your only tool. You have to look underneath. The goal is a floor that looks like a sheet of glass before the first plank ever touches the wood. A flat subfloor means your transitions will be flush and your baseboards will sit tight against the floor without huge gaps that require a gallon of caulk to hide.
| Subfloor Material | Typical Weight (PSF) | Sanding Potential | Moisture Sensitivity |
|---|---|---|---|
| CDX Plywood | 2.2 | High | Moderate |
| OSB (Standard) | 2.4 | Low | High |
| Huber Advantech | 2.8 | Moderate | Low |
| Particle Board | 3.0 | None | Extreme |
The physics of joist deflection
Joist deflection refers to the amount a floor structure bends under weight, and managing it is the key to preventing grout cracks and bouncy floors. Most residential floors are built to an L/360 standard, which means the floor should not bend more than the length of the span divided by 360 when under a full load. When you add heavy leveling compounds, you use up that deflection budget. Instead, we use sistering. Sistering involves taking a new 2×10 or 2×12 and bolting it to the side of a sagging joist. This pulls the floor up and levels the surface from the bottom. It is a lot of work in a crawlspace, but it is the right way to do it. You use a hydraulic jack to slowly move the joist back to level, then glue and through-bolt the new lumber to the old. This fixes the dip permanently. It does not just mask the problem. It strengthens the entire house. For a carpet install, this might be overkill, but for a high end shower or a stone tile floor, it is mandatory. You have to think like an engineer. If the bones of the house are crooked, the skin will never look right. I have seen guys try to fix a 1/2 inch sag with shingles. That is a hack move. Shingles compress over time. Use kiln-dried lumber or plywood shims and construction adhesive that meets ASTM D3498 standards to ensure the bond never breaks.
The hidden dip in your hallway
Low spots in a subfloor that cannot be sanded or sistered are best handled with lightweight asphalt felt or specialized feathering patches. These materials provide the necessary fill without the crushing weight of traditional cement, allowing for a smooth transition that supports the locking mechanisms of modern floors. 15 pound or 30 pound roofing felt is a secret weapon in the flooring industry. It is consistent in thickness and does not compress. You can layer it like a topographical map. Start with the smallest piece in the deepest part of the dip and layer larger pieces on top until you are flush with the rest of the floor. This is perfect for laminate and engineered wood. For the final smooth finish, you can use a high polymer feathering compound. These are applied with a flat trowel and can be walked on in fifteen minutes. They are designed to stick to wood, unlike cheap concrete levelers that will eventually pop off the plywood. The chemistry of these patches involves acrylic resins that allow for a slight bit of flex. This is vital because wood moves. A rigid patch on a flexible subfloor is a recipe for crunching sounds. You want a material that moves with the house, not against it. This is how you get a professional result that lasts for thirty years instead of three months.
“Subfloor preparation is 90 percent of the labor but 100 percent of the performance.” – NWFA Professional Manual
The checklist for a perfect subfloor
- Inspect every square foot for proud nails or screws that will telegraph through the finish.
- Check moisture levels in the plywood to ensure they are within 2 percent of the flooring material.
- Use a 10 foot straightedge to map every high and low spot in the room.
- Sand all peaked seams using a heavy grit paper and an industrial vacuum.
- Sister joists from below if the deflection exceeds the L/360 engineering limit.
- Layer asphalt felt paper to fill shallow valleys without adding significant weight.
- Apply a high polymer feathering patch to create a smooth transition between materials.
- Vacuum the entire surface three times before starting the actual installation.
The 1/8 inch that ruins everything
The industry standard for floor flatness is 1/8 inch over a 10 foot radius because any larger gap causes the tongue and groove joints to flex and eventually snap. This mechanical failure is why your waterproof vinyl starts to separate at the ends. It is not a manufacturing defect; it is an installation failure. When you step on a plank that is hovering over a dip, the joint is forced to carry your entire body weight. It was never designed for that. Over time, the plastic or wood fibers fatigue and break. Then you get the gaps. Then water gets in. Then the floor is ruined. You avoid this by being meticulous during the prep phase. I don’t care if the homeowner is rushing you. I don’t care if the GC wants the trim on tomorrow. If that floor is not flat, you don’t lay the first board. You explain the physics to them. You show them the straightedge. Most people understand when you explain that their expensive floor will be trash in two years if you don’t spend the extra day leveling the subfloor now. It is about professional integrity. It is about knowing that when you walk away from a job, that floor is as solid as a rock. You are building a performance surface, not just putting down a rug. Treat the plywood like the foundation of a skyscraper. If the foundation is off, the penthouse will be crooked. Take the time to sand the ridges and shim the valleys. Your knees and your reputation will thank you ten years down the road.