The Flashlight Check for High Spots Before Laying Large Format Tile
The shadow that kills your warranty
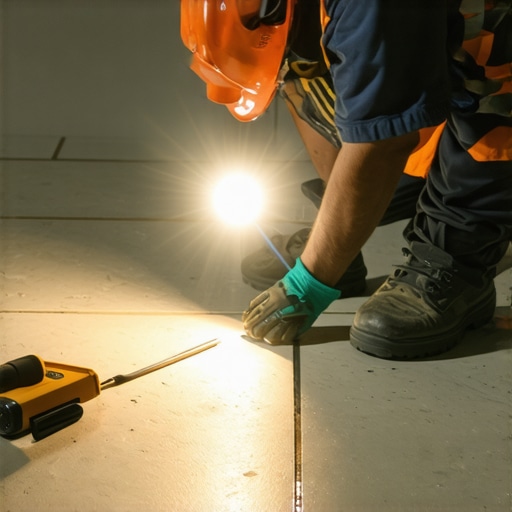
The flashlight check is a low angle grazing light test used to identify high spots and depressions in a subfloor that a standard spirit level might miss. By placing a high lumen LED light directly on the floor surface, you create long shadows behind every ridge or hump. This diagnostic method ensures that large format tile installations meet the 1/8 inch over 10 feet flatness requirement demanded by the TCNA. It is the only way to visualize the topography of your concrete slab before the adhesive hits the floor.
Most guys skip the leveling compound. They think the underlayment will hide the dip. It won’t. I spent three days grinding concrete on a job last month just so the floor wouldn’t click like a castanet. I walked into that job after the previous contractor walked off because he could not get his 24 by 48 inch porcelain to sit flat. He tried to double butter the tile to bridge the gaps. All he did was create hollow spots that would have cracked the moment someone walked on them in high heels. I had to take a diamond cup wheel to the high spots and then pour eighty bags of self leveling underlayment. It was a dusty, brutal process, but it was the only way to save the install. When you are dealing with tile this size, you are not just a floor layer. You are a structural engineer working with a zero tolerance substrate.
The ghost in the concrete slab
Subfloor flatness is the single most important factor for any successful large format tile or laminate installation because rigid materials cannot contour to waves. If your slab has a hump of even 3/16 of an inch, your tile will act like a seesaw. You will get lippage at the corners, and those edges will chip within a year. Most homeowners do not understand that concrete is not flat. It is a series of frozen ripples. When you lay a flashlight on its side, those ripples look like mountain ranges. You need to identify every peak and valley before you ever open a bag of thin set.
“A floor is only as good as the subfloor beneath it; deflection is the enemy of every joint.” – Master Flooring Axiom
The physics of the flashlight check rely on the angle of incidence. When the light source is parallel to the floor, even a 1/16 inch variation casts a shadow several inches long. This magnification is essential because the human eye is terrible at judging flat surfaces in top down lighting. You might think that a carpet install hides these flaws, but even then, a major high spot will wear down the carpet fibers prematurely. For tile, the risk is catastrophic. Large format tiles have almost no flexibility. If you bridge a low spot with thin set, the moisture in the mortar evaporates, causing the mortar to shrink and pull the tile down, which results in lippage. You cannot fix this after the fact. You fix it on the slab.
Why the bubble level isn’t enough
A standard spirit level only measures the relationship between two points, often skipping over localized high spots that create pivots for large tiles. While a ten foot straight edge is the industry standard for checking flatness, it is bulky and often misses the subtle micro textures of the concrete. The flashlight reveals the exact footprint of the area that needs grinding. It shows you the specific swirl marks from the power trowel that will prevent your mortar from bonding correctly. You are looking for a surface that looks like a mirror, not a topographical map of the Ozarks.
| Substrate Condition | Max Variation (10 ft) | Recommended Fixing Method | Required Tool |
|---|---|---|---|
| Laminate Flooring | 3/16 inch | High density underlayment | Straight edge |
| Carpet Install | 1/4 inch | Minor patching | Floor scraper |
| Large Format Tile | 1/8 inch | Grinding and SLU | Flashlight and Level |
| Showers | 1/16 inch | Pre sloped mortar bed | Curb level |
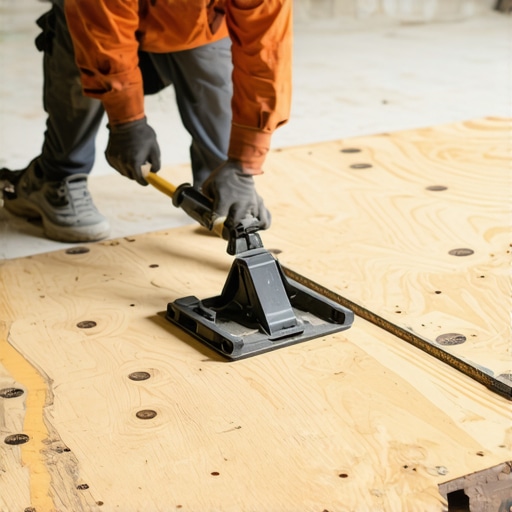
The information gain here is simple but ignored by the amateurs. Most people want the thickest underlayment thinking it adds comfort. In reality, too much cushion actually causes the locking mechanisms on laminate or LVP to snap under pressure. When the floor flexes into a dip, the tongue and groove joint is stressed. Over time, that stress leads to separation and clicking noises. The flashlight check prevents this by forcing you to fill those dips with a rigid compound rather than relying on a foam pad to do a job it was never designed for. If you can see a shadow, you have a problem that foam won’t solve.
The chemical reality of self leveling compound
Self leveling underlayment is a high flow hydraulic cement that requires precise water ratios and primer to bond to the existing concrete slab effectively. It is not just a pour and forget product. If you do not prime the concrete, the dry slab will suck the moisture out of the SLU before it has a chance to level out. This leads to pinholes and a brittle surface. You also have to consider the humidity of your region. In high humidity areas like New Orleans, your dry times will double. In the dry heat of Phoenix, you might need to mist the slab to prevent the compound from flash setting and cracking like a dry lake bed.
- Identify high spots using the flashlight grazing method.
- Grind down any concrete humps using a diamond cup wheel with dust shroud.
- Vacuum the entire surface with a HEPA filter to remove all silica dust.
- Apply a high quality acrylic primer to seal the concrete pores.
- Mix self leveling underlayment with a high speed mixer to ensure no lumps.
- Pour and use a spiked roller to release trapped air bubbles.
- Wait for the moisture content to drop below four percent before tiling.
The shower floor betrayal
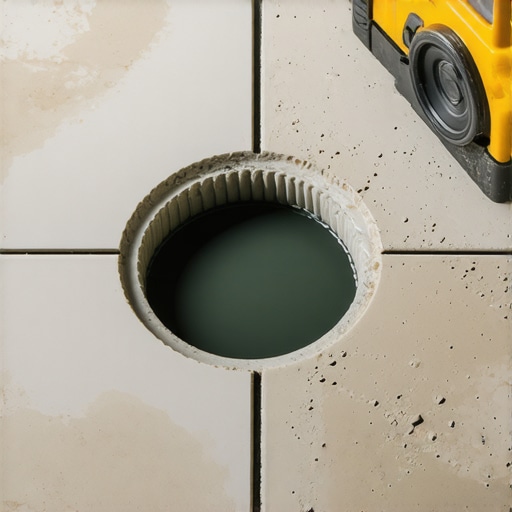
Large format tiles in showers require a perfectly flat substrate to prevent water pooling and to ensure the waterproofing membrane sits without tension. When you are working in a wet environment, the stakes are higher. A high spot on a shower floor means water will not drain toward the waste pipe. It will sit in stagnant pools, leading to mold and grout discoloration. The flashlight check is even more critical here because you are often working with slopes. You need to ensure the slope is a planes, not a curve. If your shower pan has a hump, your large tiles will not sit flat, and you will end up with sharp edges that can cut a toe.
“Substrate preparation is 90 percent of the labor but 100 percent of the success of a tile installation.” – TCNA Handbook Guidance
When you are doing a carpet install, you might get away with a few floor staples and a heavy pad. But when you move to the world of porcelain and stone, the physics change. The bond between the tile and the thin set is a chemical and mechanical lock. If the tile is constantly under tension because it is arched over a high spot, that lock will fail. You will hear a hollow sound when you walk across the floor. That sound is the death knell of your installation. It means the tile has debonded. The only solution is to rip it out and start over. Save yourself the heartache. Buy a good flashlight, get on your knees, and read the shadows before you ever mix a bucket of mud.