The ‘Wet Finger’ Test for Checking Shower Sealant
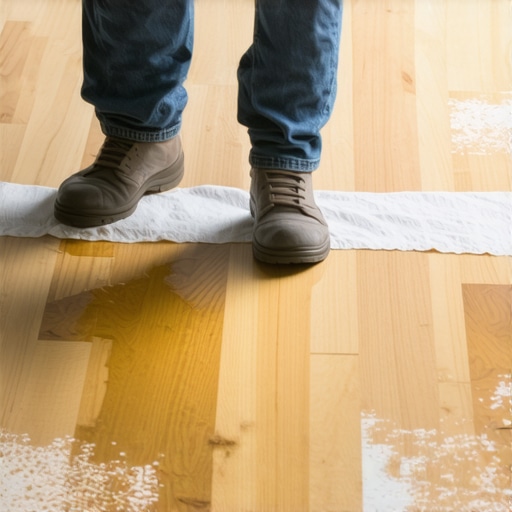
Most guys skip the leveling compound. They think the underlayment will hide the dip. It won’t. I spent three days grinding concrete on a job last month just so the floor wouldn’t click like a castanet. The homeowners thought I was crazy. They wanted to see the pretty laminate planks go down on day one. But I knew the truth. That slab was wavy like the Atlantic. If I had just rolled out the foam and started clicking boards together, the locking mechanisms would have snapped within six months. This is the reality of professional flooring. It is not about the visible surface. It is about the chemistry and physics happening beneath your socks. When we talk about the wet finger test for checking shower sealant, we are really talking about the integrity of the moisture barrier. If that seal fails, the water migrates. It finds the subfloor. It turns your expensive flooring into a petri dish. I have seen fifteen thousand dollar walnut floors cup and curl like potato chips because someone ignored a crawlspace leak or a bad shower seal. You have to respect the moisture. You have to respect the level. If you do not, the house will eventually win and your floor will lose.
The physics of the wet finger test in modern bathrooms
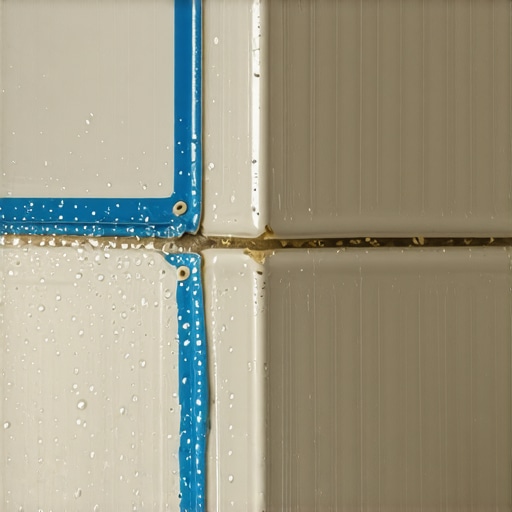
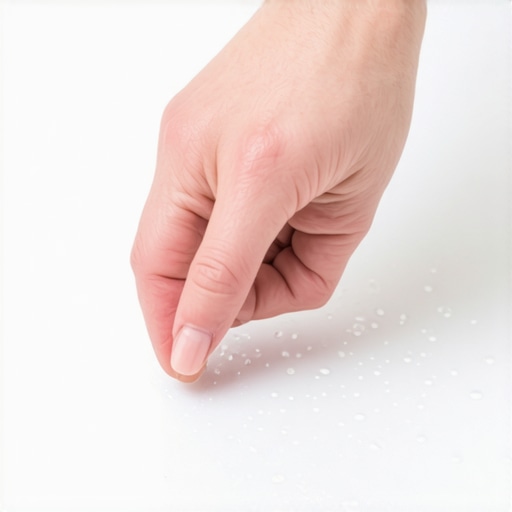
The wet finger test for checking shower sealant involves running a moistened digit along a freshly applied bead of silicone to ensure a concave profile and a hermetic bond with the substrate. This manual tooling process forces the sealant into the microscopic pores of the tile and grout, preventing water ingress. Proper tooling is the difference between a decorative bead and a functional moisture dam. When you apply silicone, it sits on the surface. Without the mechanical pressure of a tooled finish, the bond remains superficial. A wet finger reduces surface tension, allowing the tool to glide without dragging the material. This creates a smooth, sloping surface that sheds water toward the drain. If the bead is jagged or lacks a tight bond at the edges, capillary action will draw moisture behind the tile. Once water gets behind that vertical surface, it begins its slow journey toward your subfloor. Whether you have laminate, hardwood, or carpet, moisture is the primary catalyst for structural failure. We use 100 percent RTV silicone because it maintains elasticity under thermal expansion. Anything less is a shortcut that leads to rot.
Why your subfloor is lying to you about levelness
Floor leveling requires a 10 foot straightedge and a refusal to accept any deviation greater than 3/16 of an inch across the span. Most subfloors appear flat to the naked eye but contain significant valleys and ridges that create air pockets under rigid flooring materials like laminate. These air pockets are where the trouble starts. When you walk across a floor with a dip, the plank flexes. That flex puts a tremendous amount of torque on the tongue and groove system. Over time, the friction wears down the wood fibers or the plastic locking tabs. Eventually, you get gaps. You get clicks. You get squeaks. I see it every day. Homeowners buy the most expensive laminate on the market and then hire a guy who does not own a floor grinder. You cannot fix a bad slab with thicker underlayment. In fact, too much cushion is a death sentence for click-lock floors. The extra compression increases the vertical movement of the joints, leading to premature failure of the locking mechanism. You need a substrate that is flat, dry, and structurally sound. This means grinding high spots and filling low spots with a high-compressive-strength cementitious underlayment.
“A floor is only as good as the subfloor beneath it; deflection is the enemy of every joint.” – Master Flooring Axiom
The hidden danger of capillary action in laminate systems
Laminate flooring is a high-density fiberboard product that reacts violently to liquid water and vapor. If a shower seal fails and moisture seeps under the transition strip, the core of the laminate will wick that water through capillary action, causing irreversible edge swelling and delamination. This is why the wet finger test in the adjacent bathroom is so vital. People think waterproof laminate means they are safe. It does not. The surface might be waterproof, but the joints and the core are vulnerable. Once moisture gets into the HDF core, the thickness of the board can increase by twenty percent. This creates a lip that catches on your feet and eventually chips away. If you are installing laminate near a wet area, you must use a perimeter sealant. I apply a bead of silicone in the expansion gap around the vanity and the shower base. This creates a secondary defense. If the primary shower seal fails, the silicone in the expansion gap prevents the water from reaching the underside of the laminate. It is a system of redundancies. Without these steps, you are just waiting for a disaster to happen.
Why carpet installation hides the worst subfloor crimes
Carpet installation often masks structural deficiencies like rotted plywood, unlevel joists, and cracked concrete slabs because the padding and pile absorb the visual evidence of a failing subfloor. This concealment allows moisture issues from poor bathroom sealing to persist unnoticed for years until the wood fails. When I pull up old carpet, I usually find a history of neglect. I find rusted tack strips and moldy padding. Most of this comes from a lack of proper moisture management in the home. If the shower was not sealed correctly, or if the floor leveling was ignored during a previous renovation, the carpet just sits on top of the mess. People love carpet because it is forgiving on the feet, but it is the least forgiving when it comes to hygiene and structural transparency. If you are planning a carpet install, do not just throw it over whatever is there. Strip it back to the bare wood or concrete. Check the moisture content with a pin-type meter. Ensure the subfloor is secured to the joists with screws, not nails, to prevent future squeaks. If the subfloor is flexing, the carpet will eventually show wear patterns where the boards are rubbing together.
| Sealant Type | Adhesion Strength | Elasticity | Curing Time | Best Use Case |
|---|---|---|---|---|
| 100% Silicone | High | 25% | 24 Hours | Showers and Wet Areas |
| Polyurethane | Very High | 50% | 48 Hours | Exterior Expansion Joints |
| Acrylic Latex | Low | 10% | 12 Hours | Interior Baseboards |
Regional humidity and the slow death of adhesive bonds
The humidity levels in regions like Houston or Florida necessitate different installation protocols compared to the dry heat of Phoenix or Denver. High ambient moisture requires longer acclimation times for wood products and specific vapor barriers to prevent the bond failure of floor adhesives. In the swampy humidity of the South, a concrete slab acts like a sponge. It pulls moisture from the earth and releases it into your home. If you do not use a moisture barrier with a perm rating of less than 0.1, your floor will fail. I have seen adhesives turn back into liquid because the hydrostatic pressure from the slab was too great. In dry climates, the opposite happens. The wood shrinks. You get gaps in your hardwood that you could fit a nickel into. You have to balance the environment. This means running the HVAC system for at least two week before and after the install. It means checking the moisture content of the subfloor and the flooring material to ensure they are within three percent of each other. If they are not, do not start the job. I do not care how much the homeowner complains about the delay. I am not putting my name on a floor that is going to move.
“Wood is hygroscopic; it never stops moving, so you must give it the room and the environment to breathe without breaking.” – NWFA Technical Manual
The 1/8 inch that ruins everything
A deviation of just 1/8 inch over a short distance can create a pivot point that destroys the integrity of a floor. This minor height difference causes the planks to see-saw, eventually snapping the tongue or creating a visible gap that collects dirt and moisture. Precision is the only thing that separates a master from a handyman. I use a laser level to map out the entire room before I even open a box of flooring. I look for the high spots. I mark them with a pencil. Then I get to work with the diamond cup wheel on my grinder. It is loud. It is dusty. It is miserable work. But it is the only way to ensure the floor stays flat for thirty years. People think they can hide a dip with extra underlayment. They think the foam will compress and fill the hole. It does not work that way. The foam eventually loses its memory and stays compressed, leaving the floor unsupported. Then you get that hollow sound when you walk. That is the sound of a bad installation. That is the sound of someone who didn’t care about the 1/8 inch.
- Check the subfloor for moisture using an ASTM F2170 in-situ probe.
- Grind down any ridges in the concrete that exceed 1/16 of an inch.
- Ensure the shower sealant is tooled with a wet finger to create a concave water shed.
- Vacuum the subfloor three times to remove all dust that might interfere with adhesive.
- Maintain a consistent interior climate between 60 and 80 degrees Fahrenheit.
- Use a 6-mil poly film vapor barrier over all concrete slabs.
The myth of waterproof flooring and the reality of vapor
Waterproof flooring labels refer only to the material itself and not the installation or the environment beneath the planks. Vapor drive from a damp subfloor can still cause mold growth and adhesive failure even if the top surface of the vinyl or laminate is impervious to water. This is the biggest lie in the industry. Big box stores sell this stuff as a magic bullet. They tell people they can put it in a basement with a wet floor. They are wrong. If you trap moisture under a waterproof floor, you are creating a greenhouse for mold. The moisture cannot evaporate through the floor, so it sits there. It rots the subfloor. It smells like a swamp. You still need a moisture barrier. You still need to address the source of the water. Whether it is a leaky pipe, a bad shower seal, or a high water table, the floor will not fix the problem. The floor will only hide it until the damage is structural. I always tell my clients that a waterproof floor is a luxury, not a solution for a wet house. You have to fix the drainage. You have to fix the seals. Then, and only then, can you install the floor.