How to Fix a Pinhole in Your Floor Leveler Before the Tile Goes Down
Most guys skip the leveling compound. They think the underlayment will hide the dip. It won’t. I spent three days grinding concrete on a job last month just so the floor wouldn’t click like a castanet. I saw a crew once pour five bags of leveler without a primer. The floor looked like a block of Swiss cheese by morning. Thousands of pinholes were staring back at them. That is what happens when you ignore the slab physics. Pinholes are not just a visual defect. They are the structural signature of a failed preparation process. If you are about to lay tile over a surface that looks like a moon crater, stop. You are looking at air chimneys that will hollow out your thin-set bond and leave your tile vulnerable to point-load cracking. This is about the chemistry of the bond and the physics of the pour. It is the difference between a floor that lasts fifty years and one that fails in five.
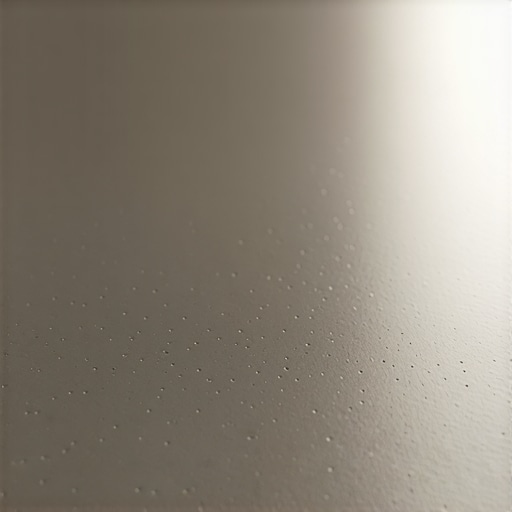
The microscopic craters in your substrate
Pinholes in floor leveler are caused by outgassing where air trapped in the porous concrete substrate escapes through the wet compound during the hydration process. These tiny voids indicate that the substrate was not properly sealed with a primer, allowing air to displace the heavier leveling fluid as it settles. When the air rises, it creates a vertical channel that stays open as the cementitious material begins its initial set. This leaves a permanent hole. If you ignore these holes, your tile mortar will bridge over them instead of bonding to a solid surface. This creates a pocket of air under your tile. When a heavy appliance or a person walks over that spot, the tile flexes into the void. It will snap. There is no way around it. You must address the porosity of the slab before you move to the next phase of the install.
“A floor is only as good as the subfloor beneath it; deflection is the enemy of every joint.” – Master Flooring Axiom
Why air bubbles destroy your bond
Air bubbles and pinholes compromise the mechanical bond between the self-leveling underlayment and the tile mortar by reducing the surface area available for adhesion. Every hole represents a spot where the tile is floating rather than anchored. In a high-moisture environment like showers, these holes can also collect condensation or moisture that seeps through grout lines. This leads to mold growth or the eventual breakdown of the adhesive bond. You need a monolithic surface. The science of a successful floor relies on the surface tension of the leveler being low enough to flow but the substrate being sealed enough to prevent air intrusion. When you see a pinhole, you are seeing the result of a pressure imbalance. The air inside the concrete slab is warmer or under more pressure than the room, and it pushes out as the leveler tries to go in.
The physics of outgassing and surface tension
Concrete is a sponge. It looks solid but it is a network of capillaries and microscopic pores. When you pour a liquid over it, the liquid wants to fill those pores. Gravity pulls the leveler down. The air that was in those pores has to go somewhere. It goes up. If the leveler is too thick or the setting time is too fast, the air gets trapped. This is common in cheap, fast-setting products sold at big-box stores. Professionals use high-flow polymers that allow air to escape more easily. However, even the best product cannot overcome a bone-dry, unprimed slab. The moisture from the leveler gets sucked into the concrete too fast, causing the leveler to ‘skin over’ while air is still trying to escape. This is the recipe for a pinhole disaster. You need to understand that the hydration of cement is an exothermic reaction. It generates heat. That heat expands the air in the slab, making the outgassing even more aggressive during the first thirty minutes of the pour.
Preparation steps that prevent the pop
To avoid pinholes, you must follow a strict protocol. Use this checklist to ensure your substrate is ready for a leveler pour that stays flat and solid.
- Mechanically clean the slab to remove all paint, oil, and drywall mud.
- Vacuum the entire surface with a HEPA filter to ensure no dust remains in the pores.
- Apply a high-solids acrylic primer using a soft-bristle brush to work it into the pores.
- Allow the first coat of primer to dry completely before checking for dry spots.
- Apply a second coat of primer if the slab is exceptionally porous or old.
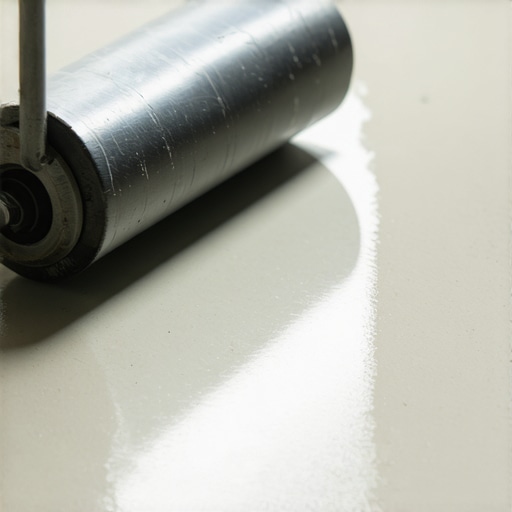
- Mix your leveling compound at the exact RPM specified by the manufacturer to avoid whipping air into the bucket.
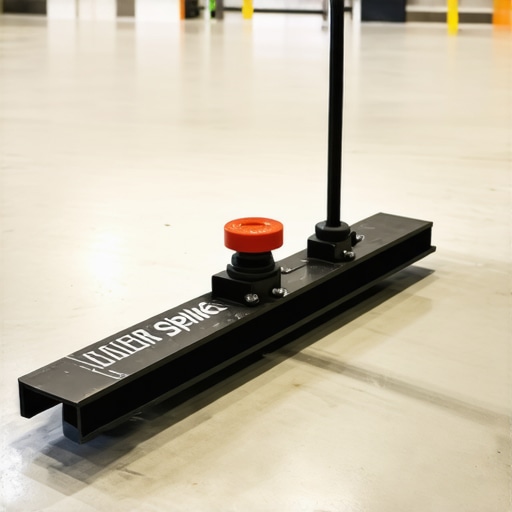
- Use a spiked roller immediately after pouring to help break surface tension and release trapped air.
The 1/8 inch that ruins everything
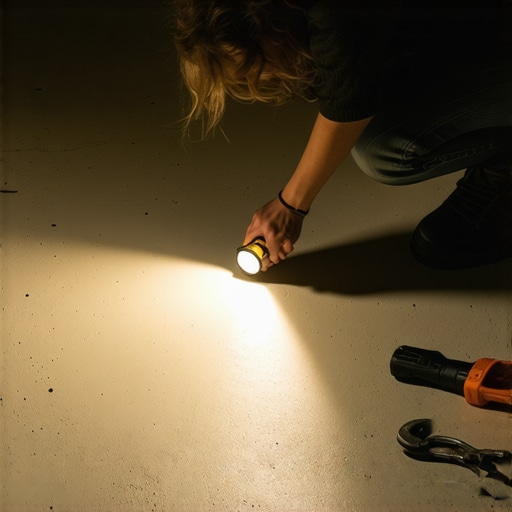
Precision in floor leveling is measured in small increments where a 1/8 inch dip over ten feet can cause laminate planks to separate or tile grout to crack. Most homeowners think they can compensate for a bad subfloor with a thicker carpet install or a double layer of underlayment. They are wrong. A carpet will eventually show the wear patterns of a dip, and a laminate floor will bounce until the locking mechanisms snap. In a shower, a 1/8 inch deviation can lead to standing water and a failed waterproof membrane. The leveler must be perfect. If you have pinholes, you haven’t reached perfection yet. You have a sieve. You need to treat those holes like the structural threats they are. I have seen guys try to fill them with more leveler only to have the new leveler outgas again because they still didn’t prime the holes. It is a cycle of failure that only ends with proper sealing.
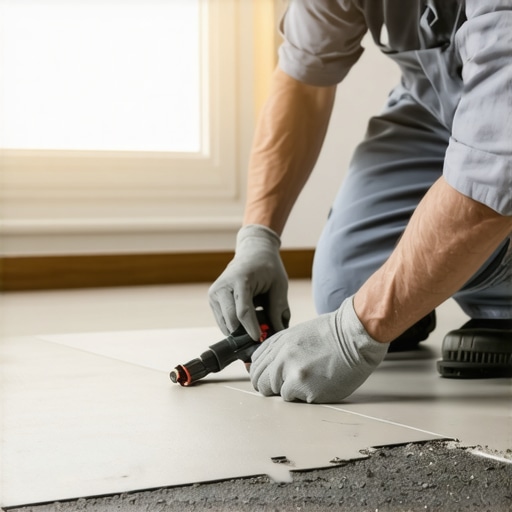
Patching the holes without ruining the flat
If the leveler is already dry and you see the pinholes, you have two choices. You can pour another thin lift of leveler, or you can patch the individual holes. If the holes are sparse, use a feathering compound. Take a flat trowel and force the compound into the holes. Do not leave a hump on the surface. You are filling a void, not adding a layer. If the pinholes are everywhere, you must re-prime the entire surface. This is the hard truth. You need to seal those chimneys. Use a diluted primer and let it soak into the holes. Then, apply a skim coat of a high-quality patch. This ensures the tile mortar has a continuous, flat surface to grab onto. It prevents the ‘clicking’ sound that haunts so many laminate installs where the subfloor wasn’t prepped correctly. You want the slab to be as smooth as glass and as solid as a mountain.
Comparison of Leveling Compound Performance
| Feature | Standard Cementitious Leveler | High-Flow Polymer Leveler | Fiber-Reinforced Leveler |
|---|---|---|---|
| Air Release Efficiency | Low | High | Moderate |
| Minimum Thickness | 1/4 Inch | 1/8 Inch | 1/16 Inch |
| Primer Required | Always | Always | Yes (Specific Type) |
| Outgassing Risk | High | Low | Moderate |
| Flexural Strength | Low | Moderate | High |
Why your subfloor is lying to you
Do not trust your eyes when it comes to a concrete slab. It might look flat, but a ten-foot straightedge will tell a different story. The slab is moving, breathing, and reacting to the environment. In high-humidity regions, the slab holds more moisture, which increases the risk of outgassing. In dry climates, the slab will suck the life out of your leveler before it can even settle. This is why the ‘Information Gain’ here is that more underlayment is not better. While most people want the thickest underlayment for cushion, too much cushion actually causes the locking mechanisms on LVP or laminate to snap under pressure. You want a rigid, flat base. The leveler provides the rigidity, but only if it is free of pinholes. A porous leveler is a weak leveler. It will crumble under the weight of a heavy tile install. You are building a foundation. Treat it with the respect a foundation deserves.
“Surface preparation is 90 percent of the job; the flooring is just the victory lap.” – Tile Council of North America Standard
The chemistry of the patch
When you patch a pinhole, you are dealing with the bond between old concrete and new mortar. If you use a patch that doesn’t have a high polymer content, it will just pop out of the hole like a cork. You need a material that shrinks very little. Portland cement naturally shrinks as it hydrates. This is why pinholes can actually get larger as the leveler dries if the mix was too wet. You need to use a professional-grade feather finish that uses calcium aluminate cement. This stuff dries fast and stays where you put it. It has the mechanical strength to support the weight of the tile and the chemical bond to stick to the walls of the pinhole. Never use joint compound or wood filler. I have seen ‘handymen’ try this. It is a disaster. Those materials are soft. They will pulverize under the pressure of the floor, leaving the tile unsupported once again. Stick to cementitious products designed for flooring.