Why Your New Shower Niche is Leaking into the Wall Cavity
Why Your New Shower Niche is Leaking into the Wall Cavity
Most guys skip the leveling compound. They think the underlayment will hide the dip. It won’t. I spent three days grinding concrete on a job last month just so the floor wouldn’t click like a castanet. That same lazy attitude is why your shower niche is currently rotting your wall studs. I have spent twenty-five years fixing the mistakes of installers who treat a shower like a dry closet. A shower is a wet environment that demands a mechanical and chemical understanding of water management. When you see a water stain on the ceiling below your bathroom, you probably blame the drain. Usually, it is the niche. It is that little recessed shelf you wanted for your expensive shampoo. If that shelf is not sloped and waterproofed with the precision of a laboratory experiment, it becomes a funnel for catastrophe. I have seen fifteen-thousand dollar wide-plank walnut floors cupping like potato chips because a second-story shower niche was weeping into the wall cavity for six months. The water travels down the wall plate, hits the subfloor, and moves laterally. By the time you notice the grout looks dark, your structural integrity is already compromised. We are going to look at the physics of why these niches fail and why your contractor probably did it wrong.
The physics of the shower birdbath
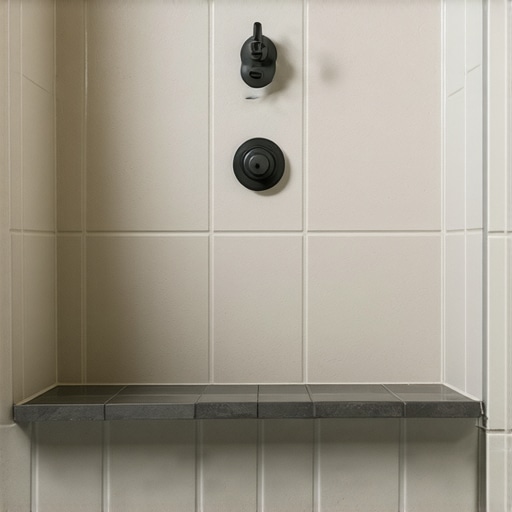
A shower niche leaks because of improper pitch and the failure of the waterproofing membrane at the corner transitions. If the bottom shelf of the niche is perfectly level, it is actually failing. Gravity dictates that water will sit on a flat surface, creating a birdbath effect. This standing water eventually finds a microscopic pinhole in the grout or a hairline crack in the thin-set. From there, capillary action pulls the moisture behind the tile into the substrate. You need a minimum of an eighth-inch pitch toward the shower floor to ensure every drop of water sheds back into the pan. Without this slope, the niche is just a slow-motion bucket filling up your wall. I always check the pitch with a laser level before a single tile goes up. If the framing is wonky, the niche will be wonky. It starts with the studs. If they are not plumb, the niche shelf will never shed water correctly. I have walked onto jobs where the installer tried to build up the pitch using only thin-set. That is a recipe for disaster. Thin-set is an adhesive, not a structural filler. Over time, that thick layer of mortar will shrink and crack, opening up a highway for water to enter your wall cavity and destroy the carpet install in the adjacent room.
“A floor is only as good as the subfloor beneath it; deflection is the enemy of every joint.” – Master Flooring Axiom
The ghost in the expansion gap
Expansion and contraction in the framing members will snap the waterproof seal of a niche if the installer did not use a high-quality liquid membrane or fabric band. Wood moves. Humidity changes the dimensions of your 2×4 studs every single day. If your shower niche is built directly into the framing without a decoupling layer, those movements will eventually tear the waterproofing. Think about it. You have a rigid tile surface glued to a moving wood frame. Something has to give. In most cases, it is the corner joint of the niche. This is where the leak starts. I prefer using pre-fabricated foam niches because they are manufactured as a single, waterproof piece. There are no seams to fail. When guys build niches out of scrap plywood and cement board on site, they are inviting trouble. They tape the corners, maybe slap on some mesh, and hope for the best. Hope is not a strategy when you are dealing with pressurized water and wood-rot. You need a continuous, monolithic barrier that can handle the slight shifts of the house. If you do not have that, you are just waiting for the day the laminate in the hallway starts to buckle because the subfloor is saturated from a niche leak. I have seen it happen in three-year-old custom homes where the owners thought they were getting top-tier work but actually got a ticking time-bomb behind the tile.
“Waterproof does not mean water-tight if the transition fails at the corner.” – TCNA Handbook Adaptation
Why your subfloor is lying to you
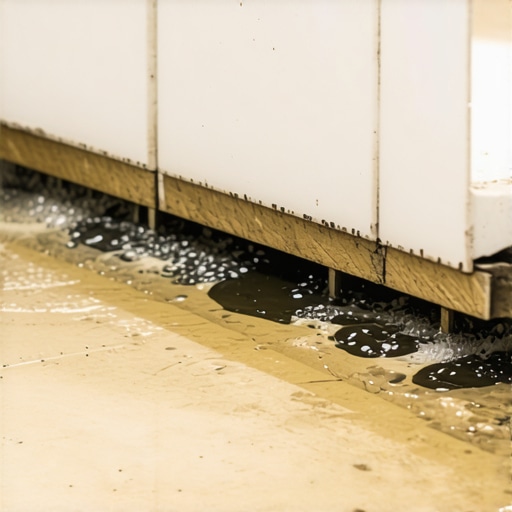
The subfloor often hides the early signs of a shower leak because the water follows the path of least resistance along the joists. You might think your shower is fine because the bathroom floor looks dry. But if the niche is leaking, that water is often running down the inside of the wall, bypassing the bathroom floor entirely, and pooling on the subfloor in the next room. This is why floor leveling is so critical. A level subfloor allows you to see the path of water more clearly. If there is a dip or a crown, the water will hide in those low spots for months, slowly feeding mold colonies. I always tell my clients that if they are doing a shower remodel, we have to look at the subfloor condition first. If the subfloor is soft or shows signs of previous water damage, we are not putting a single tile down until it is replaced. A stable base is the only way to ensure the shower walls stay rigid enough to keep the niche seals intact. If the floor flexes, the walls flex. If the walls flex, the niche leaks. It is a simple chain of mechanical failure that most installers ignore because they want to finish the job and get paid. They do not care about the mold growing behind the wall three years from now.
| Niche Type | Waterproof Rating | Ease of Install | Risk Level |
|---|---|---|---|
| Pre-fab Foam | Excellent | High | Very Low |
| Stainless Steel | Excellent | Medium | Low |
| Site-Built Wood | Poor | Difficult | Very High |
| Cement Board | Moderate | Difficult | High |
The one eighth inch that ruins everything
Small gaps in the waterproofing coverage at the niche corners are the primary entry points for moisture into the wall assembly. Even a gap the size of a needle head is enough for moisture to migrate via vapor pressure. Most installers rely on a single coat of liquid waterproofing. That is a mistake. You need multiple coats, and you need to embed fabric reinforcement in all the corners. I treat a niche like a boat hull. If I would not put it in a lake and expect it to float, I am not putting it in a shower. The chemistry of the thin-set also matters here. You need a polymer-modified mortar that can handle the moisture without breaking down. Some cheap, big-box store mortars will turn back into mush if they are constantly damp. This causes the tile to de-bond, which then puts even more stress on the waterproofing layer. It is a feedback loop of failure. While most people want the thickest underlayment on their floors, too much cushion actually causes the locking mechanisms on LVP to snap under pressure, and similarly, too much thin-set in a niche creates a weak, unstable bond that will eventually fail. You want thin, high-strength layers. Precision over bulk.
Niche Installation Checklist
- Verify framing is plumb and square before installing substrate.
- Ensure the bottom shelf has a 1/8-inch pitch toward the shower.
- Use a pre-fabricated niche whenever possible to eliminate seams.
- Apply at least two coats of liquid-applied waterproofing membrane.
- Perform a localized flood test on the niche before tiling.
- Use 100% silicone sealant in the corners instead of hard grout.
The chemistry of a failed bond
Chemical incompatibility between the waterproofing membrane and the thin-set can lead to delamination and hidden leaks. Not all RedGard and Kerdi products play nice with every type of thin-set. If you use an unmodified thin-set where a modified one is required, or vice versa, the bond will be weak. In a high-moisture area like a niche, that weak bond allows water to sit behind the tile longer than it should. The grout remains saturated. The moisture then works on the edges of the waterproofing. Over time, the chemical bond fails and the water finds a way behind the barrier. This is why I am a stickler for following the manufacturer specifications to the letter. If the bag says use a specific trowel size, use it. If the bucket says wait four hours between coats, wait four hours. I have seen guys try to speed up the process with a hair dryer. They are just skinning over the top while the middle stays wet. That trapped moisture will eventually blow the bond out from the inside. It is basic chemistry that is often ignored in the rush to get to the next job. But when that niche starts leaking into the wall cavity, the homeowner is the one who pays the price. They end up with a ruined carpet install in the bedroom and a mold problem that costs thousands to remediate. Do it right the first time. Level your floors, waterproof your niches, and do not cut corners. It is the only way to build a shower that lasts longer than the warranty.