Why Your Kitchen Floor Tiles Feel Cold and How to Add Insulation
The sensation of stepping onto a kitchen floor that feels like an ice rink is not just an inconvenience. It is a failure of thermal management within the structural envelope of your home. Most homeowners assume the tile itself is the problem. They believe ceramic or porcelain possesses some innate quality of coldness. This is a scientific misunderstanding. Ceramic is a high-density material with significant thermal mass. It does not generate cold. It simply acts as a more efficient conductor than the materials surrounding it. When your bare feet touch that surface, the tile aggressively pulls heat away from your body through a process known as conduction. Your body heat is being absorbed by the floor and then dissipated into the massive heat sink of the subfloor and the earth below. To fix this, we have to stop looking at the aesthetics and start looking at the physics of the assembly.
The physics of thermal bridging in ceramic surfaces
Kitchen floor tiles feel cold because ceramic and porcelain have high thermal conductivity and low R-values, which means they transfer heat rapidly away from your skin. Adding insulation requires creating a thermal break between the tile and the subfloor using cork, foam boards, or radiant heating systems.
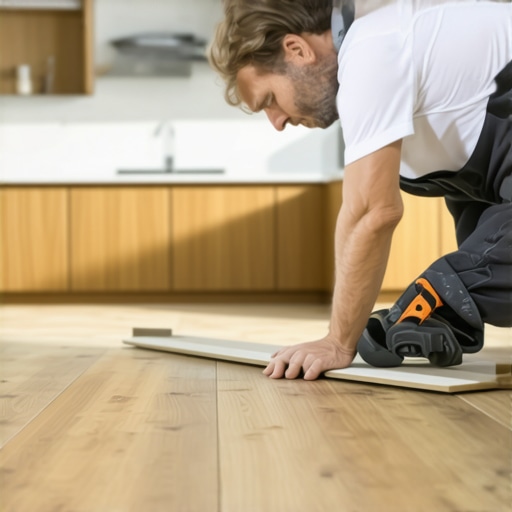
Most guys skip the leveling compound. They think the underlayment will hide the dip. It won’t. I spent three days grinding concrete on a job last month just so the floor wouldn’t click like a castanet. During that job, the owner kept complaining about how cold the previous floor was. When I pulled up the old tile, I saw why. The previous installer had slapped the thin-set directly onto a cold concrete slab with no thermal break. That slab was a direct line to the frozen ground outside. It was like trying to heat a room while leaving the front door wide open. If you do not decouple the finish floor from the thermal mass of the structure, you will never have a warm floor. I do not care how high you turn up your thermostat.
The subfloor secret that ruins every installation
Every floor is only as good as the subfloor beneath it. Deflection is the enemy of every joint, but thermal transfer is the enemy of every foot. If you are working over a crawlspace, the humidity and temperature of that void are dictating the temperature of your kitchen. A standard 3/4 inch plywood subfloor has an R-value of about 0.94. That is almost nothing when it comes to stopping heat loss. When we talk about floor leveling, we are usually talking about making the surface flat within 1/8 inch over 10 feet. But we should also be talking about the leveling of the thermal gradient. If one part of your kitchen sits over a heated basement and the other sits over an uninsulated crawlspace, your tiles will vary in temperature by ten degrees or more.
“A floor is only as good as the subfloor beneath it; deflection is the enemy of every joint.” – Master Flooring Axiom
In many older homes, the floor leveling process involves more than just pouring a bag of self-leveling underlayment. It involves structural reinforcement. If your floor has too much bounce, your tile will crack. If your floor is too thin, it will stay cold. When I approach a kitchen, I look for the gaps. I look for where the air is moving. A carpet install might hide some of these drafts because the fibers trap air, but tile reveals every flaw. Tile is honest. It tells you exactly where your home is losing energy.
Why your subfloor is lying to you
You might think your floor is insulated because you see some fiberglass batts stuffed between the joists in the basement. You are probably wrong. If those batts are not tight against the subfloor, there is a layer of cold air moving between the insulation and the wood. This is called convective looping. It renders the insulation almost useless. To properly insulate from below, you need to ensure the material is in direct contact with the subfloor. Better yet, use closed-cell spray foam. It seals the air gaps and provides a much higher R-value per inch. This stops the vapor drive from the ground from reaching your subfloor and potentially rotting your joists. We see this all the time in showers where the moisture management was handled poorly. The floor stays cold, the grout stays wet, and eventually, the whole system fails.
Comparing the thermal resistance of flooring materials
To understand why your kitchen is a refrigerator, you have to look at the numbers. The R-value measures a material’s resistance to heat flow. The higher the number, the better it insulates. Ceramic tile is at the bottom of the list. Here is a breakdown of how common materials stack up against each other in the real world of installation physics.
| Material Category | R-Value per Inch | Thermal Conductivity Level |
|---|---|---|
| Ceramic and Porcelain Tile | 0.05 | Extremely High |
| Natural Stone (Granite/Marble) | 0.08 | High |
| Laminate Flooring | 0.50 | Medium |
| Hardwood (Oak/Maple) | 0.75 | Medium-Low |
| Cork Underlayment | 1.15 | Low |
| Rigid XPS Foam Board | 5.00 | Extremely Low |
As you can see, the difference between tile and laminate is significant. Laminate uses a high-density fiberboard core that naturally resists heat transfer better than stone. But if you want the durability of tile, you have to compensate for that 0.05 R-value. This is where specialized underlayments come into play. You cannot just use the same foam you would for a carpet install. You need something that can handle the compression of a heavy tile floor without cracking the grout lines.
The 1/8 inch that ruins everything
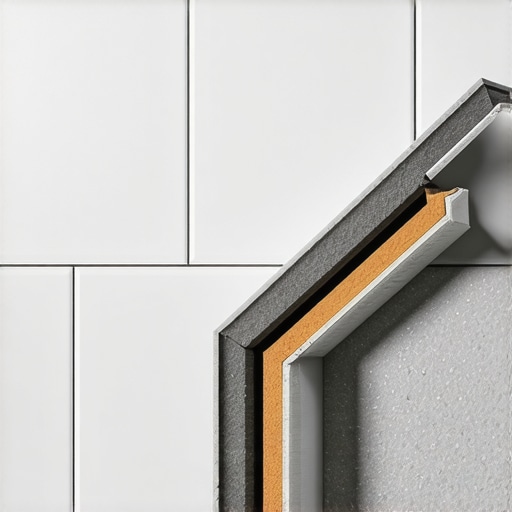
When you are installing a thermal break, thickness matters. But you also have to consider the height of your doors and the transition to other rooms. This is why we use high-density membranes. A 1/8 inch or 1/4 inch layer of cork can provide a noticeable difference in foot comfort. Cork is made of millions of tiny air-filled cells. These cells act as tiny insulators. When we glue cork to the subfloor and then thin-set the tile to the cork, we are effectively cutting the thermal bridge. The tile no longer has a direct path to the cold subfloor. It will still feel cool to the touch because it is still more conductive than your skin, but it will no longer be pulling heat from the entire house.
Mastering the installation of radiant heat systems
If you want a floor that actually feels warm, rather than just less cold, you have to go with radiant heat. There is no other way. This involves laying down an electric mat or a series of cables before the tile goes down. Many installers mess this up by not using a decoupling membrane. You want a system that holds the cable in place and provides a thermal break below the cable. This ensures the heat goes up into the tile instead of down into the concrete. It is about directing energy. If you put a heater on a cold slab without insulation, you are paying to heat the earth under your house. That is a waste of money and a failure of engineering.
“Thermal management in ceramic installations requires a comprehensive understanding of substrate energy transfer and decoupling technology.” – TCNA Technical Manual
- Always perform a moisture test on concrete slabs before installation.
- Ensure the subfloor is level within industry standards to prevent air pockets.
- Use a high-quality modified thin-set with polymer additives for better bonding to insulation.
- Install a dedicated circuit for electric radiant heat to avoid tripping breakers.
- Seal all perimeter gaps to prevent cold air infiltration from the walls.
The ghost in the expansion gap
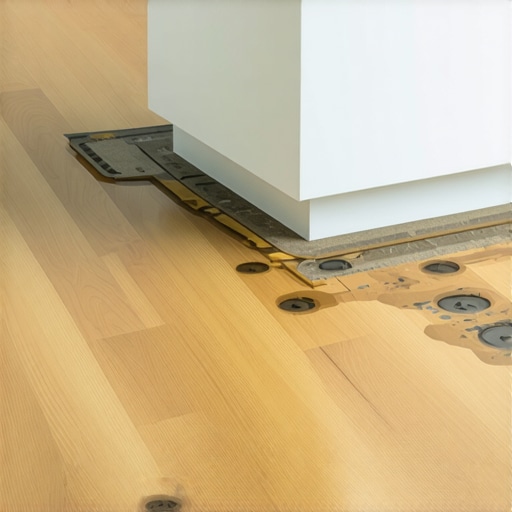
One thing people forget is that insulation is not just about the floor. It is about the perimeter. Every floor needs an expansion gap. If you jam your tiles tight against the baseboards, they will tent and crack when the house shifts. But that gap is also a source of drafts. I always recommend filling that perimeter gap with a foam backer rod before applying a color-matched caulk. This maintains the flexibility the floor needs while stopping the cold air from the wall cavities from leaking out under your cabinets. This is particularly important in kitchen renovations where you might have removed old baseboards and revealed the gap between the drywall and the subfloor.
The moisture factor in cold floors
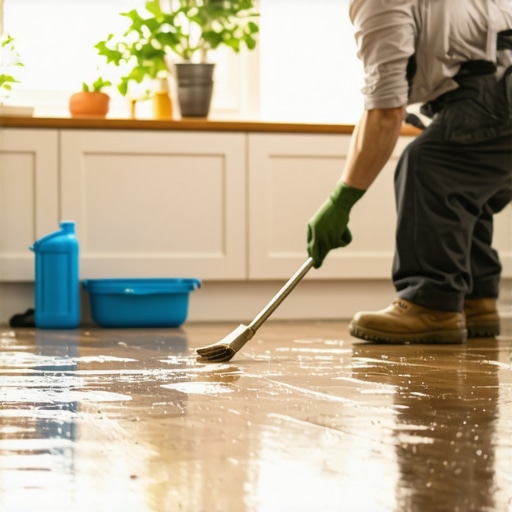
Moisture makes everything colder. If your subfloor is damp, it will conduct heat even faster than dry wood or concrete. This is why a vapor barrier is not optional. In a basement or a kitchen over a crawlspace, the vapor drive is real. Moisture moves from the warm, wet side to the cold, dry side. If your floor is the coldest surface in the room, moisture will condense there. This can lead to mold under your laminate or the failure of the bond in your tile. When we do a shower, we are obsessed with waterproofing. We should be just as obsessed with it in the kitchen. A dry floor is a warmer floor. Use a liquid-applied membrane or a sheet-based vapor retarder to keep the structural elements dry. This is the difference between a floor that lasts 50 years and one that fails in five.
Final architectural thoughts on thermal comfort
Adding insulation to a kitchen floor is a balance of chemistry and physics. You are managing the bond between the substrate and the finish, the movement of heat, and the resistance to moisture. Do not settle for the bare minimum. If you are already tearing up the old floor, take the time to fix the subfloor. Grind the high spots, fill the low spots, and put down a thermal break. Your feet will thank you every morning when you walk into the kitchen to make coffee. A master installer knows that what you do not see is what makes the floor work. The insulation, the leveling, and the vapor barriers are the invisible heroes of a comfortable home. Stop thinking about the color of the grout for a second and start thinking about the R-value of your assembly. That is how you build a floor that actually performs.{“@context”:”https://schema.org”,”@type”:”Article”,”headline”:”Why Your Kitchen Floor Tiles Feel Cold and How to Add Insulation”,”author”:{“@type”:”Person”,”name”:”Master Flooring Architect”},”description”:”A deep dive into the physics of thermal bridging in kitchen tiles and how to properly insulate subfloors to prevent cold floors.”,”articleBody”:”The sensation of stepping onto a kitchen floor that feels like an ice rink is not just an inconvenience. It is a failure of thermal management within the structural envelope of your home…”} {“@context”:”https://schema.org”,”@type”:”HowTo”,”name”:”How to Insulate a Kitchen Tile Floor”,”step”:[{“@type”:”HowToStep”,”text”:”Assess the subfloor for levelness and moisture content.”},{“@type”:”HowToStep”,”text”:”Install a thermal break such as cork or a decoupling membrane.”},{“@type”:”HowToStep”,”text”:”Lay down electric radiant heating cables if active warmth is desired.”},{“@type”:”HowToStep”,”text”:”Apply modified thin-set and install ceramic or porcelain tiles.”},{“@type”:”HowToStep”,”text”:”Seal perimeter expansion gaps with backer rods and caulk.”}]}