How to Transition from Thick Tile to Thin Laminate Seamlessly
The height mismatch that breaks ankles
A successful transition between thick tile and thin laminate requires compensating for the vertical offset using a reducer molding or subfloor buildup. Most tile installations sit half an inch higher than laminate because of the mortar bed and the tile thickness itself. You must solve this height delta at the subfloor level or with a mechanical transition strip to avoid a trip hazard. I spent three days grinding concrete on a job last month just so the floor would not click like a castanet. The homeowners thought a thick underlayment would hide the half inch dip in their slab. It did not. I had to use a diamond cup wheel on my angle grinder to shave down the high spots and then pour eighty pounds of self leveling compound to create a ramp that was invisible to the eye. If you skip this, your laminate locking tabs will snap within six months. The subfloor is the foundation of your reputation. Most guys skip the leveling compound. They think the underlayment will hide the dip. It won’t. I have seen countless floors fail because the installer was too lazy to check the flatness with a ten foot straight edge. Laminate is a floating system. It needs a flat plane to survive. Tile is rigid and bonded. When these two worlds meet, the physics of expansion and deflection become your primary enemies.
The ghost in the expansion gap
Expansion gaps allow laminate flooring to move during seasonal humidity shifts without buckling against the rigid tile edge. You need at least a quarter inch of space between the laminate edge and the tile. This gap is usually covered by a T-molding or a reducer. Laminate flooring is essentially high density fiberboard which is just compressed wood fibers and resin. When the humidity in the room rises, those fibers absorb moisture and expand. If the floor is locked tight against a ceramic tile edge, it has nowhere to go but up. That is how you get peaks in the middle of your living room. The tile does not move. It is glued to the slab with thin set. The laminate is a living thing. You have to treat it with respect.
“A floor is only as good as the subfloor beneath it; deflection is the enemy of every joint.” – Master Flooring Axiom
This rule applies doubly at the transition point. If the subfloor has any bounce, the transition strip will wiggle loose. I use a polyurethane construction adhesive to bond my tracks to the subfloor. Do not trust the little plastic anchors that come in the kit. They are garbage. Use a bead of PL Premium and weighted buckets to hold the track down while it cures. You want a bond that can withstand a stampede.
Why your subfloor is lying to you
Subfloor flatness is the most overlooked variable in flooring transitions and must be within one eighth of an inch over ten feet. If your subfloor is wood, you check for crown in the joists. If it is concrete, you check for bird baths and humps. Thick tile can hide a lot of sins because you can back butter the tiles and build up the mortar. Laminate is the opposite. It highlights every imperfection. If you are transitioning from a thick porcelain tile in a kitchen to a thin laminate in a dining room, the subfloor in the dining room might need a layer of plywood underlayment to bring the height up. I prefer using luan or five millimeter birch plywood for this. It gives you a smooth surface and closes that vertical gap. You have to staple it every four inches on the edges and every six inches in the field. Do not use drywall screws. They will back out over time and cause squeaks that sound like a haunted house. The chemistry of the subfloor also matters. If you are pouring leveler over old adhesive, you need a primer. Otherwise, the leveler will delaminate and you will be left with a crunching sound every time someone walks near the doorway.
| Material Type | Typical Thickness | Expansion Rate | Recommended Transition |
|---|---|---|---|
| Porcelain Tile | 3/8 to 1/2 inch | Low | Hard Surface Reducer |
| Laminate Floor | 7mm to 12mm | High | T-Molding or Reducer |
| Engineered Wood | 1/2 to 5/8 inch | Medium | Overlap Reducer |
| Luxury Vinyl Plank | 4mm to 6mm | Medium | Slim Cap or Metal Edge |
The 1/8 inch that ruins everything
Precision at the transition point prevents the laminate locking mechanism from failing under the weight of foot traffic. When you walk across a floor, your weight creates a localized deflection. If there is a hollow spot under the transition, the laminate tongue will flex. Eventually, the HDF core will fatigue and the joint will separate. I see this most often in doorways. People try to save money by not buying the proper transition kit. They try to butt the laminate right up to the tile. That is a recipe for disaster. The edge of the laminate is fragile. It needs the protection of a molding.
“Subfloor flatness tolerances are not suggestions; they are the boundary between a lasting installation and a structural failure.” – Master Flooring Axiom
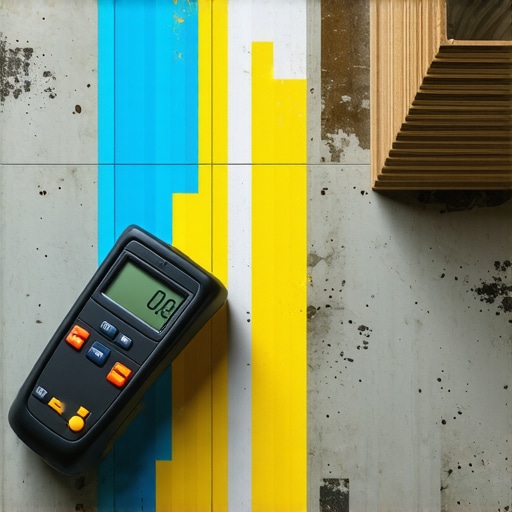
Use a digital moisture meter before you even pull the flooring out of the boxes. Laminate needs to acclimate for at least forty eight hours in the room where it will be installed. If you take it from a cold warehouse and install it immediately against a tile floor, it will shrink or grow and rip your transition right out of the floor. The physics are simple but the execution is where most people fail. You have to be a surgeon with the undercut saw. I always undercut the door casings so the floor can slide underneath. It gives a much cleaner look than trying to scribe the wood around the trim.
- Check subfloor flatness using a ten foot straight edge.
- Acclimate laminate flooring for forty eight hours in the target room.
- Apply a moisture barrier over concrete slabs before laying underlayment.
- Use a high quality polyurethane adhesive for transition tracks.
- Leave a quarter inch expansion gap at all vertical obstructions.
- Verify the height difference using a digital caliper.
- Sand down any high spots in wood subfloors with forty grit paper.
The science of the reducer strip
A reducer strip bridges the height gap between two different flooring materials by creating a gentle slope. For a transition from thick tile to thin laminate, an overlap reducer is the standard choice. It sits on top of both floors and allows the laminate to move underneath it. If you want a flush look, you are looking at a lot of work. You would have to build up the entire laminate subfloor to match the tile height. In a shower or bathroom entry, this is even more difficult because of the waterproofing requirements. You cannot just nail into the subfloor if there is a membrane underneath. You have to use specialized adhesives. The wear layer on your laminate also plays a role. A cheap laminate with a low AC rating will wear out at the transition point because that is where the most friction occurs. Always buy at least an AC4 rated floor for high traffic transitions. The chemistry of the laminate surface is usually an aluminum oxide finish. It is incredibly hard, but it is also brittle. If you drop a heavy tool on the edge during the transition install, it will chip and you cannot fix it. You have to replace the whole plank. Take your time. Measure twice. Cut once. And never, ever forget the expansion gap.