The ‘Painter’s Tape’ Trick for Perfectly Even Grout Lines in Showers
The subfloor secret that contractors hide
Most guys skip the leveling compound. They think the underlayment will hide the dip. It won’t. I spent three days grinding concrete on a job last month just so the floor wouldn’t click like a castanet. I remember walking onto a site where the previous installer claimed the slab was within tolerance. I pulled out my ten-foot straightedge and found a three-quarter inch trough right in the middle of the shower pan area. If we had tiled over that, the grout would have cracked within six months because of the structural deflection. A floor is a performance surface, not a piece of art. When you deal with showers, that performance depends entirely on the physics of the base. I smell thin-set and old coffee every morning because I choose to do the prep work that others find tedious. If your subfloor is not flat to within one-eighth of an inch over ten feet, your tile is already failing. You just do not know it yet. Most homeowners focus on the color of the stone, but I focus on the moisture vapor transmission rate of the concrete slab beneath it.
The physics of grout surface tension
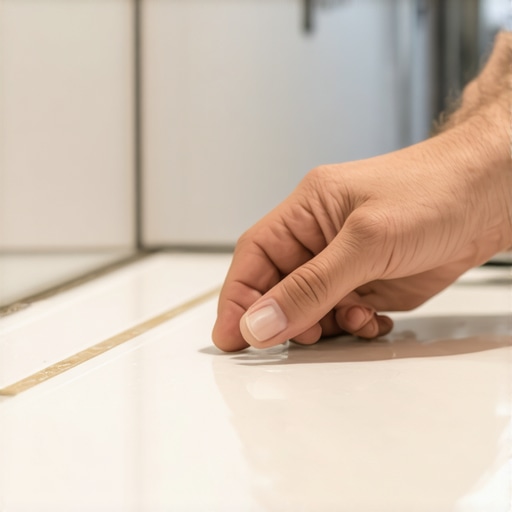
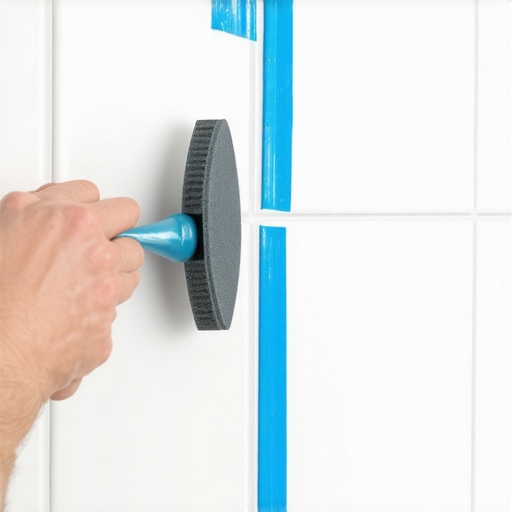
Perfectly even grout lines in showers require the use of painter tape to define the joint boundaries and prevent pigment migration into tile pores. This method ensures that the grout sits flush with the tile shoulder without overfilling or underfilling the cavity, creating a consistent structural bond across the surface. When you apply grout to a tile joint, you are dealing with a chemical suspension that wants to go everywhere. By taping off the edges, you create a physical dam. This is not just about keeping things clean. It is about controlling the hydration of the cementitious mix. If the grout spreads across the face of a porous tile, the tile sucks the moisture out of the mix too fast. This ruins the cure. The grout becomes brittle and chalky. I have seen beautiful marble showers turned into a mess because the installer did not understand that the stone was stealing the water required for the grout to harden properly. Using the tape trick keeps the moisture where it belongs, inside the joint. It is a mechanical solution to a chemical problem.
“A floor is only as good as the subfloor beneath it; deflection is the enemy of every joint.” – Master Flooring Axiom
The ghost in the expansion gap
Every material on a construction site is moving. It is breathing. Wood expands when the humidity hits sixty percent. Concrete shrinks as it cures over decades. If you do not leave an expansion gap at the perimeter of your tile or laminate, the floor will eventually find a way to move. Usually, it moves upward. I have seen laminate floors tent in the middle of a room because the installer shoved the planks tight against the drywall. In a shower, the expansion gap is even more vital. The heat from the water causes the tile to expand. If those joints are packed too tight against a solid wall without a flexible sealant, the grout will pop out like a loose tooth. This is why we use 100 percent silicone in the corners rather than grout. Grout is rigid. Silicone is a bridge that allows the house to move without destroying your waterproof seal. I always tell my apprentices that if they do not see a gap, they are looking at a future repair bill.
The chemical reality of epoxy grout
Epoxy grout is a different beast compared to standard sand and cement. It is a two-part resin system that is essentially liquid plastic. It does not need to be sealed because it is non-porous. However, it is a nightmare to clean if you let it sit on the tile face for more than ten minutes. This is where the tape trick becomes an essential part of the workflow. By masking the tile, you eliminate the need for aggressive scrubbing that can pull the grout out of the joint. You want the grout to stay in the joint, not on your sponge. The shear strength of epoxy is significantly higher than cement-based products, making it the right choice for steam showers or high-traffic areas. But remember, once it sets, it is there forever. If you did not get it level with the tile edge, you will be grinding it out with a diamond bit. I have spent many nights with a headlamp and a pick tool fixing the mistakes of someone who thought they could eye-ball a three-component epoxy mix.
| Grout Type | Water Absorption | Chemical Resistance | Ease of Application |
|---|---|---|---|
| Cementitious | High | Low | Easy |
| High-Performance | Moderate | Moderate | Medium |
| Epoxy Resin | Near Zero | High | Difficult |
The floor leveling error that ruins your investment
If you are planning a carpet install or a laminate layout, you might think the subfloor matters less. You are wrong. A dip in the floor under a carpet creates a pocket where dust and moisture accumulate, leading to premature wear of the fibers. Under laminate, a hollow spot causes the locking mechanisms to flex every time you walk on them. Eventually, those plastic tongues snap. You will hear a clicking sound. That is the sound of your money disappearing. I always use a self-leveling underlayment that has a minimum compressive strength of 3,000 psi. This ensures the base is as solid as the foundation. People want the thickest underlayment padding they can find for comfort, but too much cushion actually causes the locking mechanisms on LVP to snap under pressure. You need a firm, flat base, not a trampoline. The subfloor is the foundation of your home’s interior. Treat it with the same respect you give the roof.
The checklist for a waterproof shower floor
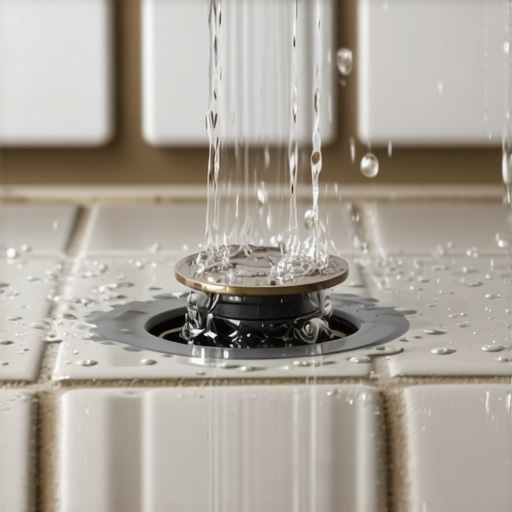
- Check the slope to the drain is exactly one-quarter inch per foot.
- Verify the moisture content of the subfloor is below four percent for concrete.
- Apply a liquid-applied waterproofing membrane in three layers.
- Use painter tape to mask all tile edges before grouting.
- Ensure the thin-set has achieved 95 percent coverage on the back of the tile.
- Wait 72 hours before allowing any water to touch the new grout.
“The integrity of the assembly is determined by the weakest layer; never compromise on the mortar bed.” – TCNA Structural Guideline
The final verdict on the tape trick
Precision in the shower is not just about how it looks when the sun hits the tile. It is about how it handles the five hundred gallons of water that will hit it every month. The painter tape trick is a hallmark of a professional who cares about the microscopic details. It prevents grout haze. It protects the tile finish. Most importantly, it ensures the joint is packed tight and level. When I walk away from a job, I want to know that the grout is a solid, monolithic structure that will not let a drop of water reach the subfloor. If you take the shortcut, the house will eventually tell on you. The water will find the path of least resistance, and it usually leads to the joists. Spend the extra hour with the tape. Your floor will thank you for the next thirty years.