The ‘Level’ Check Your Contractor Probably Skipped in the Shower
I spent three days grinding concrete on a job last month just so the floor wouldn’t click like a castanet. Most guys skip the leveling compound because it takes time and costs money. They think the underlayment will hide the dip. It won’t. I walked onto a site where the homeowner was complaining about their brand new laminate feeling like a trampoline. I pulled up a plank and found a three quarter inch valley in the slab that the previous contractor tried to bridge with extra foam. That is not how physics works. If the foundation is trash, the finish is trash. My hands are permanently stained with the grey dust of high compression concrete for a reason. I do not care about the color of your transition strips if your joists are sagging like an old clothesline. This is about structural engineering disguised as a home improvement project.
The hidden danger of an unlevel shower pan
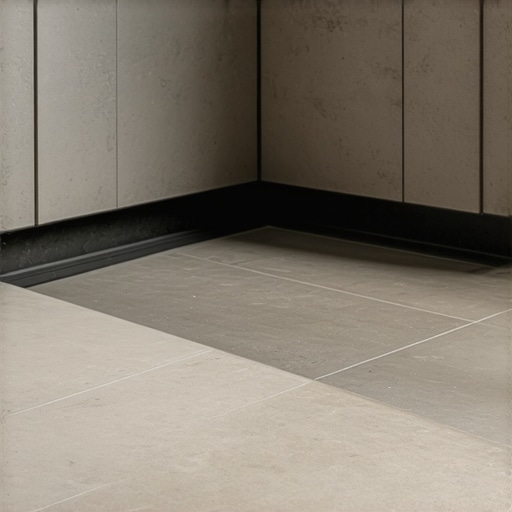
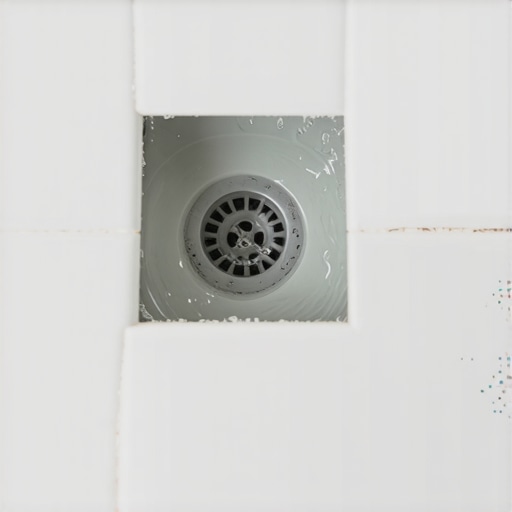
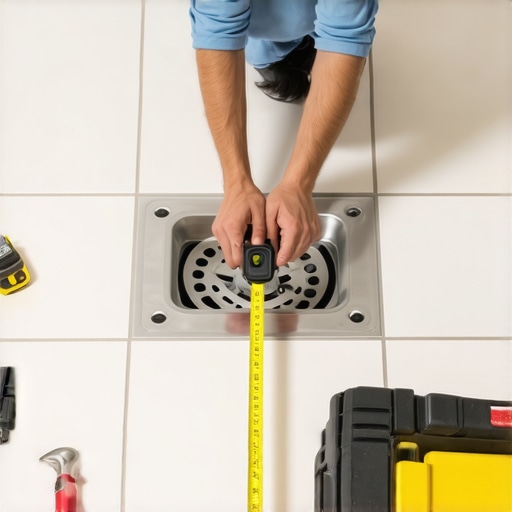
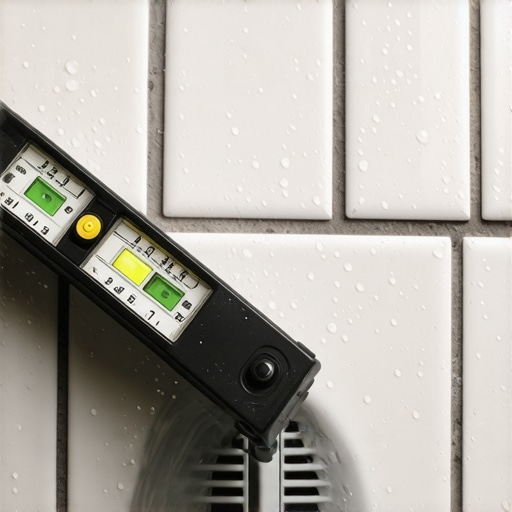
A level subfloor is the absolute requirement for shower integrity because it dictates how water moves toward the drain and how the waterproofing membrane sits. Without a perfectly flat perimeter and a consistent pitch, water pools in corners. This leads to mold growth and eventual structural rot. You cannot simply tile over a mistake and hope the grout saves you. Grout is not waterproof; it is a porous filter. If the substrate beneath the tile has a birdbath, that water will sit there until it finds a way into your floor joists. You must verify the flatness of the subfloor within 1/8 inch over 10 feet before the first drop of thin set ever touches the ground. This is the difference between a thirty year shower and a three year disaster.
“A floor is only as good as the subfloor beneath it; deflection is the enemy of every joint.” – Master Flooring Axiom
Why your subfloor is lying to you about levelness
Subfloor levelness refers to the horizontal plane relative to gravity while flatness refers to the consistency of the surface without dips or humps. Many installers confuse the two. A floor can be out of level by an inch across a room but still be perfectly flat. Most modern flooring systems, especially click lock laminate and large format tile, require flatness more than they require a perfect level. When a contractor puts a small two foot level on the floor, they are lying to themselves and to you. You need a ten foot straight edge to see the truth of the geography. The microscopic peaks in a concrete slab will act as fulcrums. Every time you walk across the floor, the plank bends over that peak. Eventually, the tongue and groove locking mechanism will snap under the fatigue. That clicking sound you hear is the sound of your investment breaking apart because someone was too lazy to use a bag of self leveler.
The chemical reality of modified thin set bonds
Modified thin set contains polymers like ethylene vinyl acetate that create a flexible yet incredibly strong bond between the tile and the substrate. This chemistry is what allows modern tile installations to withstand the slight movements of a house. Unmodified thin set is just sand and cement; it is brittle. In a shower environment, the bond must be absolute. When you are dealing with large format tiles, the weight of the material requires a specific type of mortar that can support the load without sagging. The moisture in the air and the temperature of the slab during the pour affect the hydration of the cement. If the slab is too dry, it sucks the water out of the thin set before it can properly cure. This leads to a weak bond that will eventually delaminate. I always prime the floor with a high quality latex primer to ensure the subfloor does not rob the mortar of its lifeblood. This is the molecular zooming that separates a mechanic from a handyman.
How floor leveling saves your laminate from the click of death
Floor leveling creates a stable foundation that prevents the vertical movement of laminate planks which preserves the integrity of the locking joints. Laminate is a floating floor system. It is not attached to the subfloor. It relies on its own weight and the interlocking edges to stay together. If there is a void under the plank, the air becomes a spring. Every step forces the plank down into that void. This puts massive stress on the thin plastic or fiberboard joints. After six months of this mechanical stress, the joints fail. You will see gaps opening up between the boards. No amount of tapping them back together will fix it. The fix was a bag of floor leveler before the underlayment went down. People try to solve this with thicker underlayment, but that actually makes the problem worse. Too much cushion allows for more movement, which snaps the joints even faster. You want a firm, flat base.
| Material Type | Janka Hardness | Max Subfloor Variation | Acclimation Time |
|---|---|---|---|
| Solid White Oak | 1360 lbf | 1/8 inch per 6 feet | 7 to 14 days |
| Engineered Maple | 1450 lbf | 3/16 inch per 10 feet | 3 to 5 days |
| Laminate Flooring | N/A | 1/8 inch per 8 feet | 48 hours |
| Luxury Vinyl Plank | N/A | 3/16 inch per 10 feet | 48 hours |
The carpet install trap that hides structural rot
Carpet installations often mask significant subfloor issues including rot and unevenness because the thick padding absorbs the immediate tactile evidence of damage. This is why I hate carpet in older homes. It is a shroud for problems. When I rip up old carpet and find black mold on the plywood, the homeowner is always shocked. The pad was acting like a sponge, holding moisture from spills or slab humidity against the wood. If your installer just kicks the carpet in without checking the tack strips and the subfloor integrity, they are doing you a disservice. A proper carpet install starts with a moisture test of the wood or concrete. If the moisture vapor transmission rate is too high, the carpet will eventually smell like a wet dog. You cannot fix a smell that is coming from the chemistry of decaying organic matter under your feet. You have to seal the slab or replace the wood.
“Deflection limits for ceramic tile require a floor to be twice as stiff as what is required for wood flooring to prevent grout cracking.” – TCNA Handbook Standards
Measuring moisture like a forensic scientist
Moisture testing involves measuring the relative humidity within a concrete slab or the moisture content of wood joists to ensure they are within safe installation parameters. I do not guess. I use an RH probe that I drill into the concrete. A surface meter is a joke. It only tells you what is happening on the top sixteenth of an inch. The real danger is the moisture trapped in the middle of the pour. As that moisture tries to escape, it creates hydrostatic pressure. This pressure can pop tiles off the floor or cause LVP to bubble. For wood, I want to see the subfloor within 2 percent of the flooring material itself. If the house is in a humid region, you have to run the HVAC for weeks to stabilize the environment. You cannot rush the physics of evaporation. If you install a floor on a wet slab, you are just building a very expensive petri dish.
Expansion gaps and the ghost in the perimeter
Expansion gaps are the intentional spaces left around the edges of a room to allow the flooring material to expand and contract with changes in humidity. Wood is a living material. It breathes. When the humidity goes up, the cells in the wood swell. If the floor is installed tight against the walls, it has nowhere to go but up. This is called crowning or buckling. I have seen floors rip the baseboards right off the wall because they had no room to move. You need at least a quarter inch gap, usually more for wider planks. This gap is the ghost in the machine. You do not see it because the baseboard covers it, but it is the most important part of the layout. If you run your flooring through a doorway without a transition strip, you are asking for a nightmare. Different rooms have different microclimates. One room is sunnier, one is more humid. They will move at different rates. If they are locked together, they will fight each other until something breaks.
- Check subfloor for flatness using a 10 foot straight edge.
- Grind down high spots and fill low spots with Portland based leveler.
- Verify moisture content is below 4 percent in concrete slabs.
- Ensure joist deflection meets L/360 requirements for tile.
- Leave a minimum 3/8 inch expansion gap around all vertical obstructions.
- Acclimate all wood products in the room of installation for at least 72 hours.
The 1/8 inch that ruins everything
A deviation of as little as 1/8 inch over a short distance can create lippage in tile or cause the premature failure of a laminate locking system. This is why the prep work is more expensive than the actual installation. I spend more time with a floor sander and a vacuum than I do with a trowel. If you see a contractor walk in with just a box of tile and a bucket of glue, fire them. They are not an architect of floors; they are a decorator. A real pro understands the compressive strength of the underlayment and how it reacts to the point load of a heavy refrigerator. We are talking about thousands of pounds of pressure concentrated on a few square inches. If the subfloor is soft or uneven, that pressure will find the weak point. It will be the grout joint that cracks first. Then the tile will follow. Do not let a contractor skip the level check. It is the only thing standing between a beautiful home and a structural failure.