The ‘Cardboard Trick’ for Protecting Your New Shower Pan During Tiling
I spent three days grinding concrete on a job last month just so the floor wouldn’t click like a castanet. While I was there, I saw the tile guy drop a heavy porcelain plank right into the center of a brand new, unprotected acrylic pan. The crack was instantaneous. A three thousand dollar mistake because he could not find a scrap of cardboard. It was a brutal reminder that in this business, the most expensive failures are often the result of the simplest oversights. I have seen fifteen thousand dollar wide-plank walnut floors turn into potato chips because of a damp crawlspace, and I have seen master-suite bathrooms torn down to the studs because a single grain of sand scratched a luxury finish during the install. This is why I treat every job site like a surgical theater. If you are not protecting your surfaces, you are just waiting for a disaster to happen. My hands are covered in sawdust and my knees have the permanent callouses of a man who has spent twenty five years on a subfloor, and I am telling you that the cardboard trick is not a suggestion. It is a requirement.
The cardboard trick for professional results
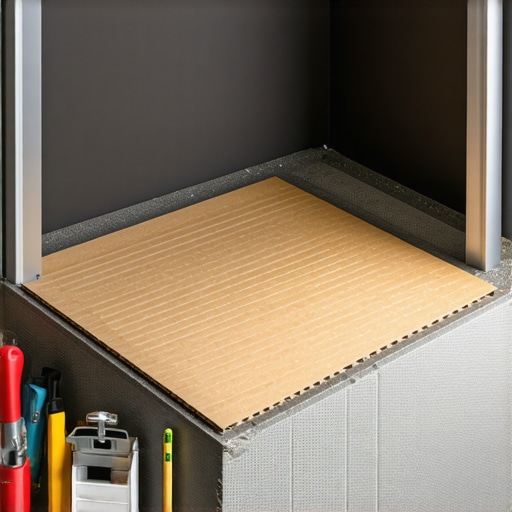
The cardboard trick involves using double-walled corrugated sheets to create a sacrificial barrier over acrylic or fiberglass shower pans. This protects the gel-coat finish from abrasive thin-set and dropped tools during the wall tiling process. It is a low-cost insurance policy for your bathroom renovation. When you are standing in that pan to reach the top course of tile, your boots are carrying grit. That grit acts like sandpaper under your weight. One pivot of your heel can create a series of micro-scratches that will catch soap scum and hard water for the next twenty years. You do not just throw a piece of trash in there. You cut it to fit the footprint of the pan exactly, leaving only the drain exposed. This allows you to work with confidence, knowing that a dropped trowel or a spilled bucket of mortar will not end your career on that specific job site.
“A floor is only as good as the subfloor beneath it; deflection is the enemy of every joint.” – Master Flooring Axiom
The exact chemistry of thinset scratches
Thin-set mortar is basically liquid sandpaper composed of portland cement and graded silica sand designed to bite into porous surfaces. When this mixture lands on a non-porous acrylic shower pan, it creates a chemical and mechanical abrasive situation. Acrylic has a Mohs hardness of about 3 to 5, while the silica sand in your mortar is sitting at a 7. The physics are simple. The harder material will always win. If you do not have a barrier like heavy-duty cardboard or Ram Board, you are essentially rubbing diamonds against glass. I have watched homeowners try to scrub dried thin-set off a pan with a green scrubby pad, only to realize they are making the damage worse. You need a physical separation between the tile work and the finished pan. It is about managing the friction coefficient of the job site. Even a small piece of debris trapped under your boot can exert hundreds of pounds of pressure per square inch on a localized point of the pan. This causes crazing, which are those tiny spider-web cracks that you cannot feel but can definitely see when the light hits it right.
Why your subfloor is lying to you
The subfloor often appears level and flat to the naked eye, but micro-deflections and undulations will cause tile failure or laminate clicking. You must use a ten-foot straightedge to verify that the surface does not vary by more than 1/8 inch over the entire span. If you skip floor leveling, your shower pan will eventually flex and creak. That flex puts stress on the drain assembly, which leads to slow leaks behind the walls. I have pulled up enough carpet installs to know that what lies beneath is usually a mess of staples and dips. You cannot just slap a floor over a bad base. The compressive strength of your leveling compound needs to match the expected load of the room. If you are doing a shower pan install, that pan needs to sit on a solid mortar bed or a perfectly level subfloor. Anything less and you are just building a trampoline for your tile.
| Material Type | Scratch Resistance | Impact Rating | Acclimation Time |
|---|---|---|---|
| Acrylic Pan | Low | Medium | 24 Hours |
| Cast Iron Pan | High | High | None |
| Fiberglass Pan | Medium | Low | 24 Hours |
| Porcelain Tile | Extreme | High | 48 Hours |
The 1/8 inch that ruins everything
A 1/8 inch gap in your expansion perimeter or a high spot in your thin-set application can cause lippage and premature cracking. This is especially true when transitioning from showers to the main floor. When you are dealing with laminate or hardwood, that 1/8 inch is the difference between a floor that lasts forty years and one that buckles in forty days. I see it all the time in carpet install jobs where the tack strip is too close to the transition bar. It creates a trip hazard and a visual break that ruins the flow of the room. In the world of floor leveling, 1/8 inch is a canyon. If your subfloor has a dip, the locking mechanisms on your LVP or laminate will eventually snap. They are not designed to bridge gaps. They are designed to sit flat. When you walk over a hollow spot, the joint flexes. Do that a thousand times and the plastic breaks. Now you have a floating floor that is actually sinking. You have to be a stickler for the TCNA standards. There is no middle ground in structural engineering.
“Standard subfloor thickness for joists spaced 16 inches on center should be a minimum of 19/32 inch, but 23/32 inch is preferred for natural stone.” – TCNA Handbook
Laminate and carpet traps at the bathroom door
The transition between waterproof shower tile and bedroom carpet or laminate flooring is the most common failure point for moisture barriers. You must ensure the subfloor height is consistent across the threshold to avoid bulky T-moldings. Most people forget that carpet install requires a different subfloor prep than tile. While carpet can hide a multitude of sins, it will not hide a sloping floor that leads into a level bathroom. You end up with a toe-stubber at the door. I prefer to use self-leveling underlayment across the entire suite before I even think about the finished goods. This ensures that the transition strips sit flush. If you are installing laminate, remember that it is a floating system. If you pin it down with a heavy marble threshold at the shower door, the floor cannot expand. It will eventually peak at the seams. You have to leave that expansion gap and cover it correctly. It is not about the aesthetics. It is about the physics of wood fibers and plastic resins moving with the relative humidity of the house.
The Tile Prep Protocol
- Vacuum the subfloor three times to remove all friable material.
- Apply a high-quality primer to the subfloor to prevent the plywood from sucking the moisture out of the thin-set.
- Cut your double-wall cardboard to the exact dimensions of the shower pan floor.
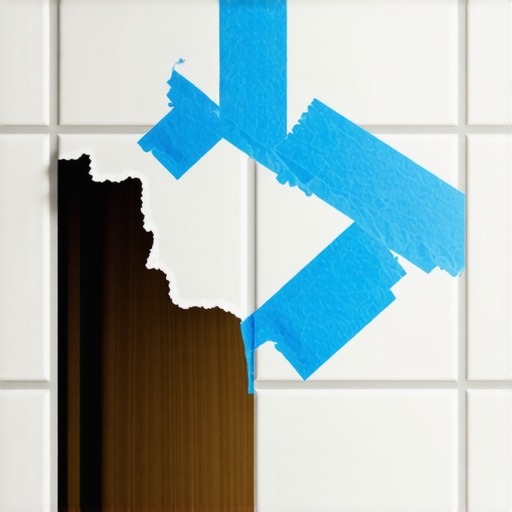
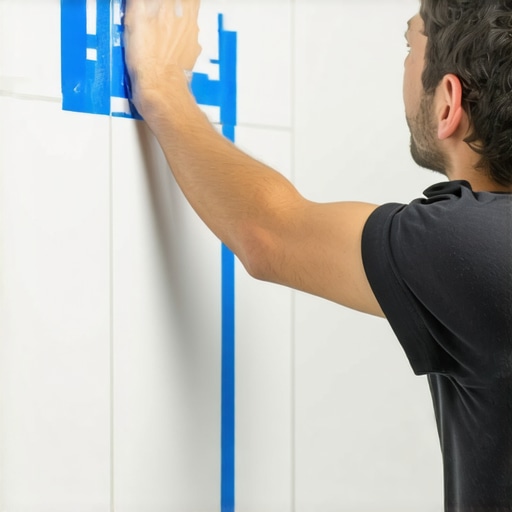
- Secure the cardboard with low-tack blue painter tape. Avoid duct tape.
- Check the levelness of the pan with a four-foot level in both directions.
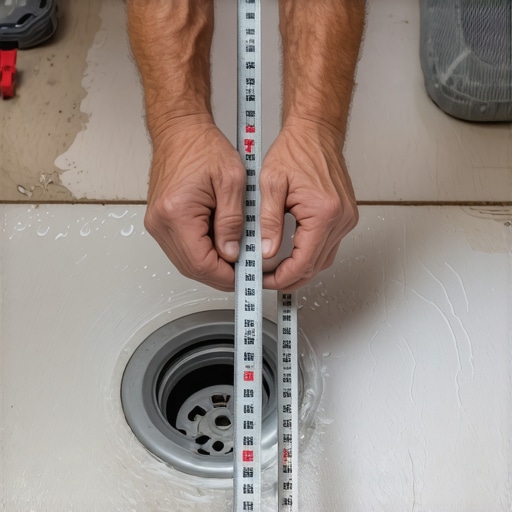
- Ensure the drain is centered and the flange is flush with the floor.
The ghost in the expansion gap
The ghost in the expansion gap refers to the structural movement that occurs in every home as it settles and breathes throughout the seasons. If you do not leave perimeter gaps around your floor leveling or your tile layouts, the house will find a way to create that space for itself. This usually happens by cracking your grout or tenting your laminate. In a bathroom, this is lethal. A crack in the grout near a shower pan is an invitation for capillary action to pull water into the subfloor. Once that OSB or plywood gets wet, it swells. The swelling creates more pressure, which creates more cracks. It is a feedback loop of destruction. I always use a 100 percent silicone sealant at the change of plane. Never use grout where the wall meets the floor. The coefficient of linear thermal expansion means those two surfaces are moving at different rates. If you use a rigid bond, it will break. It is not a matter of if, but when. Professional installers know that flexibility is the only way to achieve permanence.
The regional climate expert perspective
If you are working in a high-humidity environment like the Gulf Coast, your subfloor moisture content is your biggest enemy. You cannot just install a shower pan and tile over a wet plywood deck. The wood will rot from the bottom up because you have sandwiched moisture between the vapor barrier and the subfloor. Conversely, in arid climates like Arizona, the wood shrinks so aggressively that it can pull fasteners right out of the joists. You have to acclimate your materials to the indoor service temperature and humidity for at least 48 to 72 hours. This includes your cardboard. If you bring damp cardboard into a dry house, it will curl and become a trip hazard. This is the molecular reality of the job. You are not just building a floor. You are managing a biological and chemical system that reacts to the air around it. Every carpet install and laminate project must account for the local dew point and ambient moisture. Ignoring the climate is the fastest way to a warranty claim.