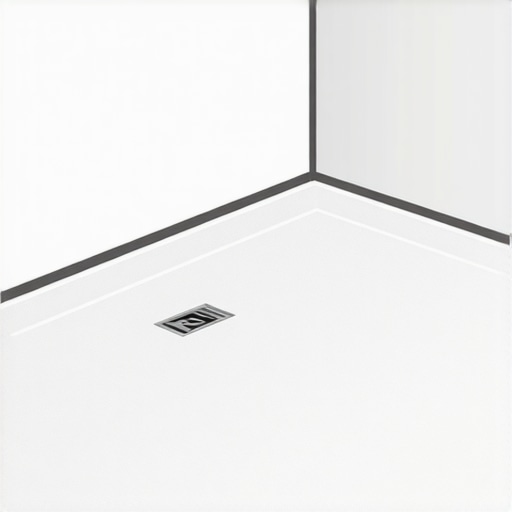
How to tell if your shower drain is set too high
Most guys skip the leveling compound. They think the underlayment will hide the dip. It won’t. I spent three days grinding concrete on a job last month just so the floor wouldn’t click like a castanet because the previous contractor thought he could cheat the subfloor. A shower is even less forgiving. If that drain is sitting a fraction of an inch too proud, you aren’t just looking at a puddle; you are looking at a ticking clock on your subfloor integrity. I have been on my knees with a moisture meter and a level for over twenty-five years, and I can tell you that a high drain is the silent killer of master suites. It starts with a little standing water and ends with a complete tear-out of your floor leveling and a replacement of the joists below.
The visual signs of a high drain
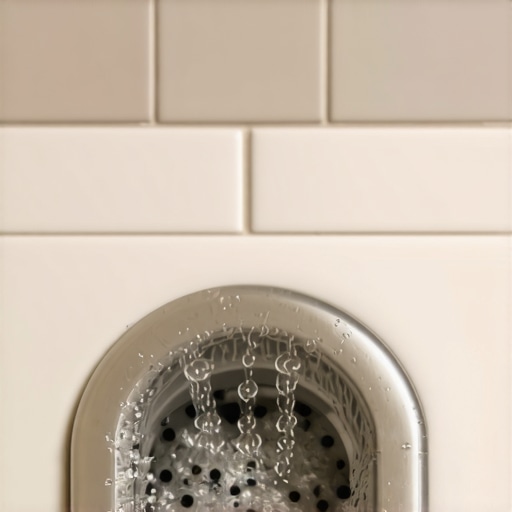
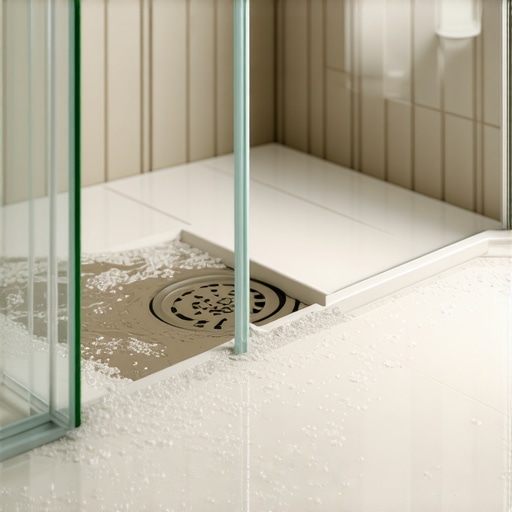
A shower drain is set too high if you see a ring of standing water around the metal grate after the rest of the floor has dried. You might also notice that the grout surrounding the drain remains dark or damp long after the shower has been used. These are the first red flags that gravity is losing the battle against your plumbing. Water is lazy. It wants to find the path of least resistance. If the drain is the high point, the water will find a home in the corners of your shower pan instead. I have seen homeowners try to ignore this by wiping the floor down with a squeegee, but you shouldn’t have to babysit your plumbing. If the tile is sloped correctly, the water should vanish into the trap. When it doesn’t, the issue is almost always a lack of communication between the plumber who set the rough-in and the tile setter who built the mud bed.
“A floor is only as good as the subfloor beneath it; deflection is the enemy of every joint.” – Master Flooring Axiom
The physics of the standing puddle
Standing water around a drain occurs because the surface tension of the water cannot overcome the physical lip created by a high drain flange. In a standard thin-set installation, the drain must sit slightly below the level of the surrounding tile to allow for the thickness of the bond. When we talk about the molecular reality of a shower, we are talking about hydrostatic pressure and capillary action. If that water stays on the surface, it eventually finds a way through the grout. Grout is not waterproof. It is a cementitious product that is porous by nature. When water sits, it saturates the grout and begins to work on the thin-set below. I have seen modified thin-set turn back into a mushy paste because it was never allowed to dry out. This chemical breakdown ruins the bond and causes tiles to pop. You start feeling a little crunch under your feet when you step near the drain. That is the sound of your investment shattering.
The 1/4 inch that ruins everything
The industry standard for shower drainage is a slope of 1/4 inch per foot toward the drain to ensure effective water evacuation. If the drain is set too high, achieving this pitch becomes impossible without creating a steep and dangerous transition at the shower entry. I always tell my apprentices that the tape measure doesn’t lie, but the subfloor does. If your subfloor has a dip near the drain, your 1/4 inch slope might actually become a flat spot or even a back-slope. This is why floor leveling is a non-negotiable step. People want to save a few hundred bucks on self-leveling compound, but they end up spending thousands on a new shower pan. You have to account for the thickness of the waterproofing membrane, whether it is a liquid-applied roll-on or a sheet membrane like Kerdi. If you don’t factor in those millimeters, your drain will end up as an island in a lake of soapy water.
| Component | Technical Requirement | Impact of Incorrect Height |
|---|---|---|
| Slope Pitch | 1/4 inch per linear foot | Incomplete drainage and mold growth |
| Mortar Bed | Minimum 1.25 inches thick | Structural cracking and substrate failure |
| Drain Flange | Flush with waterproofing layer | Lip-loading and tile delamination |
| Subfloor Deflection | L/360 for ceramic tile | Broken grout lines and leaking pans |
Why your subfloor is lying to you
Your subfloor may look flat, but the weight of a filled shower pan and a human body can cause it to deflect, changing the height of the drain relative to the floor. Most wood subfloors have subtle crowns or valleys that must be addressed with mechanical grinding or leveling before the drain is locked. I’ve seen guys install a beautiful laminate floor right up to a bathroom door only to realize the shower leaked and the moisture traveled under the transition strip. The laminate swells like a sponge because the shower drain was 1/8 inch too high, forcing water to sit in the mortar bed until it wicked out into the bedroom. It is a chain reaction. A bad drain height ruins the shower, then the tile, then the floor leveling in the hallway, and finally the carpet install in the adjacent room. Everything in a house is connected by moisture pathways.
The ghost in the expansion gap
A high drain often forces installers to build the mud bed thicker than intended, which can lead to insufficient expansion gaps at the perimeter of the shower. Without these gaps, the natural movement of the house will cause the tile floor to tent or crack as it pushes against the walls. This is the structural engineering side of flooring that most people ignore. Tile is rigid. Wood is flexible. When you build a massive, thick mud bed to reach a high drain, you are putting a lot of weight on the joists. If those joists flex, and your tile is locked tight against the wall because you were trying to hide a height mistake, something has to give. Usually, it is the grout joints or the waterproof seal at the base of the wall. Once that seal is broken, you have water getting behind your tile and rotting out your studs. It is a mess that smells like damp earth and failure.
“Slopes shall be a minimum of 1/4 inch per foot and a maximum of 1/2 inch per foot toward the drain.” – TCNA Handbook Method B415
The checklist for a perfect drain elevation
Before you commit to tiling, you must perform a dry-fit test of the drain grate and the surrounding tiles to ensure the water has a clear, downhill path. Use a straight edge and a level to verify the pitch from the furthest corner of the shower to the center of the drain.
- Check the drain flange height against the manufacturer specifications for your specific waterproofing system.
- Ensure the subfloor is level within 1/8 inch over 10 feet before the pan is built.
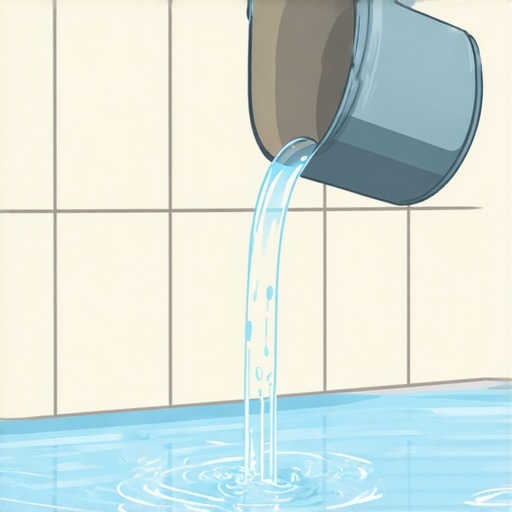
- Perform a flood test by plugging the drain and filling the pan with water for 24 hours to check for leaks.
- Verify that the drain grate sits approximately 1/16 inch below the finished tile surface.
- Inspect the weep holes in traditional clamping ring drains to ensure they are not clogged by mortar.
Fixing the elevation without a complete tear out
Correcting a high drain usually requires removing the surrounding tile and carefully grinding down the mortar bed to reset the drain at the proper depth. In some cases, you can use a different grate assembly that offers a lower profile to compensate for the height. This is where the mechanic in me comes out. Sometimes you can’t just rip it all out. You have to find a way to make it work. There are low-profile drain adapters on the market, but they are a band-aid, not a cure. If the flange itself is the problem, you are looking at a plumbing fix. You have to cut the pipe from below, usually through the ceiling of the room underneath, and pull that drain down. It is surgical work. It requires a steady hand and a lack of ego. If you messed it up, own it and fix it right. Don’t try to hide it with extra grout. That never works. The water will find the truth soon enough.
The chemistry of the failed bond
When water pools because of a high drain, the alkaline environment of the cementitious materials can lead to efflorescence and mineral buildup on the surface of the tile. This is not just a cleaning issue; it is a sign that the internal chemistry of the shower floor is compromised. The minerals in the water get left behind as it slowly evaporates, leaving white, crusty deposits. Underneath, the constant saturation is leaching the lime out of your mortar bed. This makes the bed weak and crumbly. I have seen shower pans that I could dig through with a screwdriver because they were constantly wet. A floor is a performance surface. It needs to stay dry when not in use. If your drain is high, that floor is never truly dry. You are living on top of a swamp. The smell of mold will eventually penetrate the walls, and at that point, no amount of bleach will save you. You have to be a stickler for the details. You have to care about that 1/8 inch. If you don’t, you aren’t an installer; you are just a guy with a trowel making a mess.