How to Tell if Your Subfloor is Too Porous for Self-Leveler Primers
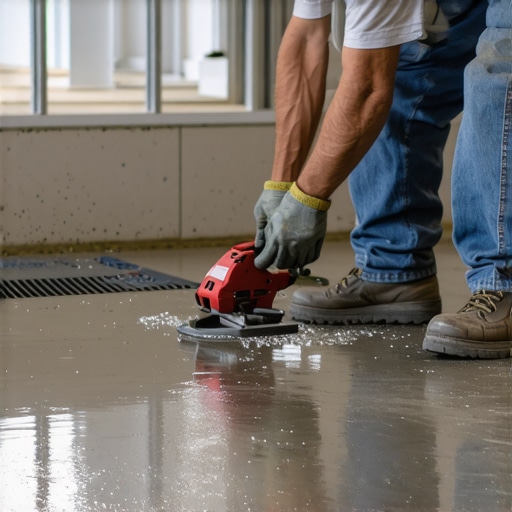
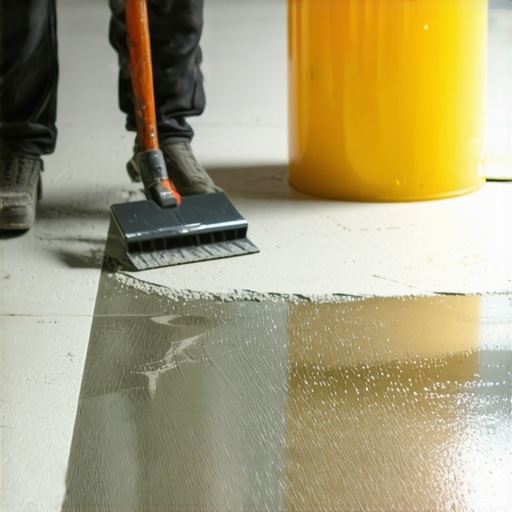
I spent three days grinding concrete on a job last month just so the floor wouldn’t click like a castanet. Most guys skip the leveling compound. They think the underlayment will hide the dip. It won’t. I walked into a luxury condo where the installer had dumped three buckets of self-leveler over a raw slab without testing the porosity. By the time I arrived, the leveler was cracking and peeling up like a bad sunburn because the slab had sucked the life out of the mix. This is what happens when you treat a subfloor like a static object rather than a chemical sponge. A subfloor is a structural engineering challenge that starts at the molecular level. If you do not understand the rate of absorption in your substrate, your flooring project is doomed before you even open a bag of cementitious powder.
The invisible sponge beneath your feet
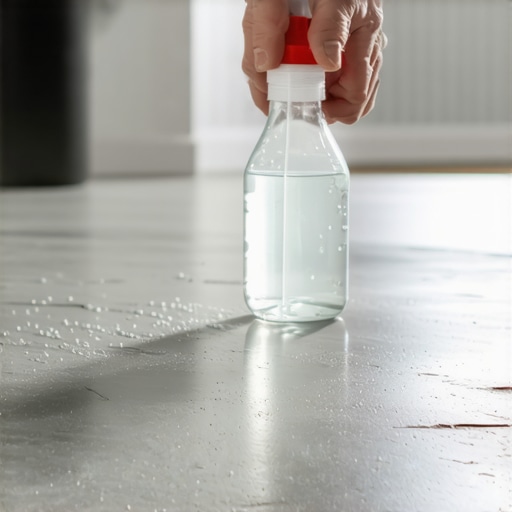
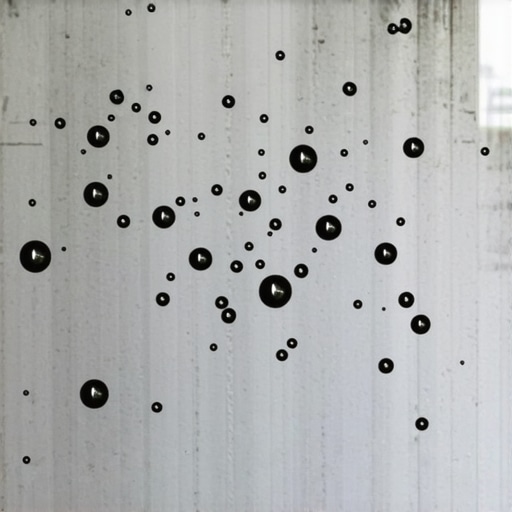
A porous subfloor is identified when water droplets soak into the concrete or wood substrate in under one minute. This indicates an open-cell structure that will suck the moisture out of self-leveling underlayment, causing delamination, pinholes, and structural failure of the bond. You must verify the suction capacity of the slab to determine the dilution ratio of your primer. If the water vanishes instantly, the concrete is high-suction. This means the primer will also vanish, leaving no film behind to bridge the bond. If the water beads and sits there for ten minutes, you have a non-porous surface, which is a different nightmare entirely. You are looking for that middle ground where the surface is receptive but not greedy.
The physics of the pinhole effect
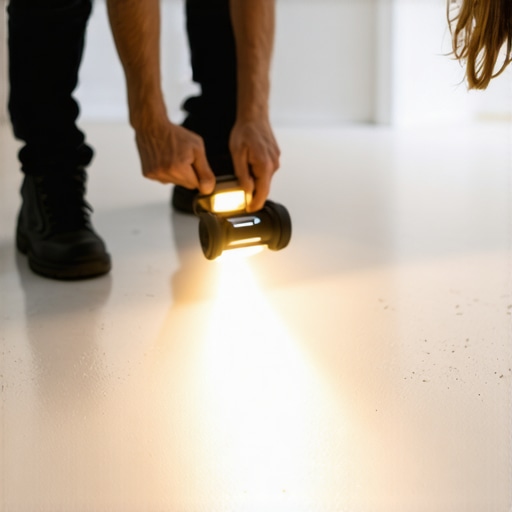
When you pour a liquid leveler over a thirsty substrate, the physics of displacement take over. As the dry concrete pulls moisture down into its capillaries, it pushes air out. This air has nowhere to go but up through your wet leveler. This creates thousands of tiny craters known as pinholes. These are not just aesthetic issues. Every pinhole is a point of structural weakness where the floor can fail under the pressure of a heavy furniture leg or a rolling chair. These craters also telegraph through thin floorings like luxury vinyl planks or laminate. You will see the ghost of every bubble once the light hits the floor at an angle. To prevent this, the primer must seal those microscopic pathways. It is like trying to paint a dry sponge. The first pass just fills the holes. The second pass creates the surface.
“A floor is only as good as the subfloor beneath it; deflection is the enemy of every joint.” – Master Flooring Axiom
The chemistry of the mechanical bond
Primer is not just glue. It is a surfactant and a bridge. In a carpet install or a laminate project, the subfloor needs to be flat to within 3/16 of an inch over a 10-foot radius. To achieve this, the self-leveler must bond chemically to the substrate. If the subfloor is too porous, the leveler loses its water before the chemical reaction of hydration is complete. This results in a soft, chalky finish that will crumble under the weight of traffic. We call this a “flash dry.” The leveler looks hard on top, but it never actually latched onto the floor. You can literally kick it loose with a work boot if the primer failed to regulate the suction. We use acrylic co-polymer primers because they penetrate the pores while leaving enough resin on the surface to grab the next layer of cement.
The water droplet test and why it works
Testing for porosity is the cheapest part of the job but the one most people skip. You take a bottle of room temperature water and flick droplets across different areas of the room. Do not just do one spot. Concrete density varies from the center of the pour to the edges. If the water turns the concrete dark and disappears in thirty seconds, you are dealing with a high-porosity environment. If it takes three to five minutes, you have a standard porous surface. If it never disappears, you likely have a sealer or a wax on the floor that must be mechanically removed. You cannot prime over a sealer. The primer will just sit on top like oil on water. This is common in showers where old waterproofing or soap scum has clogged the pores of the slab.
| Substrate Type | Absorption Time | Porosity Rating | Primer Action Plan |
|---|---|---|---|
| Power-Troweled Concrete | > 10 Minutes | Non-Porous | Mechanical grinding (CSP 3) |
| Aged Broom-Finish Concrete | 1 to 2 Minutes | Medium Porosity | One coat diluted 1 to 1 |
| Lightweight Gypsum (Gypcrete) | < 30 Seconds | Extreme Porosity | Two coats, first coat 3 to 1 |
| Exterior Grade Plywood | 2 to 4 Minutes | Porous | Undiluted specialized wood primer |
Why wood subfloors and the capillary action trap
Wood is a biological material and behaves differently than concrete. In an OSB or plywood subfloor, porosity is about the density of the wood fibers and the resins used during manufacturing. If you pour a water-based leveler on unprimed wood, the wood will swell. This is the death of a laminate floor. The edges of the plywood will curl, a phenomenon known as “telegraphing,” and your flat floor becomes a series of waves. The primer for wood must be high-solids to block moisture from entering the wood grain while providing a gritty surface for the leveler to grip. I have seen guys try to use concrete primer on wood. It does not work. The wood moves and the primer snaps. You need something with flexibility, something that understands the seasonal expansion and contraction of timber.
The 1/8 inch that ruins everything
In the world of floor leveling, precision is the only currency. If your subfloor is too porous and you do not compensate, you lose the 1/8 inch of levelness that keeps your T-molding from snapping. Most people want the thickest underlayment, but too much cushion actually causes the locking mechanisms on LVP to snap under pressure. The real support comes from the flat subfloor, not the foam. If the leveler sinks into the pores because of high suction, you end up with a dip where you expected a plateau. You must check the slab for moisture using a calcium chloride test or a pinless moisture meter. If the slab is emitting too much vapor, the primer will blow off the surface, taking the leveler with it. It is a delicate balance of vapor pressure and surface tension.
“Ensure the substrate is free of all contaminants including oil, wax, and dust, as these act as bond breakers in any cementitious assembly.” – TCNA Handbook Standards
How to fix a sponge before the pour
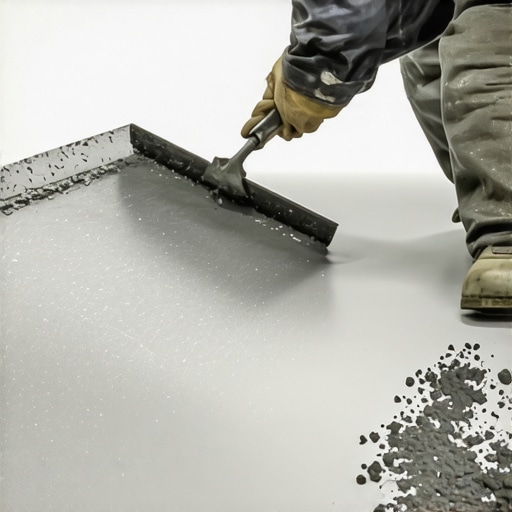
If you have confirmed your subfloor is a sponge, you do not just pour more primer. You manage the application. For high-porosity concrete, the first coat of primer should be diluted with water. This allows the liquid to travel deep into the capillaries. It is like a scout. It goes in and fills the voids. Once that dries, you apply a second coat at a higher concentration. This second coat sits on top of the first and creates the sticky film needed for the leveler. This is the only way to stop the pinholing effect. You also have to watch the temperature. If the room is too hot, the primer will skin over too fast and wont penetrate. I keep a thermometer in my kit for this reason. Airflow is another killer. Turn off the HVAC. You do not want a breeze drying the primer before it has a chance to soak in.
Your subfloor preparation checklist
- Clear the room and sweep the floor twice, then vacuum with a HEPA filter to remove micro-dust.
- Perform the water drop test in at least five different locations per 500 square feet.
- Check for cracks in the concrete and pre-fill them with a rapid-setting patch to prevent leveler leakage.
- Ensure the ambient temperature is between 50 and 85 degrees Fahrenheit for optimal primer curing.
- Apply the primer using a soft-bristle push broom to scrub the liquid into the pores of the substrate.
- Wait for the primer to become translucent and tacky, not wet or bone dry, before pouring the leveler.
Precision in carpet install or tile work starts here. If you are working in a region with high humidity, like the coastal areas, the concrete will hold moisture longer, affecting your dry times. In dry climates like Phoenix, the slab will be even more porous because the moisture has been baked out of it over decades. You have to adjust your dilution ratios based on the site conditions. Do not trust the back of the bottle blindly. Trust what the floor is telling you when the water hits the surface. If you ignore the porosity, you are just throwing money into a hole in the ground. The floor will eventually talk back to you, and it usually does so by clicking, popping, and cracking under your feet. Do the work on your knees now or do it all over again in six months.