How to Level an Old Concrete Garage Floor for Living Space
The 1/8 inch that ruins everything
To level an old concrete garage floor for living space, you must first eliminate all oil contaminants, mechanicaly grind the surface to a Concrete Surface Profile of 3, and apply a high-solids acrylic primer. Only then can you pour a calcium aluminate-based self-leveling underlayment to achieve a flatness tolerance of 1/8 inch over 10 feet. Most guys skip the leveling compound. They think the underlayment will hide the dip. It won’t. I spent three days grinding concrete on a job last month just so the floor wouldn’t click like a castanet. The homeowner had bought some high-end 12mm laminate, but the garage floor had a three-quarter inch swale right in the center where the old floor drain used to be. If we had just laid the floor, every step would have sounded like a drum beat. You can’t cheat physics. If the substrate is hollow, the floor will fail. I smell like WD-40 and concrete dust half the time because I refuse to put my name on a job where the subfloor is lying to the finish material. This is not about aesthetics. This is about structural integrity and the chemical bond between the old slab and your new life. [IMAGE_PLACEHOLDER_1]
The ghost in the expansion gap
Expansion gaps are the most misunderstood part of any laminate or hardwood installation in a converted garage space. You need a minimum of 3/8 inch space around the entire perimeter to allow for the natural thermal expansion of the material as temperatures fluctuate. Garages are notorious for temperature swings. Even if you insulate the walls, that concrete slab is a thermal mass that holds the cold. When the seasons change, your floor is going to move. If you pin it against the drywall, it will buckle. I have seen 40-foot runs of flooring lift four inches off the ground because some installer didn’t leave a gap at the door threshold. We are talking about the molecular expansion of wood fibers and plastic resins. It is a slow, silent force that can rip baseboards right off the wall. Don’t trust a guy who says he can do a tight fit. He is selling you a future disaster.
“A floor is only as good as the subfloor beneath it; deflection is the enemy of every joint.” – Master Flooring Axiom
Why your subfloor is lying to you
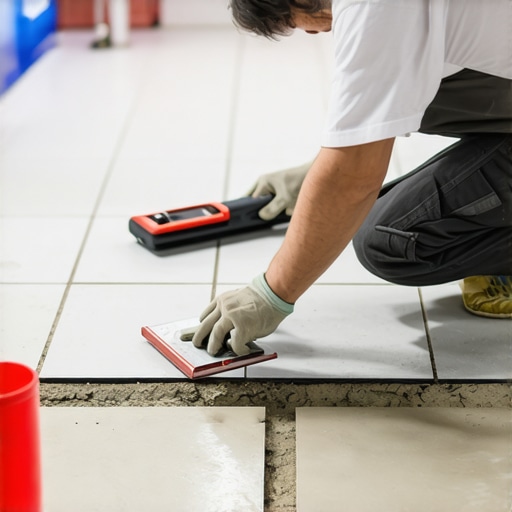
Your garage floor looks flat but it is actually pitched toward the door to allow for water drainage, which is a disaster for modern click-lock flooring systems. You must use a laser level to identify the high and low spots across the entire 400 to 600 square foot area. Most residential garages are sloped at 1/8 inch per foot. Over a 20-foot span, that is a 2.5-inch drop. Your laminate locking mechanisms are designed to handle maybe 3/16 of an inch of deviation. Anything more puts massive stress on the tongue and groove. You will hear it first, a little squeak, then a pop. Then the joint breaks. Once that joint is gone, the floor is junk. You have to understand that concrete is a sponge. It looks solid, but it is full of capillaries. If you don’t address the moisture vapor transmission coming up through that old slab, you are just composting your new floor from the bottom up. I always run a calcium chloride test or use a pinless moisture meter before I even think about a carpet install or laying planks. If that slab is pushing more than 3 pounds of moisture per 1,000 square feet, you need a vapor barrier that actually works, not just a thin sheet of plastic.
The physics of the self leveling pour
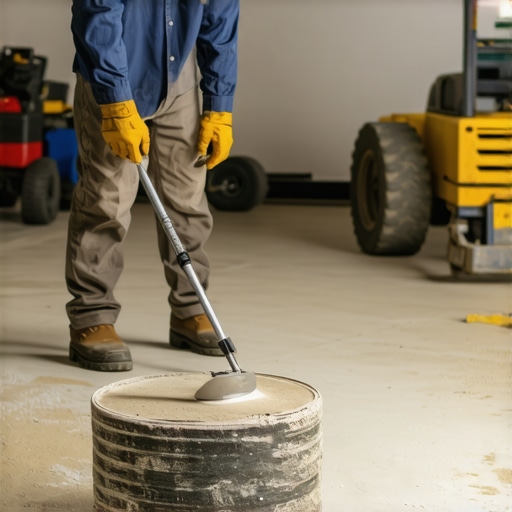
Self-leveling underlayment is a high-flow, cementitious product that uses gravity to create a perfectly flat surface, but it requires precise water-to-powder ratios to maintain its structural PSI. If you add too much water, the polymers will separate and the surface will be soft and chalky. You need a heavy-duty mixer and two people. One guy mixes, the other guy pours. You have about 15 minutes of working time before the stuff starts to set. You have to use a spiked roller to release the air bubbles. Those tiny bubbles might seem small, but they create voids in the matrix. When you walk on the finished floor later, those voids can collapse. It is like building a house on a honeycomb. We are looking for a compressive strength of at least 3,000 PSI for a residential conversion. I prefer products with calcium aluminate because they shrink less than standard Portland-based levelers. Shrinkage is the enemy. If the leveler pulls away from the old concrete, the whole system is compromised.
| Leveler Type | Cure Time | Max Depth | Ideal Application |
|---|---|---|---|
| Gypsum-Based | 24 Hours | 2 Inches | Wood Subfloors |
| Cementitious | 4-6 Hours | 1.5 Inches | Concrete Slabs |
| Fiber-Reinforced | 12 Hours | 1 Inch | High-Flex Areas |
Grinding the sins of the past away
Surface preparation is the most labor-intensive part of floor leveling, involving the mechanical removal of old paint, oil stains, and drywall mud to ensure a chemical bond. You cannot level over a dirty floor because the underlayment will simply peel off like a scab. I have spent hundreds of hours behind a diamond cup wheel. It is dirty work. You need a vacuum system with a HEPA filter or you will be cleaning dust out of your lungs for a month. You are looking for a surface that feels like 60-grit sandpaper. That is what we call a CSP 3 profile. It gives the primer something to bite into. If you see a guy just pouring leveler over a smooth, oily garage floor, walk away. He is a hack. The bond is everything. Without it, the floor is just a floating sheet of brittle stone that will crack the first time you move a piece of furniture.
“Surface preparation is 90 percent of the job; the finish is only as flat as the substrate allows.” – TCNA Handbook Guidelines
The heavy lifting checklist
- Test the slab for moisture using a relative humidity probe.
- Grind the entire surface to remove sealers and contaminants.
- Fill deep cracks with an epoxy injection or high-modulus filler.
- Apply a tinted acrylic primer to ensure total coverage.
- Mark high and low spots using a rotating laser level.
- Mix self-leveling compound using a high-torque drill at low RPM.
- Pour in a continuous motion to maintain a wet edge.
- Use a spiked roller to remove entrapped air.
Thermal breaks and the comfort factor
In a garage conversion, the concrete slab is a bridge to the cold ground outside, making a thermal break essential for a comfortable living space. While a carpet install provides some insulation, a rigid foam underlayment or a sleeper system is better for hard surfaces. I have seen people spend five grand on beautiful tile showers and heated floors in a garage bath, only to realize the floor is still freezing because they didn’t insulate the slab. If you are going with laminate, look for an underlayment with a high R-value. It is not just about softness. It is about stopping the heat from leaving the room. Concrete will suck the warmth right out of your feet. This is where the physics of the room comes into play. You have to think about the whole assembly, from the dirt under the slab to the air in the room. If you ignore one part of the chain, the whole thing fails. The final walk through should involve checking every transition. No bulky T-moldings. Just clean, flat surfaces that lead from the old house into the new space without a trip hazard. That is how a pro does it. “, “image”: {“imagePrompt”: “A wide shot of a professional floor installer in a garage using a long metal straightedge to check the level of a freshly poured grey self-leveling compound on a concrete floor. The garage walls are partially framed with wooden studs. The lighting is bright and industrial.”, “imageTitle”: “Checking concrete floor levelness”, “imageAlt”: “Professional installer checking the level of a garage concrete floor conversion”}, “categoryId”: 0, “postTime”: “”}