Why Your Floor Leveler Is Peeling Up in Giant Sheets from the Concrete
Why Your Floor Leveler Is Peeling Up in Giant Sheets from the Concrete
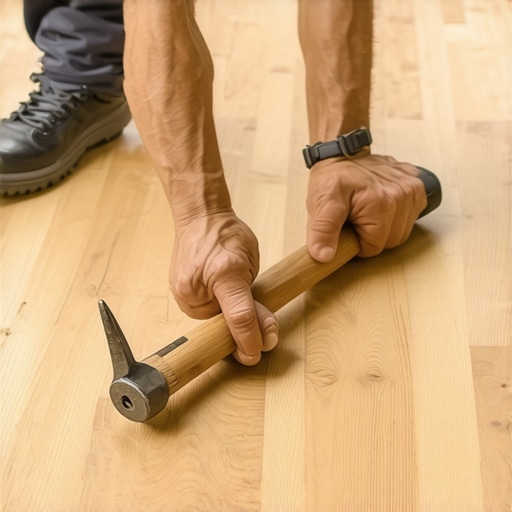
I spent three days grinding concrete on a job last month just so the floor wouldn’t click like a castanet. The previous contractor had poured twenty bags of high-end self-leveling underlayment directly over a slab that was covered in drywall dust and old adhesive overspray. Within forty-eight hours, the entire floor sounded like a bag of potato chips when you walked across it. You could literally slide a flat-head screwdriver under the edge and peel up four-foot sections of the material like it was a piece of grey cardboard. It was a $2,000 mistake in materials alone, not counting the labor of the poor soul who had to rip it out. This is the reality of floor leveling when you ignore the physics of the bond. If you think the leveler is just a filler that sits there, you are wrong. It is a structural layer that must become one with the substrate or it will fail every single time.
The ghost in the expansion gap
Floor leveling failure typically occurs because of a lack of mechanical bond or chemical interference between the leveler and the concrete slab. When the leveling compound detaches, it is often due to surface contaminants like oil, dust, or laitance that prevent the primer from penetrating the pores of the concrete. Without this penetration, the leveler simply sits on top of the slab like a sheet of ice on a frozen lake. Most guys skip the leveling compound prep. They think the underlayment will hide the dip. It won’t. I have seen laminate floors fail in three months because the subfloor had a half-inch dip that caused the locking mechanisms to snap under the weight of a refrigerator. Every time you step on a floor that is not flat, the boards flex. That flex creates air pressure and movement that eventually shears the bond of a poorly applied leveler. If you are doing a carpet install, you might think you can get away with it, but once you stretch that carpet and the tack strip pulls on the floor, the leveler will pop right off the concrete. It is a disaster waiting to happen.
“A floor is only as good as the subfloor beneath it; deflection is the enemy of every joint.” – Master Flooring Axiom
Why your subfloor is lying to you
Concrete looks solid but it is actually a porous sponge that is constantly exhaling moisture and chemical compounds. If you do not test the porosity of your slab before pouring leveler, you are gambling with your career. I always perform the water droplet test. If you drop a teaspoon of water on the concrete and it sits there for ten minutes, your leveler will peel. The concrete is sealed or contaminated. If the water vanishes in thirty seconds, the concrete is too thirsty and will suck the moisture out of the leveler before the chemical hydration process can finish, leading to a brittle, dusty failure. This is why a dedicated acrylic or epoxy primer is not optional. You need that primer to regulate the absorption rate. In showers, this is even more critical. If you are leveling a shower subfloor before a pan install, the moisture levels are higher, and any bond failure will lead to a catastrophic leak or a cracked tile assembly. The chemistry has to be perfect. You are not just pouring mud; you are engineering a surface.
The 1/8 inch that ruins everything
The industry standard for floor flatness is usually 1/8 inch of deviation over a ten-foot radius. Most people think they can just eyeball this. You cannot. I use a ten-foot straightedge and a set of feeler gauges. If I see a gap, I mark it with a wax pencil. When you pour the leveler, you are dealing with a material that has a high surface tension. If the concrete has laitance, which is that thin, milky layer of weak cement on the surface of a new pour, the leveler will bond to the laitance, and then the laitance will pull away from the structural concrete. It is like taping a piece of paper to a wall that has peeling paint. The tape is strong, but the paint is weak. You have to grind that laitance off with a diamond cup wheel until you reach the aggregate. It is dusty, it is loud, and it smells like a rock quarry, but it is the only way to ensure the floor stays put. I have seen guys try to level over old carpet install glue. That glue is a bond breaker. Even if it feels dry, the moisture in the new leveler will reactivate the adhesive, turning it into a slippery film that rejects the bond.
| Condition | Result of Poor Prep | Professional Solution |
|---|---|---|
| High Laitance | Sheet Delamination | Mechanical Grinding (CSP 3) |
| High Porosity | Pinholes and Brittle Mix | Two Coats of Acrylic Primer |
| Non-Porous Slab | Zero Adhesion | Epoxy Primer with Sand Broadcast |
| Dust and Debris | Hollow Spots | HEPA Vacuum and Damp Mop |
The science of the chemical bond
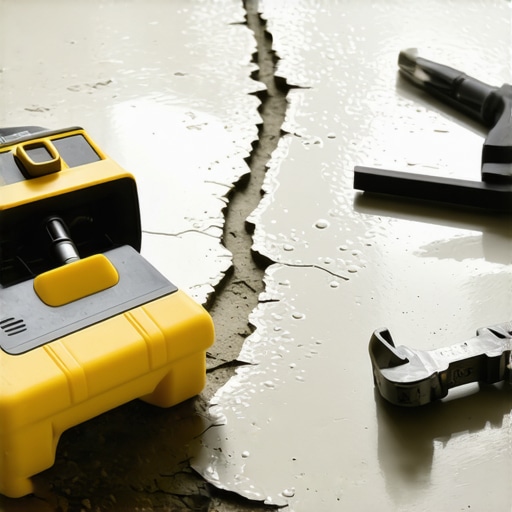
Leveling compounds are usually made of calcium aluminate cement which shrinks significantly less than standard Portland cement. This is good for flatness, but it creates immense internal tension. As the leveler cures, it wants to pull inward. If the bond to the concrete below is not stronger than the internal shrinking force of the leveler, the edges will curl. This is called curling or cupping, and it is the primary reason levelers peel in giant sheets. You see this a lot in rooms with big windows where the sun hits the floor. The heat accelerates the cure on the top of the leveler while the bottom stays cool. This creates a differential in the curing rate. I always tell my apprentices to block the sun during the first twenty-four hours. You want a slow, even cure. If you are prepping for a laminate floor, that leveler needs to be rock solid. Laminate is a floating floor, but it still relies on the subfloor to be a stable foundation. If the leveler underneath is crumbling, the laminate joints will start to squeak and eventually separate, leaving you with gaps that collect dirt and moisture.
“Moisture is the universal solvent of flooring dreams; ignore the slab and the slab will ignore your warranty.” – Master Flooring Axiom
The essential preparation checklist
Success in floor leveling is found in the hours of prep work done before the bag is even opened. Follow these steps or prepare to buy the material twice.
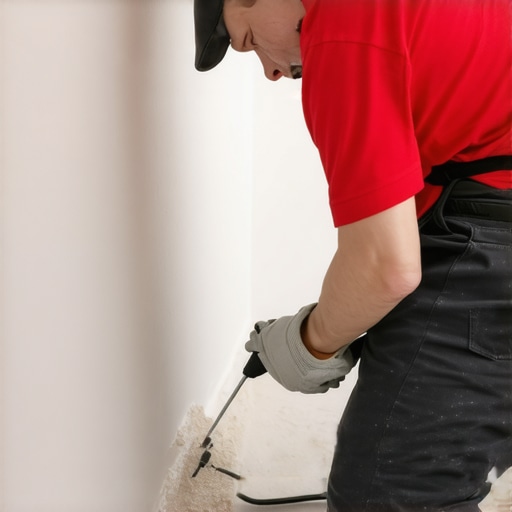
- Remove all drywall mud, paint, and old adhesive with a floor scraper.
- Perform a moisture test to ensure the slab is not exhaling more than 3 lbs of vapor per 1,000 square feet.
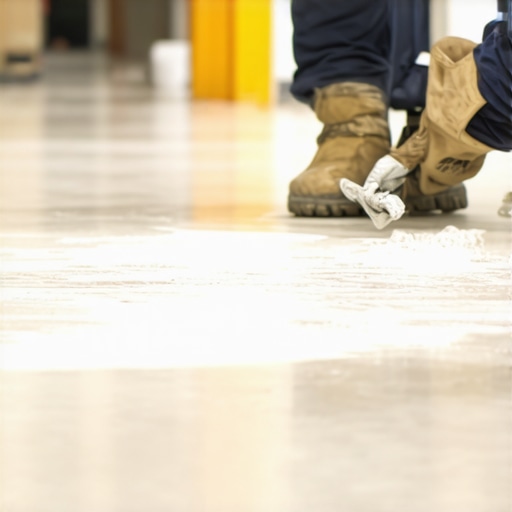
- Vacuum the floor using a HEPA filter to remove micro-dust that prevents primer penetration.
- Apply the manufacturer recommended primer using a soft-bristled brush to push it into the pores.
- Ensure the room temperature is between 50 and 85 degrees Fahrenheit to avoid flash drying.
- Seal the perimeter with foam expansion strips to prevent the leveler from bonding to the walls.
- Mix the leveler with a high-torque drill to ensure no dry clumps remain in the bucket.
The structural limits of laminate over uneven slabs
Floating floors like laminate are often marketed as a cure-all for ugly subfloors, but this is a dangerous lie. While a thick underlayment can hide minor imperfections, it cannot compensate for a subfloor that is out of level by more than 3/16 of an inch. If you pour leveler to fix this and it fails, your laminate floor will develop a bounce. That bounce acts like a bellows, sucking air and dust out from under the baseboards every time someone walks by. Eventually, the tongue and groove system will fatigue and snap. I have seen million-dollar homes where the laminate felt like a trampoline because the installer was too lazy to grind the high spots and fill the lows correctly. You have to treat the concrete like a canvas. If the canvas is rotten, the painting will fall apart. This is especially true in areas near showers or kitchens where occasional spills can seep through the laminate joints and reach the failing leveler, causing it to turn back into a slurry of grey mud and mold. Do the work once, do it right, and you will never have to see me again for a repair job.