The ‘Spray Bottle’ Secret for Testing Your Shower Waterproofing Seal
The spray bottle secret for testing your shower waterproofing seal
I spent three days grinding concrete on a job last month just so the floor wouldn’t click like a castanet. Most guys skip the leveling compound. They think the underlayment will hide the dip. It won’t. I was out there with a 10 foot straightedge and a grinder, breathing in the dust of a thousand mistakes made by the previous crew. That is the life of a floor architect. If the foundation is a lie, the finish is a failure. This same philosophy applies to your shower. People think tile is waterproof. It is not. Tile and grout are just the dress. The waterproofing membrane is the actual body armor. If that armor has a pinhole, the rot starts the moment you turn on the tap. I have seen million dollar homes with black mold creeping up the baseboards because some installer didn’t understand the chemistry of a polymer bond or the physics of a capillary break.
The ghost in the shower floor
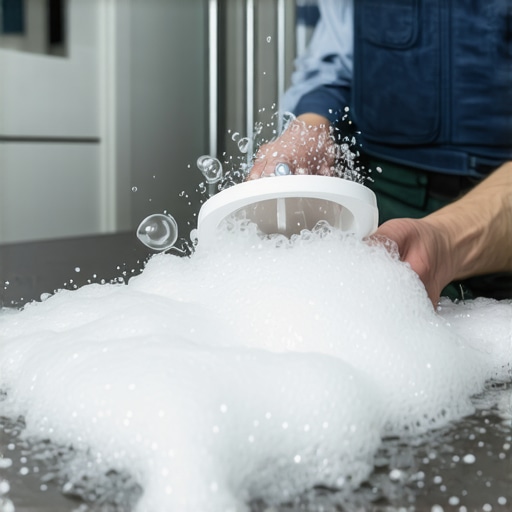
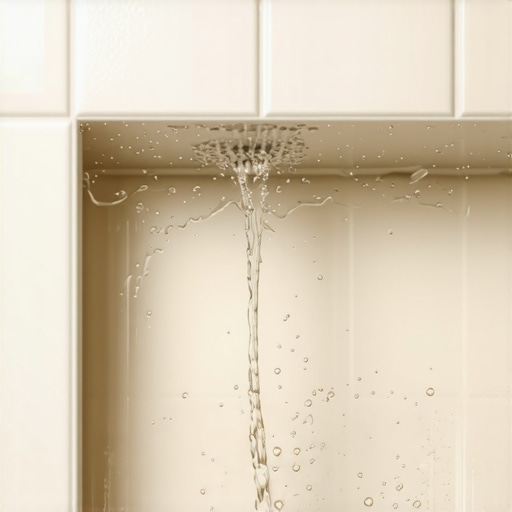
A shower waterproofing seal must be an unbroken barrier that prevents liquid water and vapor from reaching the substrate materials like plywood or cement board. Testing this seal with a spray bottle is the simplest way to identify micro-pores in the membrane before the tile goes up. When you mist the surface of a dried liquid membrane, the water should bead like a freshly waxed car. If the water darkens the surface or disappears, your membrane is too thin or has a structural void. This is the difference between a shower that lasts fifty years and one that fails in five.
We have to look at the molecular level. Liquid membranes like RedGard or Hydro Ban rely on long chain polymers that cross link as the water evaporates. If you apply it too thin, those chains cannot link tightly enough to resist hydrostatic pressure. You are looking for a dry film thickness that meets the manufacturer specifications, usually around 15 to 20 mils. Without that thickness, the membrane is just a coat of paint. It will not bridge the gaps that form when the house shifts. Every house shifts. It is a living thing. Your shower floor must be able to stretch without breaking.
“A floor is only as good as the subfloor beneath it; deflection is the enemy of every joint.” – Master Flooring Axiom
The physics of a failing membrane
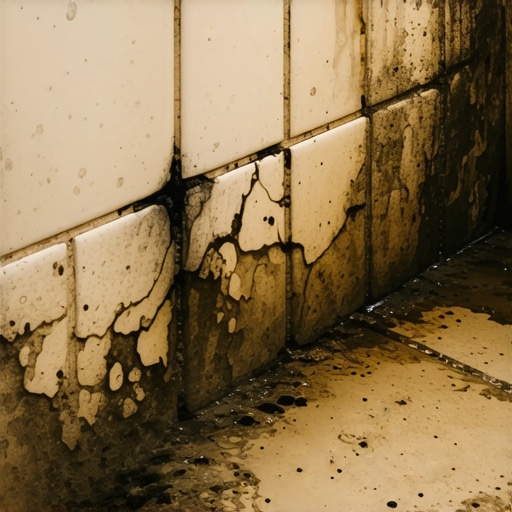
Water travels through grout via capillary action, moving into any void it can find behind the tile surface. Once the water gets behind the tile, it sits on the membrane. If that membrane has a single pinhole, gravity wins. The water will find the wood. It will find the joists. It will start the slow process of delamination. I have pulled up floors where the plywood was so soft you could scoop it out with a spoon. That all started with a tiny gap in the waterproofing.
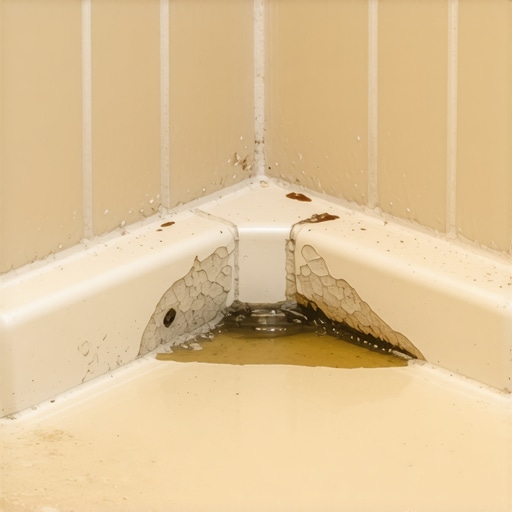
The spray bottle test works because it reveals the surface tension of the membrane. High quality waterproofing creates a hydrophobic surface. When you spray a fine mist, you are simulating the vapor pressure of a hot shower. If you see a dark spot, that is a warning sign. It means the liquid is penetrating the matrix. You need another coat. You need to focus on the corners and the transition where the wall meets the floor. That 90 degree angle is where most installers fail. They don’t use the reinforcement tape or they don’t get the membrane thick enough in the crease. That crease is the first place a house cracks.
Why your subfloor is lying to you
Most subfloors are not flat or level, which creates stress points for any waterproofing system applied over them. You might think your plywood is fine, but if there is a 1/8 inch dip over 10 feet, your tile will eventually crack the membrane beneath it. This is why I am obsessed with floor leveling. I use high flow gypsum or cementitious levelers to create a dead flat plane. If the floor is flat, the membrane is under uniform tension. If the floor has dips, the membrane is stretched in some places and compressed in others. That is how you get failures.
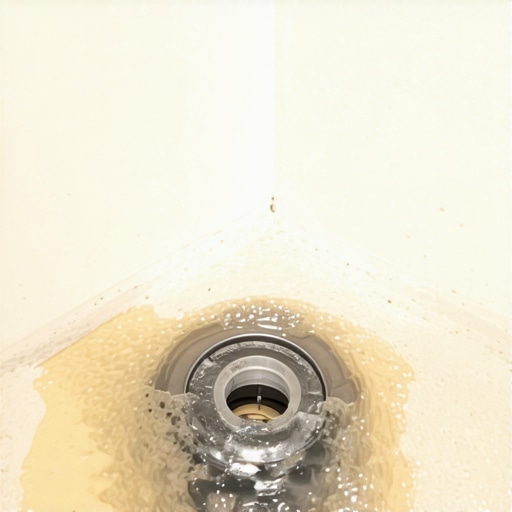
I remember a job in a high rise where the slab was so wavy it looked like the Atlantic Ocean. The contractor wanted to just thin-set over it. I told him he was crazy. We spent two days pouring leveler and another day checking it with a laser. Why? Because if that floor moves even a fraction, the waterproofing seal at the drain will shear. A sheared drain seal is a disaster. It is a slow leak that you won’t notice until the ceiling in the unit below starts to sag.
| Waterproofing Type | Mil Thickness (Dry) | Vapor Permeance | Cure Time |
|---|---|---|---|
| Liquid Membrane | 15-30 mils | Low | 12-24 Hours |
| Sheet Membrane | 20-40 mils | Very Low | Immediate |
| Traditional Mud Bed | 1-2 inches | High | 72 Hours |
The 1/8 inch that ruins everything
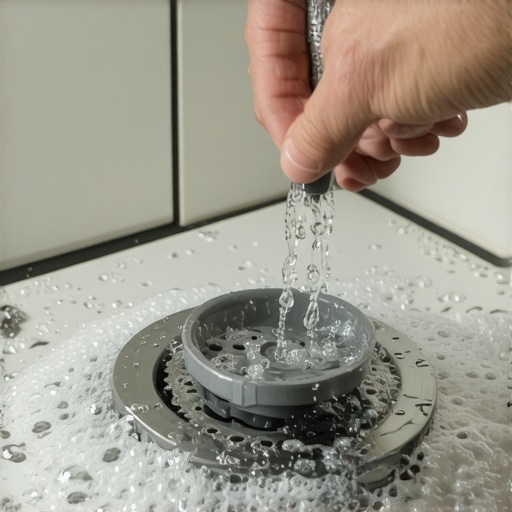
Precision in shower construction is measured in eighths of an inch, particularly regarding the slope toward the drain. A common mistake is a flat spot in the pre-slope. If water sits on the membrane because the slope is insufficient, it creates a stagnant pool behind your tile. This leads to the sour smell of a rotting shower. You need a quarter inch of fall per foot. No exceptions. I have seen guys try to eye it. You can’t eye it. You need a level. You need a plan.
The spray bottle secret also helps you find these flat spots. If you spray the floor and the water doesn’t move toward the drain, you have a drainage problem. You are basically building a tiny pond under your tile. Eventually, that water will find a way out, and it won’t be through the drain. It will be through your drywall. I always tell my apprentices that water is the most patient enemy in the world. It will wait years for a chance to ruin your work.
“The Tile Council of North America requires a slope to drain of 1/4 inch per foot to ensure proper evacuation of moisture from the system.” – TCNA Handbook
The polymer bond in liquid waterproofing
Modern liquid membranes are chemical marvels that require specific temperatures and humidity levels to cure into a functional waterproof shield. If it is too cold in the house, the polymers won’t cross link. If it is too hot, the water evaporates too fast and the membrane becomes brittle. You have to find the sweet spot. I keep a hygrometer in my kit for this reason. I need to know the moisture content of the air and the substrate before I open a bucket of RedGard.
A common contrarian point I tell people is that more underlayment is not always better. While most people want the thickest underlayment for comfort, too much cushion actually causes the locking mechanisms on LVP to snap under pressure. The same logic applies to waterproofing. If you build up too many layers of membrane without letting them cure properly, you create a soft, spongy layer that will allow the tile to move. Movement is the killer of grout. If the grout cracks, the water moves in. It is a chain reaction of failure.
The myth of the waterproof tile
Tile is a decorative wear layer that offers no structural waterproofing for the home. Even porcelain tile, which has a very low absorption rate, is not an impermeable barrier when installed with standard cementitious grout. Grout is porous. It is basically a hard sponge. When you shower, the water goes through the grout and hits the membrane. That is why the spray bottle test is so vital. You are testing the last line of defense.
People spend $50 a square foot on Italian marble but want to skip the $200 bucket of high quality waterproofing. It makes no sense to me. You are putting a tuxedo on a skeleton that is already falling apart. I always insist on a flood test after the spray bottle test. Plug the drain and fill the pan with two inches of water. Let it sit for 24 hours. If the level drops, you have a leak. It is better to find out now than after you have spent a week laying tile.
A checklist for a flood proof bathroom
- Verify the subfloor is structurally sound and has no more than 1/360 of span deflection.
- Apply a pre-slope of 1/4 inch per foot using a modified mortar bed or pre-sloped foam tray.
- Ensure the waterproofing membrane extends at least 6 inches up the wall above the shower curb.
- Check all transitions and corners for reinforcement fabric or double coating of liquid membrane.
- Perform the spray bottle test to ensure the surface is hydrophobic and shows no absorption.
- Conduct a 24 hour flood test to verify the integrity of the drain assembly and pan.
- Allow the membrane to cure fully before applying thin-set to avoid trapping moisture.
The final check before the grout goes down
The final inspection of the waterproofing seal is the most important step in the entire bathroom renovation process. Once that first tile is set in thin-set, you are committed. You cannot go back and fix a leak without tearing everything out. The spray bottle secret is your last chance to be a hero. Walk into that shower with your bottle and mist every square inch. Watch how the water reacts. If it beads and rolls toward the drain, you can sleep at night. If it doesn’t, you have work to do.
I remember a guy who told me I was being too picky. He said the tile would cover it. Three years later, he called me because his subfloor had rotted through and his shower had literally fallen through the floor into the crawlspace. I didn’t say I told you so, but I thought it. Flooring is not about aesthetics. It is about engineering. It is about controlling water and managing gravity. If you respect the physics, the floor will respect you. If you cut corners, the house always wins. Stick to the standards, use your moisture meter, and never trust a subfloor that hasn’t been leveled. That is the only way to build something that lasts.