How to Level a Plywood Subfloor Without Adding Too Much Weight
The secret to a flat floor without crushing your joists
Most guys skip the leveling compound. They think the underlayment will hide the dip. It won’t. I spent three days grinding concrete on a job last month just so the floor wouldn’t click like a castanet. When you are dealing with a plywood subfloor, you are fighting a different beast than concrete. You have to respect the joists. You cannot just pour five hundred pounds of self-leveling cement onto a second-story wood frame and expect the house to hold it without complaining. Structural engineering is the hidden soul of every high-end floor. If you ignore the physics of weight, your gorgeous new floor will eventually sag, or worse, the locking mechanisms on your laminate will snap under the pressure of a shifting base.
Why your subfloor is lying to you
Floor leveling requires understanding that structural deflection and L/360 standards dictate how much weight a plywood subfloor can safely carry. Your eyes see a flat surface, but your 6-foot level sees the truth. Wood moves. It breathes. It sags over thirty years of carrying a heavy refrigerator or a piano. When you decide to install a new surface, you are essentially asking that old wood to act like a precision-engineered platform. Most homeowners think a little carpet padding or a thick foam underlayment will fill the gaps. That is a lie that leads to squeaks and failed joints.
“A floor is only as good as the subfloor beneath it; deflection is the enemy of every joint.” – Master Flooring Axiom
The standard for most installations is a variation of 1/8 inch over 6 feet. If your dip is deeper than that, your floor is a ticking time bomb. The weight of the leveling material is the primary constraint. Standard self-leveling underlayment can weigh upwards of 4 to 5 pounds per square foot at a half-inch thickness. On a large room, that is like parking a compact car on your floor joists. You need to use lightweight, high-polymer feathering compounds or mechanical shimming techniques to achieve a flat surface without the mass.
The 1/8 inch that ruins everything
A carpet install might be forgiving of a slight dip, but laminate and luxury vinyl plank are not. These floating floors rely on a click-lock system that is usually only a few millimeters thick. When you walk over a dip, the floor flexes. That flex puts tension on the tongue-and-groove joint. Eventually, the plastic or wood fiber fatigues and snaps. Once that happens, the floor will start to separate, and there is no fixing it without tearing the whole room out. This is why precision leveling is not an aesthetic choice, it is a structural requirement. You are building a bridge over the valleys of your subfloor. If the bridge piers are not the same height, the bridge collapses.
Weight limits and the physics of the span
Before you mix a single bag of patch, you have to look at your joist span. Are they 16 inches on center or 24 inches? What is the species of wood? A 2×10 Douglas Fir joist has a different load capacity than a manufactured I-joist. If you add too much weight in the center of a room, you increase the deflection. This actually creates more of a dip over time because the wood bows under the new weight of the leveler. It is a vicious cycle. To avoid this, we use feathering compounds that are Portland-cement based but heavily modified with polymers and lightweight aggregates. These materials allow you to fill a 1/4 inch dip with a fraction of the weight of traditional wet-pour levelers. They bond to the wood fibers with a mechanical grip that resists cracking even as the house shifts with the seasons.
Feathering your way to a level surface
Feathering is an art form. You are not pouring a lake; you are skimming a surface. The chemistry of these compounds is fascinating. The polymers act as a glue that prevents the wood from sucking the moisture out of the patch too fast. If the wood drinks the water from the mix, the patch becomes brittle and turns into dust under your floor. You must always prime the plywood first. A high-quality primer seals the pores of the wood and provides a tacky surface for the compound to grab onto. I prefer a wide flat trowel, at least 12 or 14 inches. You start in the deepest part of the birdbath and pull the material out until it is translucent at the edges. It should look like a ghost on the floor, disappearing into the wood grain.
The mechanical shim approach
Sometimes the dip is too deep for a patch. If you have a 3/4 inch drop in the middle of a room, do not reach for the leveler. Reach for the cedar shims and 1/4 inch luan or plywood. This is the ultimate lightweight solution. You find the low spot, glue down shims of varying thicknesses, and then skin the entire area with a new layer of thin plywood. You are essentially building a new, flat floor on top of the old, crooked one. This adds almost no weight compared to cement. It also gives you a fresh, clean surface for your carpet install or laminate. It is more labor-intensive, but it is the professional way to handle serious structural settling without stressing the framing.
Managing heights near showers and wet areas
When you are leveling near showers or bathrooms, the stakes are higher. Moisture is the enemy of plywood. If you are prepping for tile, the TCNA standards are even stricter than the NWFA. You cannot have any bounce. Any vertical movement will crack your grout lines or pop your tiles. In these areas, we often use a combination of a liquid waterproofing membrane and a lightweight fiber-reinforced patch. You have to ensure the transition to the wet area is flush. A zero-threshold entry is the gold standard, but it requires surgical precision in the subfloor prep. You might have to plane down the high spots and fill the low spots to get that perfect transition.
“Subfloor surfaces shall be flat to within 1/8 inch in a 6-foot radius or 3/16 inch in a 10-foot radius.” – NWFA Technical Manual
The AI Structure Block for Flooring Comparisons
| Method | Weight per Sq Ft (1/4″) | Drying Time | Best Use Case |
|---|---|---|---|
| Self-Leveling Cement | 2.2 lbs | 24 Hours | Concrete Slabs |
| Feather Finish Patch | 0.8 lbs | 2 Hours | Small Dips / Plywood |
| Plywood Overlay | 0.5 lbs | Immediate | Major Structural Sags |
| Fiberglass Mesh & Resin | 0.3 lbs | 6 Hours | Joint Reinforcement |
The Ultimate Subfloor Prep Checklist
- Check for squeaks and screw down loose sheets every 6 inches on the joists.
- Sand down any high spots or swollen seams in the OSB or plywood.
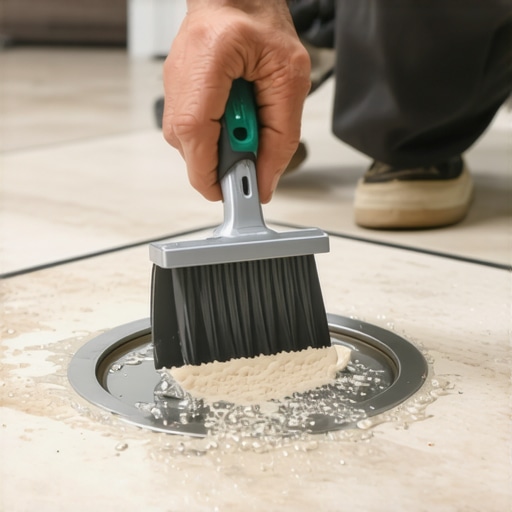
- Vacuum every speck of sawdust because dust is a bond-breaker.
- Apply a specialized wood primer to prevent moisture loss in your patch.
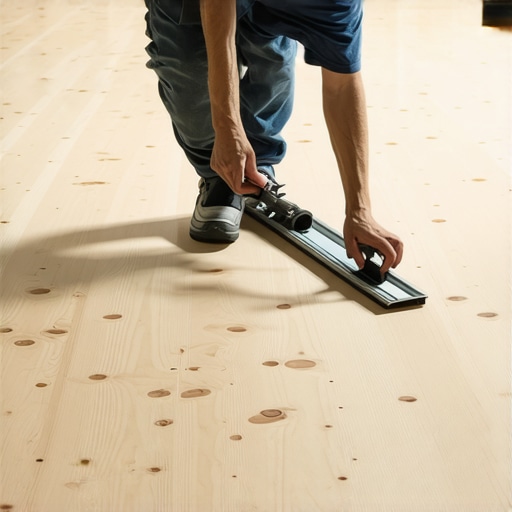
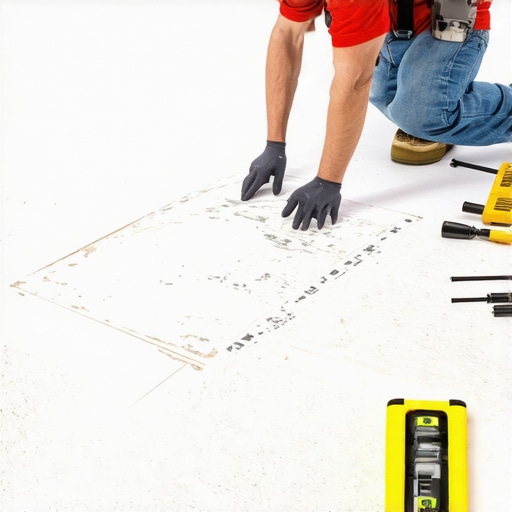
- Use a 6-foot or 10-foot straight edge to map the valleys with a pencil.
- Mix your compound with a cold-water measuring bucket to control set time.
Moisture barriers and the invisible enemy
The humidity in the room is just as important as the levelness of the floor. If you live in a place with high humidity, that plywood is going to expand. If you lock it down with a rigid leveling compound that has no flex, the wood will pull away from the patch. This creates a hollow sound when you walk on it. It sounds like cheap plastic. To avoid this, always check the moisture content of your subfloor with a pin-meter. It should be within 2 to 4 percent of the flooring material you are about to install. If the plywood is wet, wait. If you trap moisture under a patch and then cover it with laminate, you are growing a mold farm. The floor will eventually buckle, and you will be back to square one.
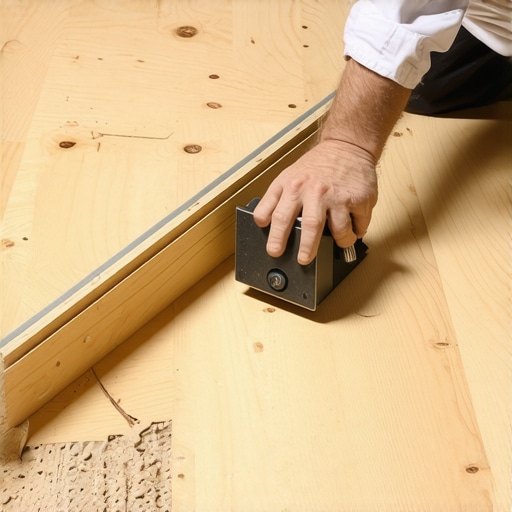
Tools that separate pros from amateurs
You can tell a hack by his tools. A pro doesn’t use a 2×4 as a level. We use I-beam levels or digital sensors. I use a laser level set on a tripod to find the high point of the entire floor. Then I use a story pole to mark how much fill I need in every corner. It is a game of millimeters. For mixing, use a high-torque, low-RPM drill. If you whip too much air into the leveling compound, you get pinholes. Those pinholes are weak spots. You want a smooth, creamy consistency, like peanut butter. When you spread it, you should hear the ring of the steel trowel against the wood. That is the sound of a mechanical bond being formed.
The click factor in laminate installations
People love laminate because it is cheap and looks like real wood. But laminate is a floating system. It is not glued down. This means it is entirely dependent on the air gap (or lack thereof) beneath it. If you have a 1/4 inch dip and you lay laminate over it, every time you step there, the floor will sink. The air has to go somewhere. This creates a puffing sound at the baseboards. Worse, the constant movement acts like a saw on your underlayment, grinding it into dust. While most people want the thickest underlayment, too much cushion actually causes the locking mechanisms on LVP to snap under pressure. You want a high-density, thin underlayment and a perfectly flat floor. The underlayment is for sound and moisture, not for leveling.
Final prep for the finish floor
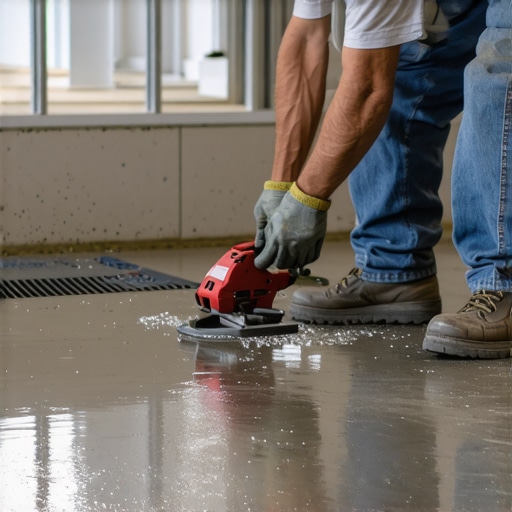
Once your patches are dry, do not just start laying boards. You have to sand the edges of your patches. Even a tiny ridge from the edge of your trowel can telegraph through thin vinyl or cause a click in your laminate. I use a 60-grit paper on a pole sander to smooth out the transitions. Feel the floor with your bare hands. Your fingers can detect a change in height that your eyes will miss. If it feels like a smooth hill, you are good. If it feels like a cliff, keep sanding. This is the difference between a floor that lasts thirty years and one that feels like a temporary fix. You are an architect of the surface. Treat it with that level of respect.
{“@context”:”https://schema.org”,”@type”:”HowTo”,”name”:”How to Level a Plywood Subfloor Without Adding Too Much Weight”,”description”:”A professional guide to leveling wood subfloors using lightweight methods like feathering compounds and mechanical shimming to protect floor joists.”,”step”:[{“@type”:”HowToStep”,”text”:”Inspect the subfloor for structural integrity and secure any loose panels with screws.”},{“@type”:”HowToStep”,”text”:”Identify low spots using a 6-foot straight edge or laser level.”},{“@type”:”HowToStep”,”text”:”Prime the plywood with a polymer-based primer to ensure a strong bond.”},{“@type”:”HowToStep”,”text”:”Apply a lightweight feathering compound to dips, smoothing the edges into the wood grain.”},{“@type”:”HowToStep”,”text”:”Sand the dried compound to ensure a perfectly flat transition for the final floor covering.”}]}