Why Your Shower Curb Is Rotting from the Inside Out
The day the marble turned to mush
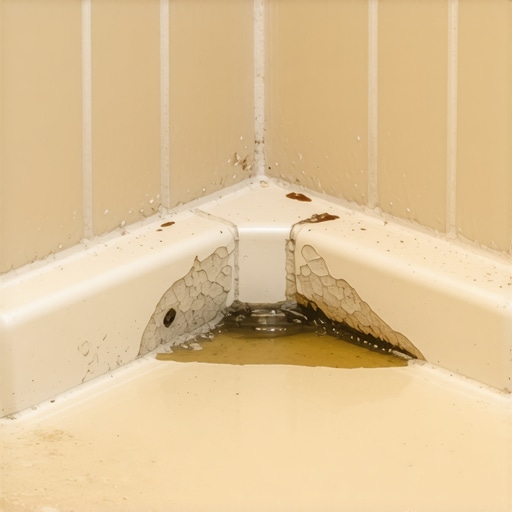
I spent last Tuesday morning ripping out a custom carrara marble shower that probably cost the homeowner fifteen thousand dollars in labor alone. From the outside, it looked like a Pinterest dream. But the homeowner called me because the baseboards in the adjacent master bedroom were turning black and the carpet install was starting to smell like a wet dog. I took a crowbar to the curb. One pry was all it took. The wood inside was the consistency of chocolate cake. It was a biological swamp. This is what happens when you treat a shower like a furniture project instead of a structural engineering challenge. Most installers think a curb is just a bump to keep the water in. They are wrong. It is a critical transition point where gravity, capillary action, and hydrostatic pressure all fight to destroy your subfloor. If you do not understand the physics of moisture migration, your floor is already failing. It just hasn’t told you yet.
The structural lie of the wooden curb
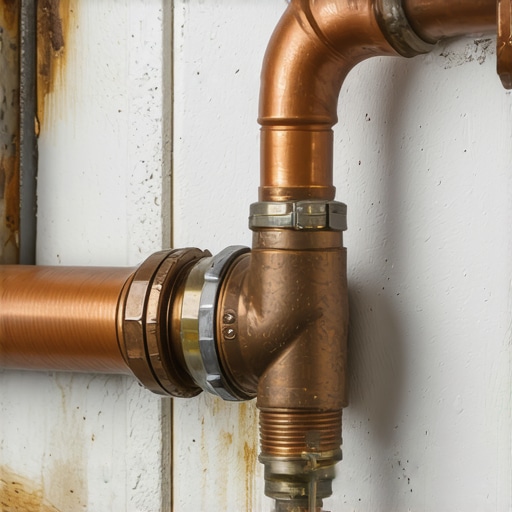
A shower curb rots because builders often use stacked two by fours wrapped in a simple liner that gets punctured by nails. When water seeps through grout and mortar, it hits those nail holes and saturates the wood. The wood swells, the tile cracks, and the rot begins. I have seen this mistake on million dollar builds and budget flips alike. The mechanic with sawdust under his nails knows that wood is a living organism. It moves. It breathes. When you trap it under a layer of cement and tile, you are creating a terrarium for mold. The traditional method of stapling a PVC liner over a wooden curb is a recipe for disaster. Every single staple you drive into that curb is a microscopic highway for water. Gravity is a patient enemy. It will find those holes. Once the wood reaches a moisture content of twenty percent, the fungal growth becomes unstoppable. You cannot save it with more grout. You cannot save it with a topical sealer. You have to kill it and start over with better materials.
“A floor is only as good as the subfloor beneath it; deflection is the enemy of every joint.” – Master Flooring Axiom
The mechanical failure of the stacked lumber
Stacked lumber is the primary cause of curb failure because wood expands at a different rate than the surrounding masonry materials. As the wood absorbs ambient humidity, it creates internal pressure that snaps the bond of the thin-set mortar. This creates a gap where water collects and stagnates. You should be using high-density polystyrene or solid concrete curbs. If you must use wood, it needs to be isolated with a topical waterproofing membrane that does not require mechanical fasteners on the top or inside faces. I often see guys trying to do a floor leveling job right up to a leaky curb. They think the leveling compound will seal the leak. It won’t. In fact, most self-leveling underlayments are gypsum-based or cement-based and will actually wick moisture further into the room. This leads to the laminate in the hallway peaking at the seams. You think you have a laminate problem. You actually have a shower curb problem. The physics of water travel are relentless. It moves through mortar via capillary action, which is the same way a tree pulls water from the ground to its highest leaves.
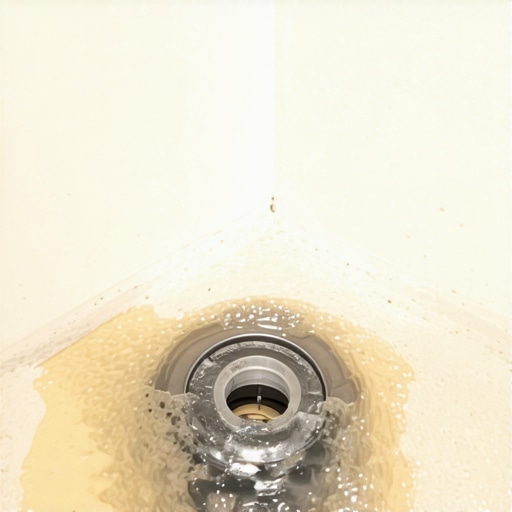
How moisture travels through a microscopic capillary
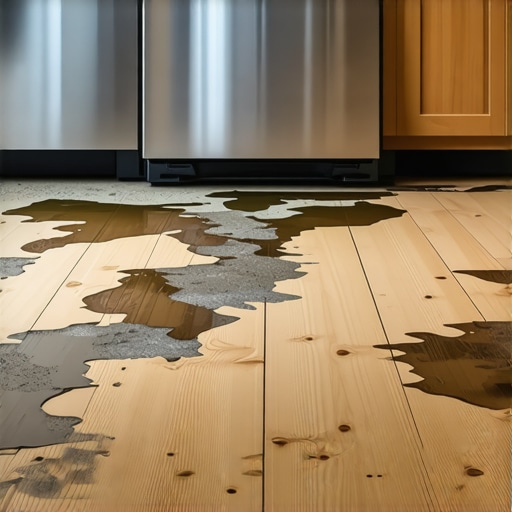
Capillary action allows water to move upward against gravity through the tiny pores in your grout and thin-set. Without a proper capillary break at the curb, the entire bathroom floor becomes a giant wick that pulls water from the shower pan and deposits it under your bedroom flooring. This is why the carpet install three feet away from the shower starts to fail. The moisture moves through the subfloor, hits the carpet pad, and gets trapped. The pad acts like a sponge. Soon, you have a colony of black mold growing under your feet. I tell people all the time that waterproofing isn’t a coat of paint. It is a system. You need a continuous, unbroken barrier that starts in the pan, goes over the curb, and extends out onto the bathroom floor at least a few inches. This is where the chemistry of modified thin-set comes in. You need polymers that can handle saturated environments without hydrolyzing. If your installer is using cheap, unmodified mud, you are looking at a three-year lifespan for that shower.
The reason your carpet smells like a swamp
When a shower curb fails, the water migrates laterally across the subfloor and settles into the lowest points. If your bedroom has a carpet install, the secondary backing of the carpet will trap that moisture against the wood, causing a slow rot that smells like sulfur. I’ve seen homeowners replace their carpet three times thinking their dog was having accidents. It wasn’t the dog. It was the shower. This is why floor leveling is so vital before you ever set a piece of tile. If the subfloor slopes away from the shower even a fraction of an inch, any leak at the curb will be channeled directly into the rest of the house. I use a laser level on every single job. If I see a dip, I grind the concrete or add a high-strength leveler. But you have to be careful. While most people want the thickest underlayment for comfort, too much cushion actually causes the locking mechanisms on LVP to snap under pressure. The same logic applies to your shower. You want stability, not bounce. A bouncy curb is a dead curb.
The 1/8 inch that ruins everything
A shower pan must have a slope of at least one quarter inch per foot toward the drain to ensure water does not sit against the curb. If the installer misses this by just an eighth of an inch, you get standing water that exerts hydrostatic pressure on the curb. This pressure forces water into every microscopic crack. This is the structural reality that most people ignore. They focus on the color of the tile or the finish of the faucet. I focus on the slope. I’ve spent days grinding down concrete slabs just to get that slope right. It is miserable, dusty work that leaves my lungs feeling like I swallowed a bag of flour, but it is the only way to do it. If you don’t have that slope, you don’t have a shower. You have a bathtub that doesn’t work. The National Wood Flooring Association has strict rules about subfloor flatness for a reason. If the floor isn’t flat, everything you put on top of it is under stress. That stress leads to failure.
“Waterproofing is not an option; it is a technical requirement that begins with the structural integrity of the substrate.” – Master Flooring Axiom
| Material | Moisture Resistance | Structural Stability | Lifespan |
|---|---|---|---|
| Stacked 2×4 Lumber | Very Low | Poor (Warps) | 3-7 Years |
| High-Density Foam | 100% Waterproof | Excellent | 30+ Years |
| Poured Concrete | High | High | 50+ Years |
| Brick and Mortar | Medium | High | 25+ Years |
The 10 point shower prep checklist
- Verify subfloor is level within 1/8 inch over 10 feet.
- Check moisture content of wood subfloor; must be under 12 percent.
- Ensure the shower curb is made of non-organic material.
- Confirm a 1/4 inch per foot slope toward the drain.
- Apply a topical waterproofing membrane in a continuous layer.
- Perform a 24 hour flood test before tiling.
- Use only high-performance, polymer-modified thin-set.
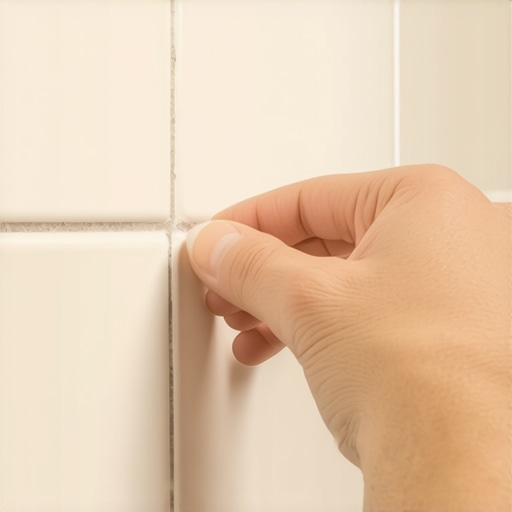
- Install a capillary break at the bathroom threshold.
- Never drive a nail into the top of the shower curb.
- Allow 72 hours of cure time before the first shower.
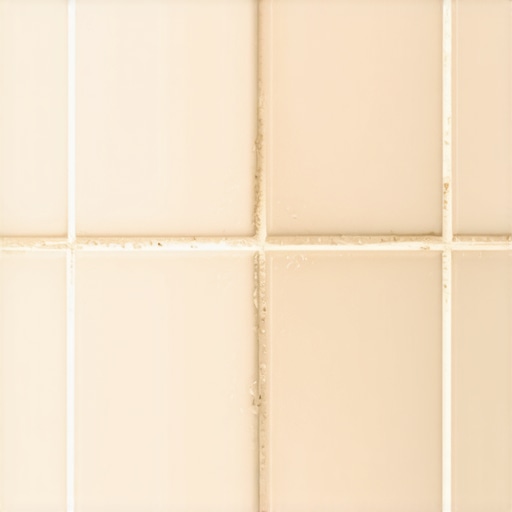
The ghost in the expansion gap
Expansion gaps are not just for hardwood; they are vital for tile installations near a curb to allow for the thermal expansion of the materials. Without a flexible silicone joint at the base of the curb, the tile will tent and crack when the house shifts. Most installers just cram grout into that corner. Grout is rigid. It doesn’t move. When the house settles, or the temperature changes, that grout will crack. Once it cracks, you have an entry point for water. I always use a 100 percent silicone caulk that matches the grout color for those change-of-plane joints. It stays flexible. It acts like a gasket. If you see a crack in the corner of your shower, don’t just put more grout in it. You are sealing in the moisture that is already back there. You need to dry it out, remove the old grout, and use silicone. It is a small detail, but it is the difference between a shower that lasts a lifetime and one that rots in five years. Your subfloor will thank you.