Why Your Floor Leveler Looks Like a Map of the Moon After Drying
I spent three days grinding concrete on a job last month just so the floor wouldn’t click like a castanet. Most guys skip the leveling compound. They think the underlayment will hide the dip. It won’t. I walked onto that site and the slab was a disaster, a rolling landscape of high spots and valleys that would have snapped the locking tabs on any laminate plank in a week. I had to break out the heavy-duty planetary grinder and the HEPA vacuum to get it down to a CSP 3 profile. If you do not respect the slab, the slab will destroy your reputation. That is the reality of the trade. I have seen fifteen thousand dollar wide-plank walnut floors cup like potato chips because someone ignored the moisture in the crawlspace. I have seen high-end carpet install projects fail because the tack strips were nailed into crumbling, unprimed self-leveling underlayment. You have to treat the subfloor like a structural engineering challenge, not a cosmetic afterthought.
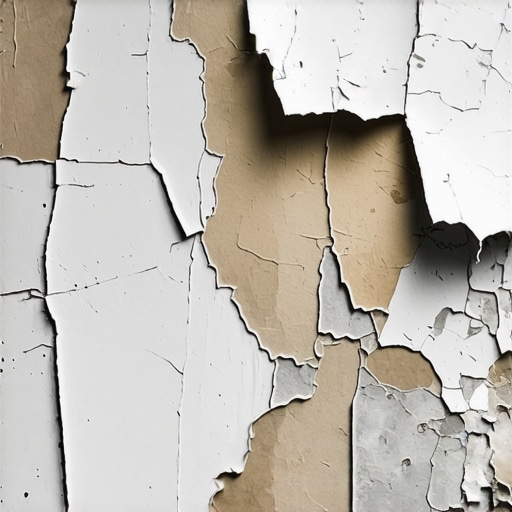
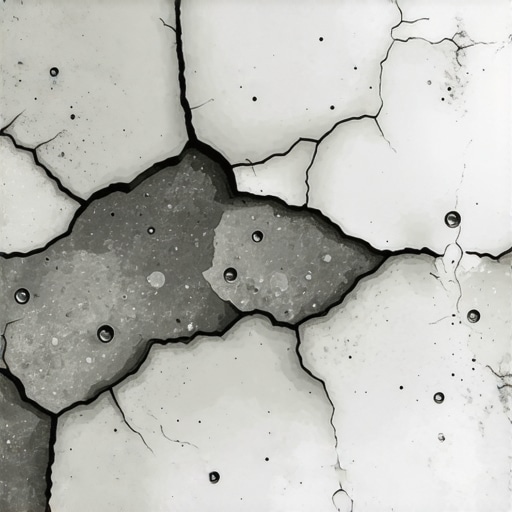
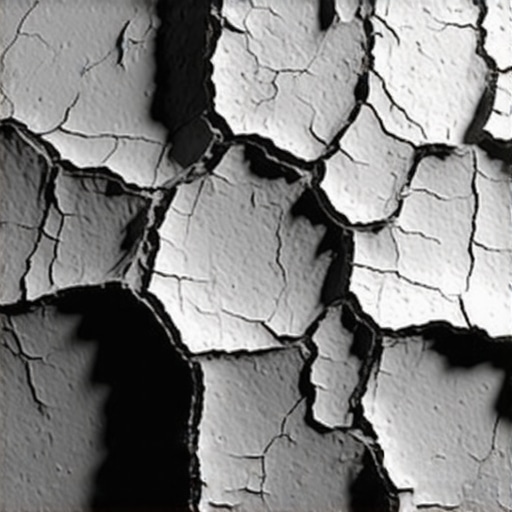
The physics of surface tension and pinholes
Floor leveling failure often manifests as small craters known as pinholes or outgassing bubbles caused by air escaping the subfloor. When you pour a liquid calcium aluminate or Portland cement leveler over a porous concrete slab without proper priming, the air inside the concrete is forced upward as the heavier liquid penetrates the pores. This is basic displacement physics. If the leveler begins to set while these air bubbles are still rising, they become frozen in time, leaving your floor looking like the surface of the moon. This is not just an aesthetic issue. Each one of those craters represents a hollow point in the substrate where the structural integrity of the leveler is compromised. If you are prepping for a laminate floor, those craters will create 20-millimeter pockets of air that cause the floor to bounce and creak. In showers, these voids can trap moisture if the waterproofing membrane is not applied perfectly over them, leading to mold growth and eventual bond failure.
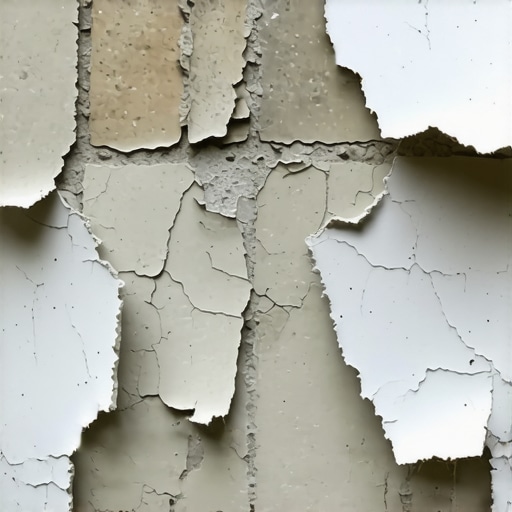
The chemical betrayal of improper water ratios
Self-leveling underlayment requires a precise water-to-powder ratio to achieve the correct flow characteristics and compressive strength. When an installer eyeballs the water, they are gambling with the chemistry of the mix. Too much water leads to segregation, where the heavy aggregates sink to the bottom and the fine polymers and water rise to the top. This creates a soft, chalky surface that will peel off the moment you try to glue down a floor. If you are doing a carpet install, the tension of the carpet stretching can actually pull this weak layer right off the slab. You need to use a calibrated mixing bucket. I have seen guys use old joint compound buckets that still have dried mud on the sides. That is amateur hour. The chemistry of a modern leveler is a delicate balance of plasticizers and accelerators. Adding even a cup of extra water breaks the molecular chain, resulting in a floor that is brittle and prone to alligator cracking. This is why your leveler looks like a dry lake bed. It is not the product’s fault; it is your lack of respect for the slump test.
“A floor is only as good as the subfloor beneath it; deflection is the enemy of every joint.” – Master Flooring Axiom
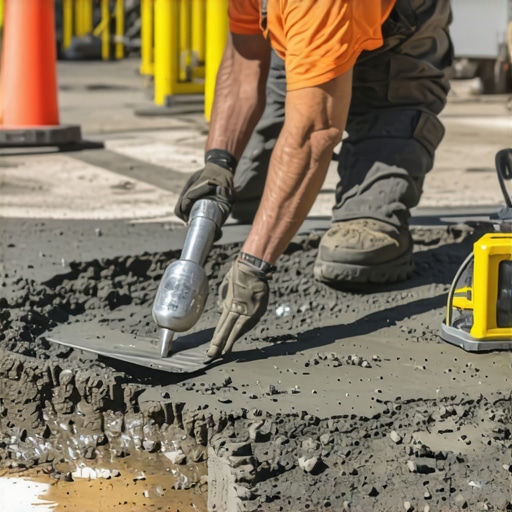
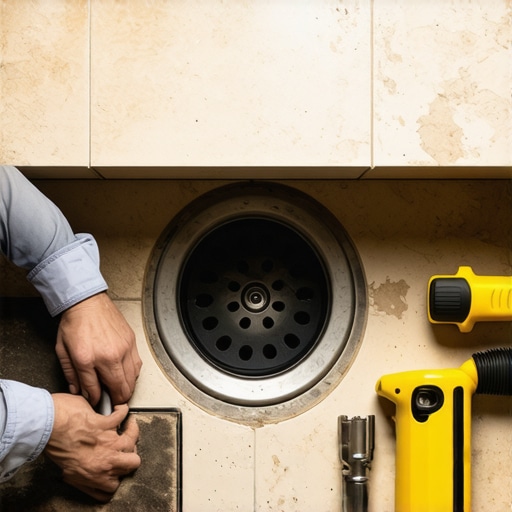
The grit and the grind of surface prep
Substrate preparation is the most ignored phase of the floor leveling process because it is dirty, loud, and physically demanding. You cannot just pour leveler over old adhesive residue, paint, or laitance. Laitance is that weak, milky layer of cement and sand that rises to the top of a concrete pour. It has zero structural value. If you pour your leveler on top of it, the leveler will bond to the laitance, and the laitance will pull away from the slab. You have to mechanically remove it. Whether you use a diamond grinder, a shot blaster, or a scabbler, you must get down to the virgin concrete. I once saw a guy try to level over old black cutback adhesive. He thought the primer would save him. Two months later, the whole floor sounded like he was walking on potato chips. The chemical reaction between the new leveler and the old petroleum-based adhesive caused a total bond failure. You have to grind it. There are no shortcuts in the world of high-performance flooring.
| Leveler Type | Set Time | PSI Strength | Best Use Case |
|---|---|---|---|
| Calcium Aluminate | 2 to 4 Hours | 5,000 | Fast-track laminate jobs |
| Portland Based | 12 to 24 Hours | 3,500 | General carpet install prep |
| Gypsum Based | 6 to 12 Hours | 2,500 | Radiant heat over wood subfloors |
Why your primer choice dictates your success
Subfloor primer serves two main functions: it seals the porosity of the slab and provides a chemical bridge for the leveler to grab onto. Think of it like the glue that holds the entire system together. Many installers use a cheap, diluted latex primer that does nothing but wet the dust. You need a high-solids acrylic primer or an epoxy-based moisture vapor barrier if you are dealing with high relative humidity. In humid regions, the moisture in the slab is constantly trying to move upward. If you don’t seal that slab, the leveler will never bond. You should apply the primer with a soft-bristled brush or a 3/8 inch nap roller, ensuring that you work it into the pores of the concrete. You want to see a uniform film. If the primer soaks in immediately and disappears, the slab is too thirsty. You need a second coat. If you skip this, the concrete will suck the water out of your leveler so fast that it won’t have time to level itself. It will flash set, leaving you with a lumpy mess that requires more grinding.
The ghost in the expansion gap
Thermal expansion is a law of physics that does not care about your project deadline. Every building moves. Every slab moves. When you pour a self-leveling underlayment, you are essentially creating a new stone slab on top of an old one. If you pour it tight against the walls, the columns, or the shower drains, it will crack. You must use perimeter expansion foam. This 1/4 inch foam strip acts as a shock absorber. When the building settles or the temperature changes, the leveler has room to breathe. Without it, the force of expansion has nowhere to go but up, resulting in heaving or cracking at the edges. I have seen laminate floors fail because the leveler underneath expanded and pinched the planks against the drywall, causing the entire floor to peak at the seams. It is a rookie mistake that costs thousands to fix.
“Substrate preparation is not a suggestion; it is the fundamental requirement for the success of any resilient or textile floor covering.” – TCNA Handbook Excerpt
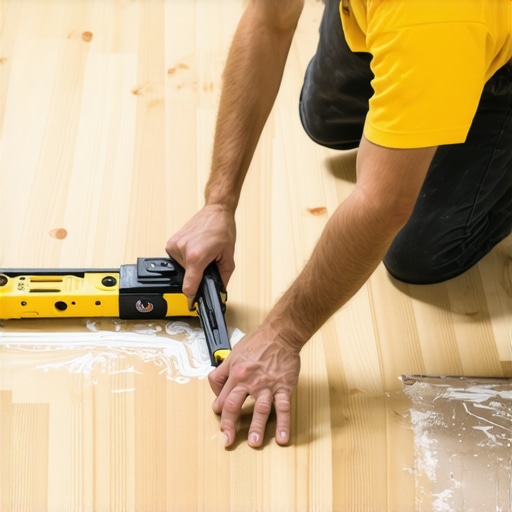
The contrarian truth about underlayment thickness
While most people want the thickest underlayment possible for their laminate or LVP, too much cushion actually causes the locking mechanisms to snap under pressure. This is a common point of failure. If you use a 6-millimeter foam underlayment over a floor that hasn’t been properly leveled, you are creating a trampoline. Every time you step on a plank, the joint flexes. Over time, that plastic or wood fiber tongue will fatigue and break. The goal is flatness, not softness. You want a leveler that brings the floor to within 1/8 inch over 10 feet. Once you achieve that, you only need a thin, high-density underlayment to provide a moisture barrier and minor sound dampening. If you are relying on the underlayment to hide your bad leveling job, you have already failed the client.
- Ensure the mechanical profile of the concrete is at least a CSP 3.
- Apply perimeter expansion foam to every vertical surface.
- Use a calibrated mixing bucket to ensure the exact water ratio.
- Mix the compound for a full 2 to 3 minutes to entrain polymers.
- Use a gauge rake to set the depth and a spiked roller to release air.
- Monitor ambient humidity to prevent the leveler from drying too fast.
The molecular reality of hydration
Hydration is the chemical process where the cement particles grow crystals that interlock with each other. This process requires water. If the water evaporates too quickly due to a drafty room or direct sunlight, the crystal growth is stunted. This leads to a soft, dusty surface. I always tape off the vents and cover the windows when I am pouring leveler. You want a controlled environment. If you are working in a dry climate, you might even need to lightly mist the air to keep the humidity up. This is the difference between a floor that lasts fifty years and one that fails in five. You are not just pouring mud; you are managing a chemical reaction. If you treat it with the respect it deserves, you will have a floor that is as flat as a billiard table and as hard as flint. If you don’t, you’ll be back in six months with a hammer and a chisel, wondering where it all went wrong. Every 1/8 inch matters. Every gallon of water matters. The subfloor is the foundation of your reputation. Don’t build it on a map of the moon.