How to Patch a Carpet Burn Without It Looking Like a Fuzzy Scab
A carpet burn is not just an aesthetic blemish. It is a localized thermal disaster that fuses synthetic nylon fibers into a melted, crusty mass. Many homeowners try to fix this by hacking away with kitchen scissors and globbing household glue into the wound. The result is always the same. You end up with a stiff, off-color patch that feels like sandpaper underfoot and looks like a dry, fuzzy scab sitting on top of your living room floor. Repairing this damage requires the same precision as a surgical graft.
Carpet fibers are engineered to refract light and bounce back under foot traffic. When you subject those fibers to extreme heat from a dropped iron, a wayward ember, or a rogue hair straightener, you alter the physical geometry of the yarn. To fix this, you must understand how the tuft bind works, how the backing provides stability, and how to physically transplant healthy fibers into the damaged zone without destroying the structural integrity of the surrounding weave. This guide will walk you through the precise mechanics of executing an invisible patch.
The anatomy of a thermal carpet disaster
A carpet burn ruins the pile by melting thermoplastic synthetic fibers like nylon, polyester, or triexta into a solid mass. Repairing this requires removing the damaged fiber structure and inserting a healthy donor graft from an inconspicuous area using professional carpet adhesive. This process preserves the tuft bind and the secondary backing of the floor.
Most modern residential carpets are made of synthetic polymers. Nylon has a melting point of approximately 428 to 500 degrees Fahrenheit, while polyester melts around 482 degrees Fahrenheit. When heat exceeds these thresholds, the individual filaments in the yarn twist, collapse, and fuse together. This creates a dark, hard crust. You cannot clean this away. You cannot brush it out. The molecular structure of the plastic has been permanently altered.
To execute a flawless patch, you must analyze the construction of your carpet. Is it a tufted loop, a cut pile, or a dense berber? Cut pile carpets are the most forgiving because the individual fiber tips can mask the seam lines of your patch. Loop pile carpets require absolute precision because a single severed thread can cause an entire row to unravel, a phenomenon known in the trade as running. Before you touch a blade to your floor, you must determine how deep the burn goes. If it only singed the tips of the fibers, you might get away with a micro-trim. If the heat reached the primary backing, you must perform a full-depth structural graft.
The day I rescued a luxury wool installation
I once walked into a custom home where a brass coal from a fireplace had leaped past the hearth and burned a hole the size of a half-dollar right in the middle of a custom-loomed, $120-per-yard woven wool carpet. The client was in tears, and another installer had already told her the entire room needed to be ripped out and replaced. Wool does not melt like nylon; it chars and turns to ash, but the structural damage to the backing was severe. The surrounding fibers were scorched, and the backing was weakened. I spent four hours with a specialized cookie-cutter tool, a donor piece from the back of a master closet, and a container of professional solvent-based carpet cement. I carefully aligned the direction of the nap, stitched the primary backing back together, and combed the wool fibers to blend the seam. When I finished, the homeowner could not find the repair even when she got down on her hands and knees with a flashlight. That job taught me that carpet repair is not about hiding a mistake. It is about restoring the structural continuity of the textile.
“A floor is only as good as the subfloor beneath it; deflection is the enemy of every joint.” – Master Flooring Axiom
The molecular difference in carpet fibers
Carpet fibers react differently to heat and tension based on their chemical composition, which dictates the specific tools and adhesive chemistry required for a successful repair. Nylon requires sharp, precise cuts to prevent fraying, while wool demands careful fiber blending to hide the graft line.
Understanding your fiber type prevents common patching failures. Nylon is highly resilient but susceptible to chemical melting. Polyester is oil-based and tends to melt into a very hard, slick bead that is difficult to scrape away. Wool is a natural protein fiber that chars rather than melts, making it easier to scrape away the damaged portion, but its irregular fiber structure makes blending the donor patch more challenging. Below is a reference guide for different carpet types and their repair characteristics.
| Fiber Type | Melting Point | Scab Hardness | Adhesive Compatibility | Repair Difficulty |
|---|---|---|---|---|
| Nylon | 428-500°F | Extremely High | Latex & Hot Melt | Moderate |
| Polyester | 482°F | Very High | Latex & Hot Melt | Moderate |
| Triexta | 437°F | High | Latex & Pressure Sensitive | Moderate |
| Wool | Does not melt | Low (Chars) | Solvent-Based Cement | High |
Each material demands a specific touch. If you apply a hot-melt adhesive tape to a polyester carpet repair, you run the risk of secondary melting if your iron is too hot. You must calibrate your tools to the specific material you are repairing to avoid magnifying the damage.
The tool kit for surgical carpet grafting
A successful carpet patch cannot be executed with scissors and standard white glue; it requires a specialized set of installation tools designed for textile work. You need a carpet star roller, a pile picker, a specialized utility knife with double-facet blades, and professional-grade carpet seam adhesive.
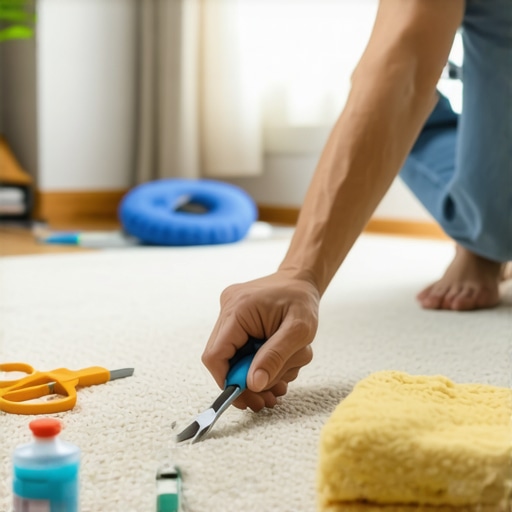
Before you begin, gather these essential tools. Do not substitute them with household items. Household utility knives have blades that are too thick, which will crush and slice neighboring fibers instead of cleanly cutting the backing. You need a dedicated carpet knife with thin, razor-sharp blades. You also need a carpet star roller or a seam roller to press the fibers together and integrate the adhesive. A pile picker is a small, pointed metal tool used to pull trapped fibers out of the seam line, which is the secret to making the patch invisible.
- Double-facet carpet blades: These provide a surgically sharp cut through the backing without tearing.
- Carpet seam adhesive: A thermoplastic hot-melt tape or a premium latex adhesive that prevents the edges of the cut from fraying.
- Star roller: A spiked metal wheel that forces the donor fibers to interlock with the surrounding pile.
- Moisture-resistant backing tape: Provides the structural foundation beneath the subfloor level of the carpet patch.
The danger of over-cushioning your patch
While most people want the thickest underlayment or the softest patch, too much cushion actually causes the locking mechanisms on surrounding floors to shift and will make your carpet patch sink or buckle. This is a common pitfall. If you pack the area under the patch with excess adhesive or an extra layer of padding, you create a hard spot or a soft pocket. When someone steps on that specific spot, the patch will deflect differently than the rest of the floor. This structural deflection causes the edges of the patch to rub against the surrounding carpet, which quickly frays the seams and makes the repair highly visible. The height of the patch backing must sit perfectly flush with the height of the original carpet backing.
Step-by-step restoration of a burned carpet
To execute an invisible carpet patch, you must cleanly cut out the burned section without slicing the surrounding yarn, harvest an identical donor piece, and chemically weld the new backing in place. This process requires careful alignment of the carpet pile direction to ensure light reflects uniformly across the floor.
Step 1: Determine the pile direction
Every carpet has a nap, which is the direction the fibers naturally lean. If you install a patch with the nap running the opposite direction of the surrounding carpet, the patch will look like a completely different color because of how the light hits the fibers. To find the nap, roll a pool ball or slide your hand across the carpet. The direction that offers the least resistance and keeps the fibers flat is the direction of the pile. Mark this direction with an arrow on a piece of painter’s tape next to the burn.
Step 2: Isolate and cut the damaged zone
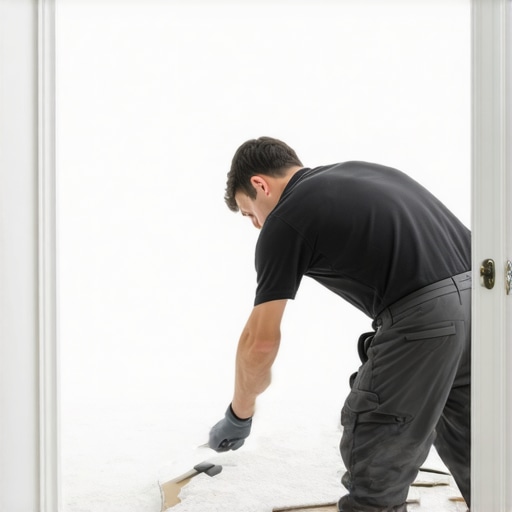
Use a carpet star roller or a comb to part the fibers away from the burn center. This creates a clear path to the backing. Take your utility knife and gently cut through the primary backing. Do not push down hard; you only want to cut the backing, not the padding underneath. Cut out a neat square or circle around the burn. Removing a geometric shape is much easier than trying to fit an irregular blob. Keep this cut-out piece as a template for your donor graft.
Step 3: Harvest the donor graft
Find an inconspicuous area to harvest your patch, such as the back corner of a closet or underneath a permanent staircase. Use the damaged piece you cut out as a template. Place it over the donor area, part the fibers, and cut a matching shape. Make sure you mark the pile direction arrow on the back of the donor piece to match the orientation of the repair site exactly.
Step 4: Prepare the subfloor and backing
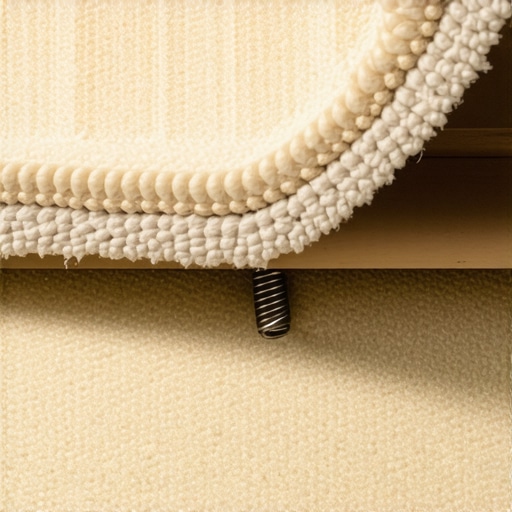
Clean the subfloor surface directly beneath the hole. If you cut into the carpet pad, you must seal it. Cut a piece of carpet seam tape that is slightly larger than the hole. Insert this tape through the hole and slide it underneath the surrounding carpet backing, adhesive side up. This creates a solid, sticky shelf for your new patch to sit on.
Step 5: Apply adhesive and insert the graft
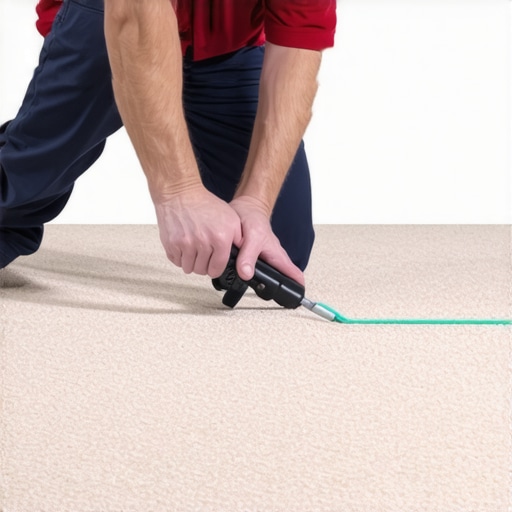
Apply a thin, continuous bead of carpet seam sealer along the cut edges of the existing carpet backing. This step is critical; it seals the raw edges and prevents the tufts from unraveling over time. Carefully place the donor patch into the hole, ensuring the pile direction matches your marker. Press down firmly into the adhesive tape below.
Step 6: Blend the seam
Use your star roller to roll over the seams of the patch. This action blends the fibers of the new piece with the old piece. Use a pile picker or a heavy-duty sewing needle to gently pull out any fibers that got trapped in the adhesive along the edges. Run a warm, damp cloth over the area to relax the fibers, then place a heavy flat object, like a stack of books or a tool case, on top of the patch for twenty-four hours to cure.
The structural science of subfloor prep
Many installers fail to realize that carpet performance is directly tied to what lies beneath it. If you are performing a repair near a transition to wood or tile, you must ensure the subfloor is perfectly level. Subfloor deflection is the enemy of all finished flooring. If your subfloor has a dip, the carpet will stretch and sag over that area, putting tension on your patch. Before you patch any flooring, verify that the subfloor is flat within 3/16 of an inch over a 10-foot span. If it is not, no patch, no weld, and no adhesive will save your work from eventually failing under the sheer stress of daily traffic.
“Subfloor deflection ruins more than tile joints; it stretches the primary backing of textiles until the seams unzip.” – TCNA Installation Handbook Supplement
The checklist for a permanent carpet repair
Never rush the curing process. A hasty repair will pull apart the first time a vacuum cleaner passes over it. Use this checklist to ensure every step has been executed with trade-level precision.
- Identify the fiber composition (nylon, polyester, triexta, or wool) to select the correct adhesive chemistry.
- Locate and mark the direction of the carpet nap before cutting.
- Part the fibers fully to avoid cutting the yarn tips during excavation.
- Cut only through the primary backing without damaging the subfloor pad.
- Apply seam sealer to the cut edges to prevent future unravelling.
- Verify that the donor patch sits flush with the surrounding pile height.
- Keep heavy traffic off the repaired area for at least twenty-four hours.
By following these precise guidelines, you treat the repair as a structural engineering task rather than a quick cosmetic fix. Your patch will remain stable, durable, and completely invisible to the naked eye for the remaining lifespan of the carpet.