How to Fix a Carpet Edge That’s Fraying at the Transition
How to Fix a Carpet Edge That’s Fraying at the Transition
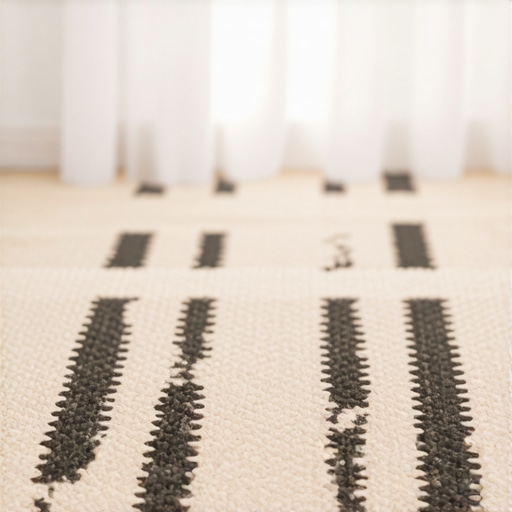
I spent three days grinding concrete on a job last month just so the floor wouldn’t click like a castanet. That job taught me that most guys skip the leveling compound and think the underlayment will hide the dip. It won’t. I walked into that house and saw a carpet transition that looked like a bird’s nest. The fibers were unspooling because the previous installer ignored the subfloor height. When the subfloor is uneven, the carpet edge rubs against the transition strip until the primary backing fails. You cannot just tuck a fraying edge back in and hope for the best. You have to understand the chemistry of the latex bond and the physics of the stretch to fix it right.
The anatomy of a failing transition
Fixing a fraying carpet edge involves trimming loose fibers, applying a latex-based seam sealer to the primary backing, and re-stretching the material onto a new tack strip. This process ensures the structural integrity of the weave remains intact while preventing further unraveling at the doorway or threshold. Most people think carpet is just one piece of fabric. It is actually a complex layering of face fibers, a primary backing, a latex laminating layer, and a secondary backing. When you see fraying, the latex bond has shattered. This happens because the edge was not properly sealed during the initial carpet install. Without a chemical seal, every footstep pulls the yarns. This tension is magnified when the carpet meets a hard surface like laminate or a tile shower. The height difference creates a trip hazard and a friction point that eats through the polypropylene backing over time.
“A floor is only as good as the subfloor beneath it; deflection is the enemy of every joint.” – Master Flooring Axiom
The physics of the 1/8 inch gap
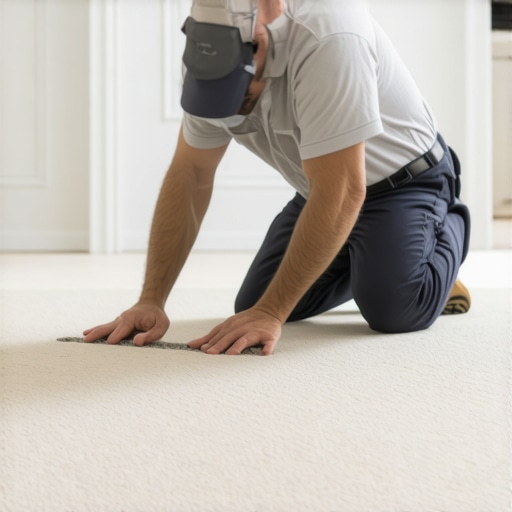
The secret to a permanent carpet repair lies in the 1/8 inch expansion gap between the tack strip and the transition surface. This gap allows the carpet to be tucked firmly, creating a tension-based lock that prevents movement. If the tack strip is flush against the laminate or tile, there is nowhere for the excess material to go. It will bunch up and eventually fray. I have seen countless DIY jobs where the homeowner uses a stapler to fix a fraying edge. This is a mistake. Staples create localized stress points. The carpet will eventually pull away from the staple, leaving even bigger holes in the backing. You need to use a knee kicker to move the tension of the entire room toward the transition. This distributes the force across the entire width of the doorway rather than a few metal pins.
Chemical reality of carpet adhesives
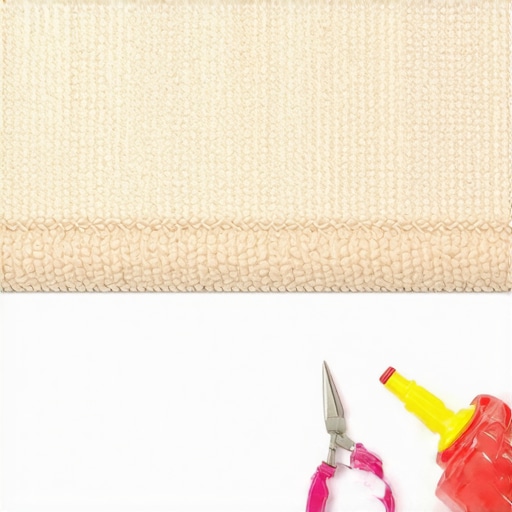
Professional carpet repair requires a thermoplastic or latex seam sealer to weld the loose fibers back to the secondary backing. Using household glue is a recipe for a crusty, failed repair that will crack under foot traffic. When I repair an edge, I look at the pile density. High-density nylon carpets require a thinner sealer that can penetrate the tight weave. Shag or frieze carpets need a thicker, high-solids latex. You apply the sealer to the edge of the backing, not the fibers. If you get sealer on the face fibers, you ruin the look of the floor. The goal is to recreate the factory edge by chemically bonding the yarns to the backing material. This prevents the individual tufts from pulling out when the vacuum cleaner passes over the transition. It is a slow process that requires a steady hand and a sharp utility knife.
| Transition Material | Expansion Gap Requirement | Best Fastening Method | Durability Rating |
|---|---|---|---|
| Laminate Wood | 1/4 Inch | T-Molding or Tuck | High |
| Ceramic Tile | 1/8 Inch | Z-Bar or Seam Sealer | Maximum |
| Vinyl Plank | 1/8 Inch | Cap Mold | Medium |
| Hardwood | 3/16 Inch | Transition Strip | High |
Why your subfloor is lying to you
Floor leveling is the most ignored step in fixing carpet transitions, yet it determines if the repair will last six months or six years. If the subfloor dips at the doorway, the carpet will always be under vertical stress. I never start a repair without a 6-foot level in my hand. If I find a dip, I pull back the carpet and the pad. I apply a high-strength, polymer-modified leveling compound to the subfloor. This creates a flat plane. Without this, the transition strip will bounce every time someone steps on it. That bounce is what shears the carpet fibers at the edge. People think floor leveling is only for tile or laminate, but it is just as vital for a carpet install. A flat floor is a quiet floor, and a flat transition is a durable transition. I have spent decades seeing $5,000 carpets ruined by a $50 bag of leveling compound that was never used.
- Inspect the subfloor for any moisture or rot near showers or exterior doors.
- Remove the old tack strip if the pins are rusted or flattened.
- Apply a high-quality latex seam sealer to the raw edge of the carpet.
- Use a power stretcher or knee kicker to pull the carpet tight.
- Tuck the edge into the gap using a stair tool or a wide putty knife.
- Trim the excess carpet with a sharp blade held at a 45-degree angle.
Shower transitions and moisture creep
Transitions near showers require a specialized approach to prevent moisture from traveling under the carpet and rotting the tack strip. The humidity in a bathroom is a constant threat to the wood components of a floor. When carpet meets a tile shower, the transition must be waterproofed. I use a bead of 100 percent silicone under the transition strip to create a dam. This prevents water from the shower floor from wicking into the carpet pad. Many installers ignore this, and two years later, the carpet smells like a swamp and the edges are black with mold. If the subfloor is concrete, I use a moisture-inhibiting primer before applying any leveling compound. This prevents the concrete from sucking the moisture out of the leveler too quickly, which causes it to crack and crumble. It is all about managing the environment of the home.
“Moisture management is the foundation of every successful flooring installation; ignore the vapor drive at your own peril.” – NWFA Technical Manual
The ghost in the expansion gap
The term expansion gap refers to the space left for materials to grow and shrink with seasonal changes in temperature and humidity. Laminate and hardwood are notorious for this, but carpet also moves. In high-humidity areas, the backing of the carpet can relax, leading to ripples. If your transition is too tight, those ripples will push the carpet right off the tack strip. This is why you need a professional-grade knee kicker. You are not just pushing the carpet; you are loading it with tension so it stays flat during the dry winter months. I have seen transitions fail in Phoenix because the dry heat caused the baseboards and transitions to shrink, exposing the raw carpet edge. A good installer accounts for the local climate before they ever cut a single fiber. You have to think like an engineer, not just a guy with a hammer.
The tools for a professional bond
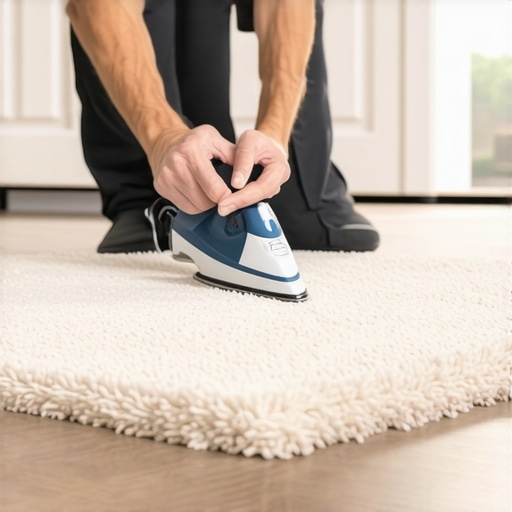
Successful carpet repair depends on the use of a sharp row-cutting tool and a heavy-duty heat iron for seam tape applications. If you try to cut carpet from the top with a standard knife, you will cut the face fibers and leave a visible line. You must cut from the back or use a row-finder to separate the yarns before cutting the backing. This keeps the edge looking full and plush. When I am working on a transition to laminate, I often use a heat-bond tape to reinforce the edge. This provides a secondary layer of protection against fraying. The heat from the iron melts the resin in the tape, creating a permanent mechanical bond between the carpet and the subfloor. It is a technique that takes years to master, but it is the only way to ensure the carpet stays put for the long haul. Avoid the cheap plastic transition strips found at big-box stores. They are brittle and will snap under the weight of a heavy person. Use aluminum or solid wood instead.