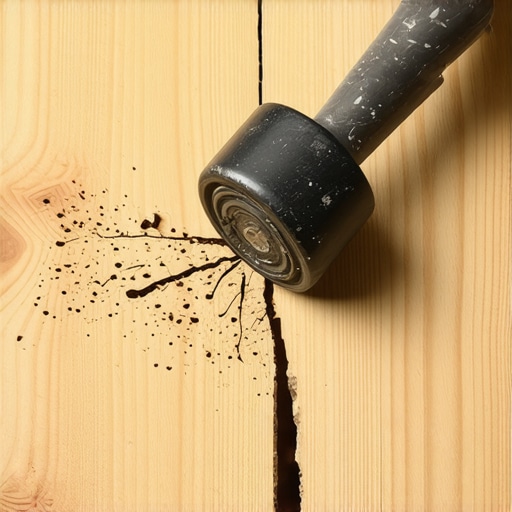
The ‘Rubber Mallet’ Mistake That Fractures Modern Laminate Cores
The ‘Rubber Mallet’ Mistake That Fractures Modern Laminate Cores
I spent three days grinding concrete on a job last month just so the floor wouldn’t click like a castanet. Most guys skip the leveling compound. They think the underlayment will hide the dip. It won’t. You see, the subfloor is the foundation of every single thing I do. If I walk into a house and see a slab that looks like the surface of the moon, I know I am in for a long week. I once saw an installer try to fix a half inch dip by stacking four layers of cheap foam underlayment. Within three months, the tongue and groove joints had snapped like dry twigs. The floor felt like a trampoline until it finally just gave up. That is the reality of this business. If you do not respect the physics of the flat surface, the floor will humiliate you eventually.
The 1/8 inch that ruins everything
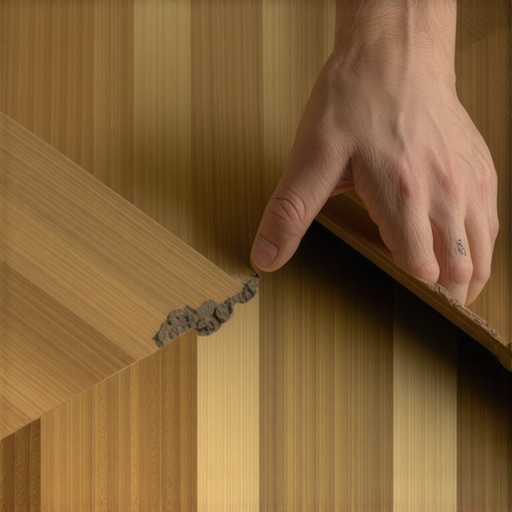
Floor leveling requires a tolerance of no more than 1/8 inch deviation over a 10 foot radius to ensure the structural integrity of laminate locking systems. When a subfloor has a dip, the plank bridges that gap. Every time someone walks over it, the plank flexes down into the void. This constant vertical movement puts immense pressure on the thin locking tongue. Eventually, the friction wears down the fiberboard. You will hear it first. A little squeak. Then a click. Then the gap opens up. This is not a product failure. This is an installation failure. Most people think a rubber mallet is the tool of choice for closing these gaps, but the brute force of a mallet blow often initiates a hairline fracture in the high density fiberboard core. These fractures are invisible during the install but expand under the stress of daily temperature shifts.
Why your subfloor is lying to you
A subfloor might look flat under a work light, but a 10 foot straightedge is the only tool that reveals the truth about floor leveling. You have to get down on your knees. You have to slide that level across the surface and look for daylight. If you see more than an eighth of an inch of light, you have a problem. On concrete, this means you are reaching for the self-leveling underlayment. On wood subfloors, it might mean sanding down high spots or adding plywood shims. The industry standard is clear.
“A floor is only as good as the subfloor beneath it; deflection is the enemy of every joint.” – Master Flooring Axiom
If you ignore this, you are just throwing money into a hole. I have seen guys try to use carpet install remnants to pad out dips. That is a crime in my book. Carpet is soft and forgiving. Laminate is a rigid floating system that requires a hard, flat plane to survive.
The ghost in the expansion gap
Expansion gaps are the mandatory spaces left around the perimeter of a room to allow laminate floors to move as environmental humidity changes. Without these gaps, the floor has nowhere to go when the wood fibers inside the HDF core absorb moisture. It will buckle. It will peak at the seams. I have walked into rooms where the floor was literally lifting off the ground because it was pinned tight against the baseboards. People hate the look of a 3/8 inch gap, but that is what the quarter-round molding is for. You are not just leaving a hole. You are giving the floor room to breathe. In places like Houston, where the humidity is thick enough to chew, those gaps are the only thing keeping your floor from becoming a mountain range. Conversely, in the dry heat of Phoenix, the boards will shrink, and if you didn’t start with enough overlap, you will see gaps at the edges.
| Feature | Low-Grade Laminate | Premium AC4/AC5 Laminate |
|---|---|---|
| Core Density | 750 kg/m3 | 900+ kg/m3 |
| Wear Layer | 0.1mm – 0.2mm | 0.5mm+ |
| Locking Strength | 2 kN/m | 5+ kN/m |
| Acclimation Time | 24 Hours | 48 to 72 Hours |
The chemistry of high density fiberboard
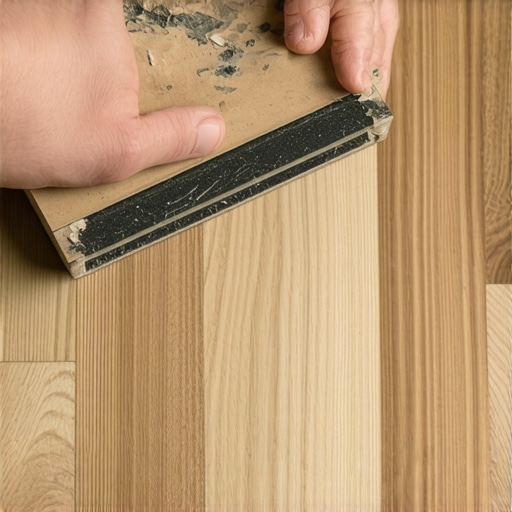
High Density Fiberboard or HDF is the compressed wood fiber and resin core that provides the structural mass of a laminate plank. When you strike the edge of a plank with a rubber mallet to force a tight fit, you are sending a shockwave through this crystalline resin structure. If the blow is off-center, the thin lower lip of the groove fractures. This is the ‘mallet mistake’ that ruins modern floors. Instead of a mallet, a professional uses a tapping block to distribute the force evenly across the entire profile. We are talking about a material that is engineered to a specific density. If you crush those fibers, they lose their ability to hold the next plank. Over time, moisture from simple mopping will find that fracture. The HDF will swell. The edge will lift. You will blame the manufacturer, but the fault lies with the person who swung the hammer too hard.
Showers and the moisture barrier failure
Installing laminate near showers requires a high performance silicone seal at the perimeter to prevent liquid water from reaching the untreated core edges. Even if the box says waterproof, the core is usually still wood based. If water sits in the expansion gap near a shower or a tub, it wicks into the plank from the bottom up. Once the core absorbs water, it is game over. The edges will mushroom. This is irreversible. I always tell clients that if they want laminate in a bathroom, they need to be vigilant. You cannot leave a wet bath mat on the floor. You cannot let a leak go unnoticed. The transition from the bathroom tile to the laminate is a high risk zone. I use a specific T-molding and a heavy bead of 100 percent silicone to create a dam. It is the only way to sleep at night knowing the floor won’t rot out in a year.
The carpet install overlap
A carpet install involves a much higher vertical profile than laminate, requiring significant height adjustments at transition points to prevent tripping hazards. When we rip out old, shaggy carpet and put in sleek laminate, the door casings often have a gap. Some guys just caulk it. That looks like amateur hour. I undercut the casings so the new floor slides underneath. This provides a professional finish and maintains the expansion gap. If you are moving from a room with a thick carpet and pad to a room with laminate, the subfloor height must be considered. You might need a reducer strip or a custom wood transition. Do not expect the laminate to meet the carpet levelly without a proper transition strip. The transition is where the skill of the installer is truly tested.
The Master Installer Checklist
- Check subfloor moisture levels using a pin-less meter.
- Verify floor leveling is within 1/8 inch over 10 feet.
- Acclimate the planks in the room for at least 48 hours.
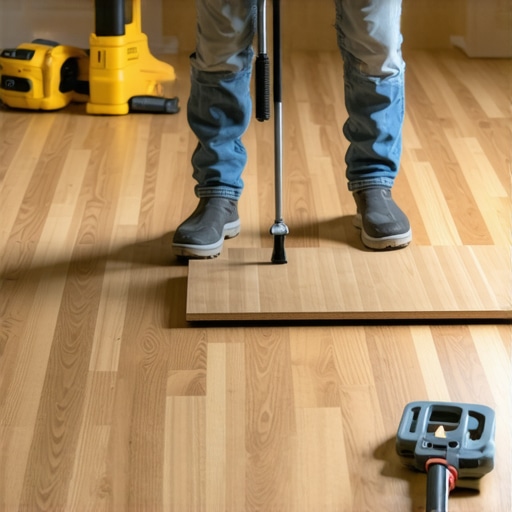
- Use a tapping block and a pull bar instead of direct mallet strikes.
- Leave a minimum 3/8 inch expansion gap at all vertical obstructions.
- Seal all potential water splash zones with 100 percent silicone.
The myth of the waterproof label
Waterproof laminate typically refers to the surface’s ability to resist topical moisture for a limited time, not its ability to withstand submersion or subfloor dampness. Do not be fooled by marketing. If you have a slab leak, your waterproof floor is toast. The ‘waterproof’ claim usually means the seams are tight and the top resin layer is non-porous. However, the underside is still vulnerable. This is why a 6-mil poly film moisture barrier is mandatory over concrete. Concrete is a sponge. It pulls moisture from the earth and releases it as vapor. If that vapor gets trapped under your ‘waterproof’ laminate without a barrier, it will condense. That liquid water will then rot the core from the bottom. I have seen entire ground floors ruined because someone thought the waterproof label meant they could skip the plastic.
“Waterproof is a temporal rating, not an absolute state of being for wood-based products.” – TCNA Technical Bulletin Observation
This is the hard truth of the trade. If you want a floor that can survive a flood, buy tile. If you want the beauty of wood, you have to respect the rules of moisture management. The rubber mallet won’t help you when the water starts to rise.