How to Stop Carpet-to-Tile Transitions from Tripping Your Guests
The 1/8 inch that ruins everything
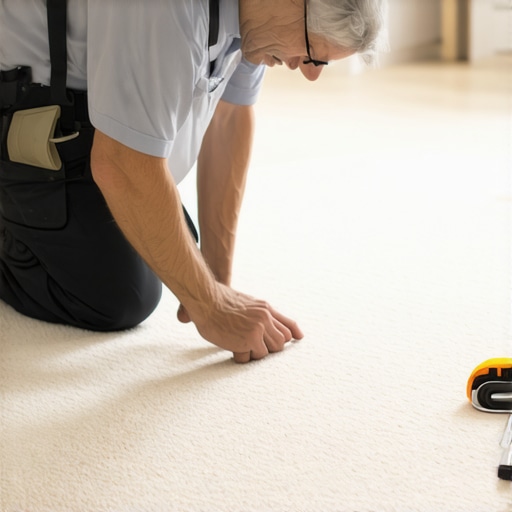
A trip hazard occurs when the height differential between carpet and tile exceeds 1/4 inch without a proper slope or transition. This structural failure happens because installers ignore subfloor thickness. Proper floor leveling and the use of transition strips or Z-bars ensure a flush surface. Most homeowners ignore the math until someone falls. I spent three days grinding concrete on a job last month just so the floor would not click like a castanet. Most guys skip the leveling compound. They think the underlayment will hide the dip. It won’t. I had to get my mask on and take a diamond cup wheel to a high spot because the builder left a hump right where the tile met the carpet. If I had just laid the tile, the transition would have been a jagged mountain peak. Instead, I ground it down to within 1/8 of an inch of flat across ten feet. That is the difference between a pro job and a disaster. You can smell the oak dust and the WD-40 on a job like that, but the results speak for themselves. You cannot hide physics with a piece of carpet. You have to fix the skeleton of the room first. This article breaks down the engineering requirements for a transition that actually stays flat for twenty years.
Why your subfloor is lying to you
Subfloor flatness is the foundation of every transition point between carpet and tile surfaces. If the plywood or concrete slab is not within 3/16 inch over a 10 foot radius, your carpet install will fail. High spots create friction points while low spots cause the carpet to dip away from the tile edge. When you are looking at a showers entry or a hallway transition, you have to measure the thickness of the tile plus the thin-set. A standard 3/8 inch porcelain tile plus a 1/4 inch notched trowel application of modified thin-set equals roughly 1/2 inch of total height. If your carpet and pad only reach 3/4 of an inch, you have a problem. The subfloor must be prepped with a self-leveling underlayment or a ramp system. If you ignore the deflection ratings, the tile will eventually crack at the junction. Movement is the enemy. A floor is a machine, and every joint is a potential point of failure. I have seen guys try to use laminate transitions for tile to carpet jobs, and it never works. The materials expand at different rates. You need a mechanical bond or a physical clamp to hold that carpet tension against the hard edge of the tile.
“A floor is only as good as the subfloor beneath it; deflection is the enemy of every joint.” – Master Flooring Axiom
The physics of carpet tension and tile edges
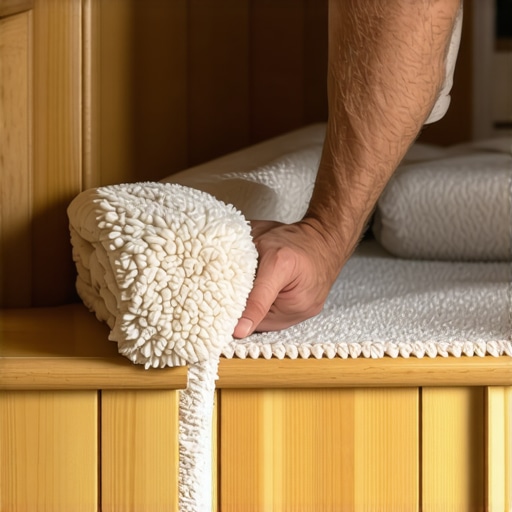
Carpet tension must be maintained by a tack strip placed exactly 1/4 inch away from the tile edge. This gap allows the carpet to be tucked into the space between the strip and the hard surface. Without this floor leveling precision, the carpet will pull away or bunch up. The chemistry of the adhesive under the tile also matters. If the mortar is too wet when the carpet is stretched, the moisture can migrate into the carpet backing and cause delamination. You need to wait at least 24 hours for the thin-set to cure before you bring out the power stretcher. The tension of a power stretcher can exert hundreds of pounds of force. If the tile edge is not fully supported by a solid bed of mortar, the pressure will snap the tile. I always tell my apprentices that the carpet is a spring. It wants to go back to its original shape. The tack strip and the transition metal are the only things holding it in place. If you do not tuck that edge deep, it will eventually fray and become a trip hazard. Use a stair tool to drive that carpet deep into the gully between the tile and the wood strip. That is how you get a flush look without a bulky metal bar.
[IMAGE_PLACEHOLDER_1]
Choosing the right transition hardware
| Transition Type | Height Capacity | Durability Rating | Best Use Case |
|---|---|---|---|
| Z-Bar Metal | Up to 1/2 inch | High | Residential low pile carpet |
| T-Molding | Fixed 1/8 inch | Medium | Laminate to tile flush joints |
| Reducer Strip | Up to 3/4 inch | Very High | High profile tile to low carpet |
| Tuck Method | Zero height | Medium | High-end custom hardwood or tile |
Transition hardware provides the mechanical clamp necessary to protect the edge of the tile from chipping. When guests walk over a threshold, their weight is concentrated on a small area. Without a carpet install metal or a wood reducer, the tile edge is exposed to impact. Metal transitions like the Schluter Reno-V provide a sloped surface that eliminates the trip hazard. These are installed during the tile process, not after. You embed the anchoring leg into the thin-set. This makes the transition a structural part of the floor. If you try to screw a transition down later, you risk drilling into a radiant heat line or cracking a tile. Always plan your heights before the first bag of mortar is opened. I prefer the look of a tucked edge, but in high traffic areas like showers or entryways, a metal profile is the only way to ensure safety. The metal protects the fragile porcelain edge from the constant pounding of heels and boots. It is not about aesthetics. It is about preventing a lawsuit when someone catches their toe on a sharp ceramic corner.
The hidden danger of thick underlayments
Underlayment thickness can cause the locking mechanisms on flooring to snap if there is too much compression. While most people want the thickest cushion for their carpet, too much padding near a tile edge causes a trampoline effect. When you step on the transition, the carpet sinks while the tile stays rigid. This vertical movement causes the carpet to rub against the tile edge, leading to premature wear and tripping. You want a high-density 8lb or 10lb pad that resists compression. This keeps the carpet level with the tile surface. In floor leveling scenarios, we often use a plywood shim or a feathering compound to create a gentle ramp leading up to the tile. This ramp should be at least 12 inches wide to make the incline imperceptible to the human foot. If the transition is too abrupt, the brain doesn’t register the change in height until the toe hits the obstruction. That is when people trip. Precision is about the transition zones, not just the flat areas. You have to think about the path of travel through the house. Every doorway is a potential trap. I use a straight edge to check my ramps. If I see light under the level, I add more compound. It has to be perfect.
“The transition between two materials is the most vulnerable part of any floor system; it requires both mechanical and chemical stability.” – TCNA Handbook Principles
Step by step guide to a flush transition
- Measure the total height of the tile including the thin-set bed.
- Install a transition metal strip with an integrated anchoring leg during tile installation.
- Use floor leveling compound to ramp the subfloor if the height difference exceeds 1/4 inch.
- Install the carpet tack strip 1/4 inch away from the edge of the transition metal.
- Power stretch the carpet toward the tile and trim it with a 3/8 inch overlap.
- Tuck the excess carpet into the transition gap using a professional stair tool.
Moisture management at the transition point
Moisture migration can ruin a carpet to tile transition by causing the subfloor to swell and lift the materials. In areas near showers or kitchens, water can seep into the carpet at the transition point. If the subfloor is plywood, it will delaminate. If it is concrete, it will foster mold. You must use a moisture-stable adhesive and consider a waterproof barrier under the first few feet of carpet. This is especially true in humid climates where the air is thick enough to drink. The wood subfloor will expand and contract with the seasons. If you do not leave a small expansion gap under the transition molding, the floor will buckle. I have seen entire rooms of laminate lift off the ground because the installer didn’t leave a 1/2 inch gap at the transition. The floor needs to breathe. It is a living thing in a way. You cannot lock it down too tight. But the transition itself must be firm. It is a paradox of flooring. You need the floor to move, but the transition to stay put. Use high-quality fasteners that penetrate the subfloor by at least 1 inch. Do not rely on glue alone. Glue fails when the temperature changes. Mechanical fasteners like ring-shank nails or screws are the only way to be sure that transition stays flat through a cold winter and a hot summer. Check your moisture levels with a pin-meter before you start. If the wood is over 12 percent, wait. If the concrete is over 4 percent, use a sealer. Do the job right the first time so you do not have to do it again for free.