The ‘Quarter Test’ for Checking Proper Slope in a Curbless Shower
Most guys skip the leveling compound. They think the underlayment will hide the dip. It won’t. I spent three days grinding concrete on a job last month just so the floor wouldn’t click like a castanet. That job was a luxury curbless shower conversion where the previous contractor thought he could just wing the pitch with a bit of extra thinset. He was wrong. The water pooled. The grout turned black with mold in three weeks. The homeowner was furious. I had to tear out five thousand dollars of hand-painted Italian marble because someone didn’t understand the basic physics of a quarter. This is the reality of high-end flooring. If the substrate is not perfect, the finish will fail. Period. We are going to talk about the quarter test, but more importantly, we are going to talk about the engineering required to make that test pass every single time.
The brutal reality of curbless drainage
Curbless shower drainage requires a precise 1/4 inch per foot slope to ensure water moves toward the drain without pooling or escaping into the bathroom. This slope must be consistent from the transition point to the drain grate. Any deviation leads to standing water and capillary action that can rot the subfloor. A curbless entry is not just a style. It is a structural modification. You are fighting gravity. In a standard shower, the curb acts as a dam. In a curbless setup, the slope is your only protection. If that slope is 1/8 inch off over a four-foot span, you have a flood. I have seen million-dollar condos ruined because the installer did not understand the difference between flat and level. A shower floor must be flat, but it absolutely cannot be level. It must be pitched.
Why your subfloor is lying to you
Subfloor flatness is the foundation of every successful shower installation because any hump or dip in the plywood or concrete will telegraph through the waterproofing membrane. You must use a ten-foot straightedge to identify high spots. Most residential subfloors have a deflection rate that is unacceptable for stone or large format tile. If you are working on a wood frame, you better check those joists. If the joist is crowned, your slope is dead on arrival. I have spent more time with a power planer and a floor grinder than I have with a trowel. You cannot fix a bad subfloor with tile. You fix it with prep. This is where the floor leveling keywords come into play. Self-leveling underlayment (SLU) is your best friend, but only if you know how to prime the substrate first. If you don’t prime, the wood will suck the moisture out of the SLU, and it will crack. Then your waterproof barrier breaks. Then you have a leak.
“A floor is only as good as the subfloor beneath it; deflection is the enemy of every joint.” – Master Flooring Axiom
Physics of the quarter test
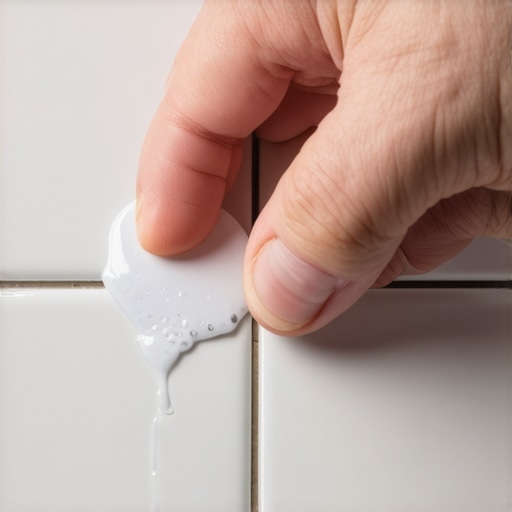
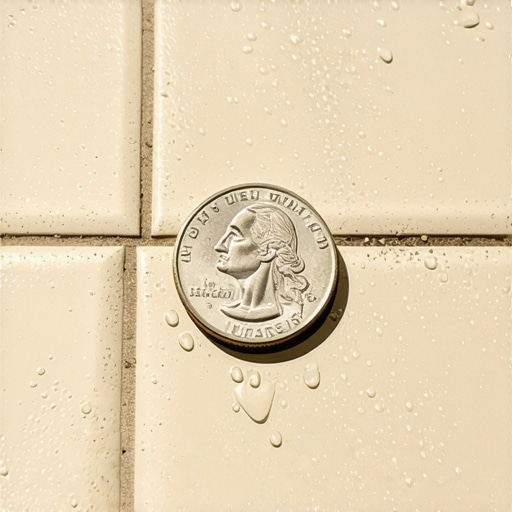
The quarter test involves sliding a standard US quarter across the tiled surface toward the drain to check for lippage or pooling areas. If the quarter hits an edge, the tile installation is technically flawed and will trap soap scum and water. This is the simplest tool in your bag. You toss the coin. If it slides and stops at the drain, you win. If it jumps or gets stuck on a tile edge, you have lippage. Lippage in a curbless shower is more than an eyesore. It is a dam. A tiny 1/32 inch lip can hold back a puddle of water that takes four hours to evaporate. That is enough time for bacteria to grow. I tell my apprentices that if they can feel the edge with their thumb, it is too high. We use leveling clips to prevent this, but even clips can’t save you if the slope is inconsistent.
Why floor leveling determines shower success
Floor leveling compounds must be rated for wet areas if they are used beneath a shower pan or curbless transition. Many installers use standard gypsum-based levelers which will disintegrate if moisture ever reaches them. You need cementitious self-leveling underlayment. Before you even think about the quarter test, you need to ensure the transition from the bathroom floor to the shower is a smooth, unbroken plane. This often requires recessed joists or a structural subfloor reduction. It is not a job for a weekend warrior. It is a job for someone who understands the TCNA Handbook like the back of their hand. If the floor is not leveled to within 1/8 inch over 10 feet in the dry area, the transition to the 1/4 inch slope in the wet area will look like a car wreck.
The dangerous intersection of laminate and wet zones
Laminate flooring should never be installed adjacent to a curbless shower without a significant moisture barrier and a silicone-filled expansion gap. The high density fiberboard core of laminate will absorb moisture through capillary action and swell. Even if the laminate is marketed as waterproof, the joints are the weak point. In a curbless environment, the humidity levels are higher at the floor level. If your slope fails the quarter test and water migrates out, that laminate is toast. I have seen entire hallways of laminate buckle because a curbless shower didn’t have a secondary trench drain at the entry. If you want the wood look near a shower, use luxury vinyl plank or wood-look porcelain tile. Don’t risk your reputation on a material that hates water.
Adhesive chemistry and the waterproof barrier
Polymer-modified thin-set mortar is required for modern waterproofing membranes to ensure a chemical and mechanical bond that can withstand constant hydrostatic pressure. When you are building a curbless slope, you are likely using a topical membrane like Kerdi or RedGard. The chemistry of these products is fascinating. You are creating a tank. If you use a cheap, non-modified mortar, the bond will fail under the weight of the water and the movement of the house. Every house moves. Seasonal humidity changes cause wood to expand and contract. Your adhesive needs to be flexible enough to handle that movement without cracking the waterproof skin. I always tell people to stay within one manufacturer’s system. Don’t mix and match. If you use Laticrete waterproofing, use Laticrete thin-set. It is about the warranty and the chemical compatibility.
| Material Type | Recommended Slope | Moisture Resistance | Quarter Test Ease |
|---|---|---|---|
| Porcelain Tile | 1/4″ per foot | High | Easy if clipped |
| Natural Stone | 1/4″ per foot | Medium | Moderate |
| Pebble Stone | 3/8″ per foot | Medium | Difficult |
| LVP (Transition) | N/A | High | N/A |
| Laminate | Avoid | Low | N/A |
Standards for subfloor deflection
The Tile Council of North America specifies a maximum deflection of L/360 for ceramic tile and L/722 for natural stone to prevent grout cracking. If your subfloor is bouncy, your slope will change every time someone steps in the shower. Imagine a 200-pound man stepping on a tile that is already under stress from a slope. If the joist flexes, the thin-set bond breaks. This is why carpet install techniques have no place here. You can’t just stretch something over a problem. You have to solve it with blocking and sistering joists. I always add extra 2×6 blocking between joists in the shower zone. It is cheap insurance against a callback.
“Surface prep is not an option; it is a requirement for the longevity of the installation.” – TCNA Handbook Reference
A checklist for a floodproof bathroom
- Check subfloor for level and flatness using a 10-foot straightedge before starting.
- Ensure the shower floor transition is recessed enough to allow for the slope and tile thickness.
- Install a high-quality integrated drain system that bonds directly to the waterproofing.
- Apply two coats of liquid waterproofing or a sheet membrane with 2-inch overlaps at all seams.
- Perform a 24-hour flood test before installing a single piece of tile.
- Use a quarter to verify there are no lips or high spots during the tile setting process.
- Seal all grout joints with a high-performance penetrating sealer or use epoxy grout.
The 1/8 inch that ruins everything
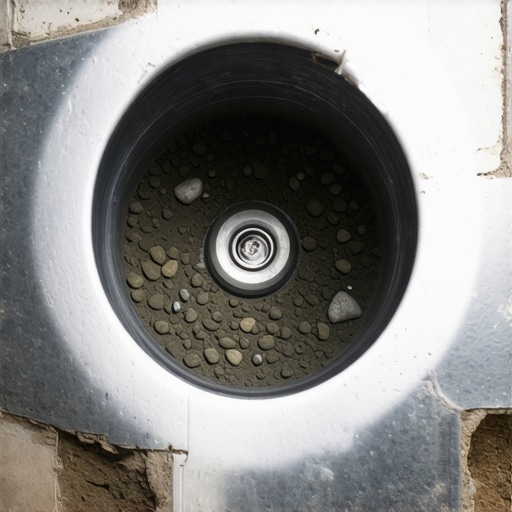
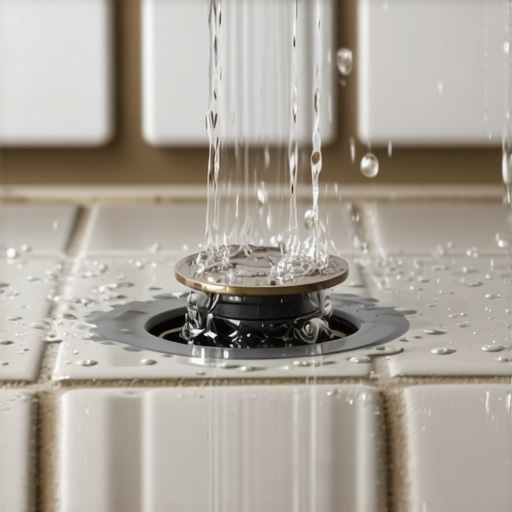
Precision at the drain assembly is the most frequent failure point in the quarter test because the tile must sit flush or slightly above the drain grate. If the tile is lower than the grate, water will never enter the drain. It will sit in a ring around the metal. This is the definition of a failed install. You have to account for the thickness of the thin-set when you set your drain height. It sounds simple, but when you are covered in mortar and trying to get the layout right, it is easy to miss. I always dry fit my tiles around the drain first. I want to see that quarter slide from the wall all the way into the center of the grate without a single bump. If it does that, I can sleep at night. If it doesn’t, I don’t go home until it’s fixed. That is the difference between a floor installer and a floor architect.